
>>

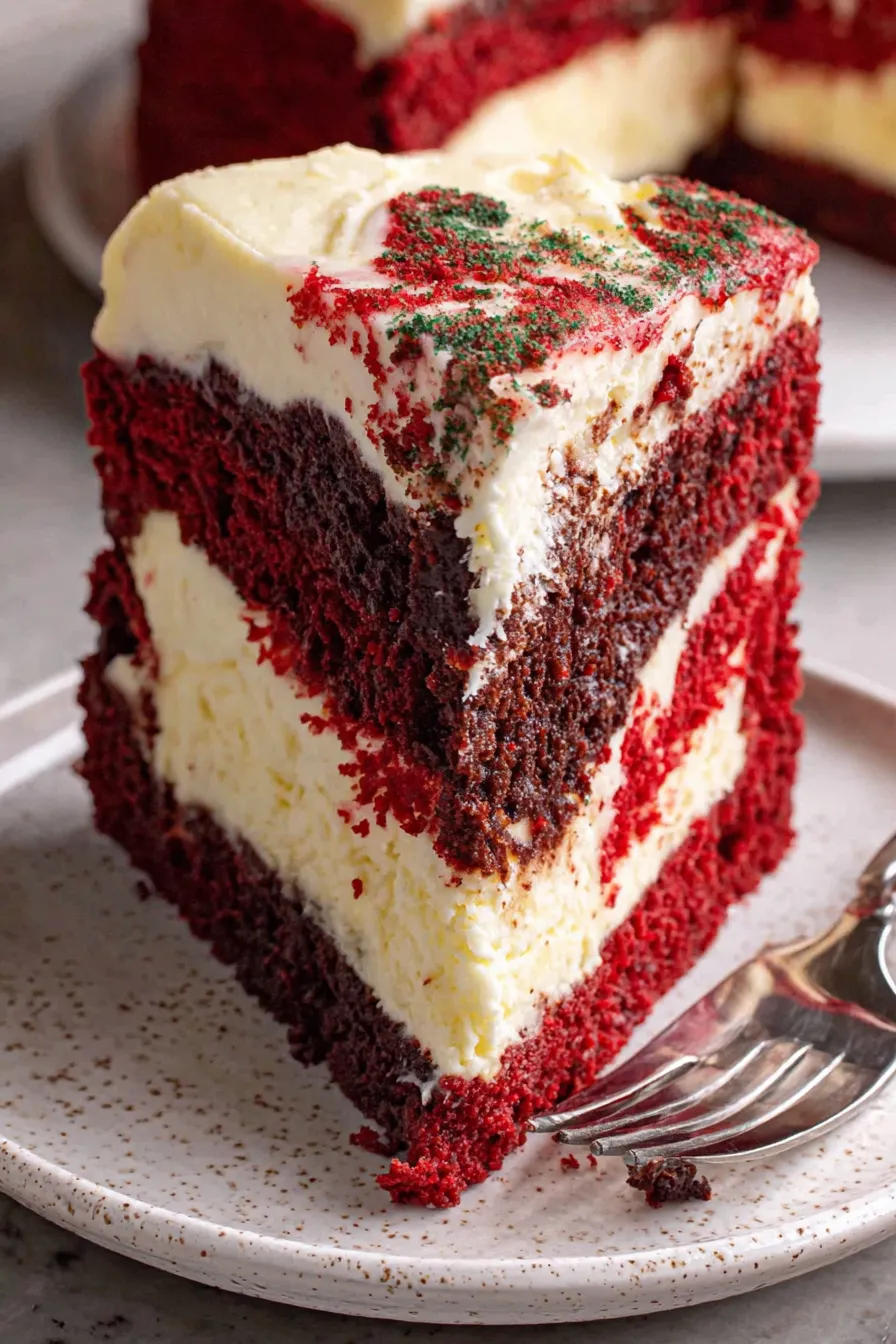
A festive layered red velvet square with a creamy cheesecake center and silky cream cheese frosting—perfect for holidays and special occasions.
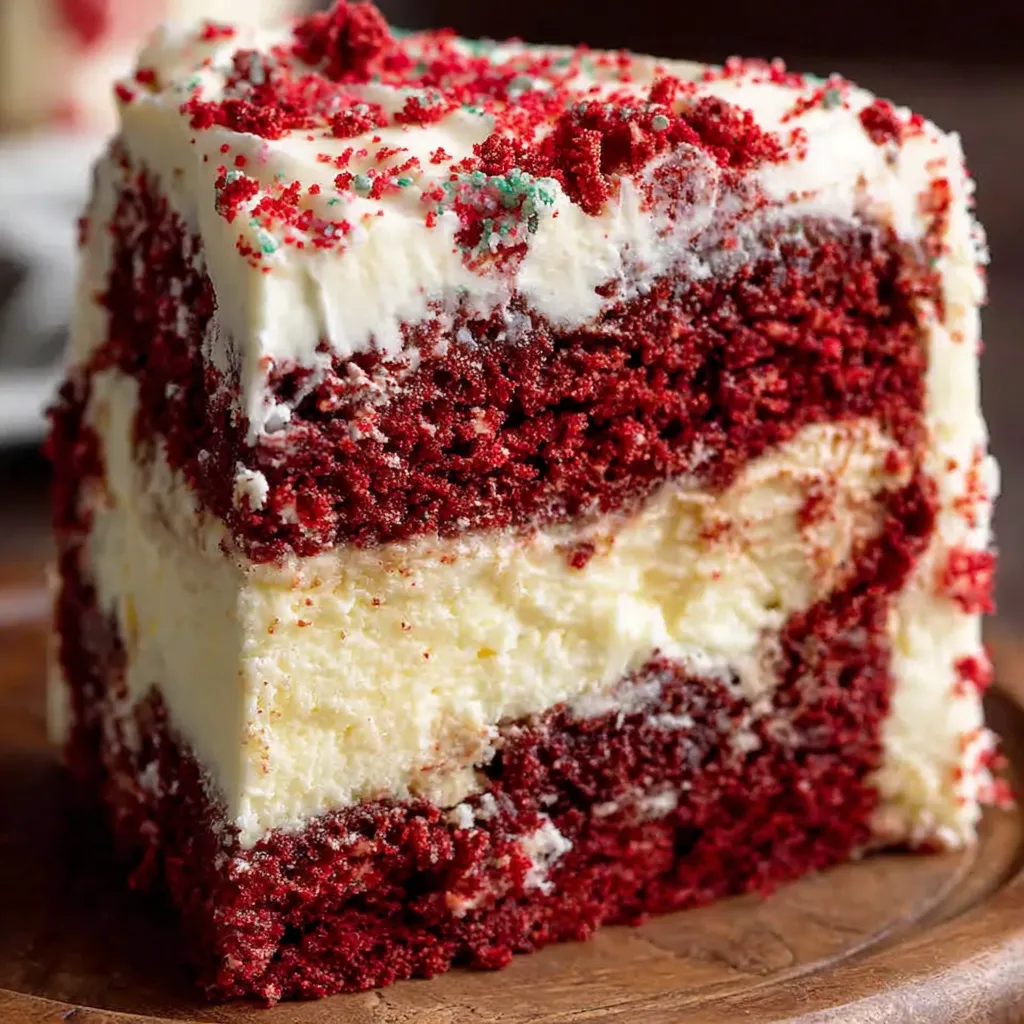
I stumbled on this red velvet cheesecake square one holiday season when I wanted a show-stopping dessert that still felt homey. I combined a classic red velvet batter with a smooth cheesecake layer and finished it with a rich cream cheese frosting. The first time my family tried it, it vanished so quickly that I promised to bake it every year. The combination of delicate cocoa notes from the cake and the tangy, velvety cheesecake creates a beautiful contrast in both flavor and texture.
What makes this version special is the balance: the cake is tender and moist thanks to oil and buttermilk, while the cheesecake layer keeps the center creamy without being overly sweet. I learned to keep all dairy and eggs at room temperature to avoid lumps in the cheesecake and to get an even crumb in the cake. The red gel coloring gives a consistent hue without extra liquid, and the final cream cheese frosting seals everything with a luscious satin finish. It’s festive, forgiving, and reliably crowd-pleasing.
On the first holiday I made this, neighbors stopped by after smelling it and left with a slice and a thank-you card. My picky nephew even asked for seconds, which is my highest compliment. Over time I fine-tuned the cheesecake layer to be firm enough to hold yet still silky, and the recipe now produces consistent results even when I'm juggling other dishes.
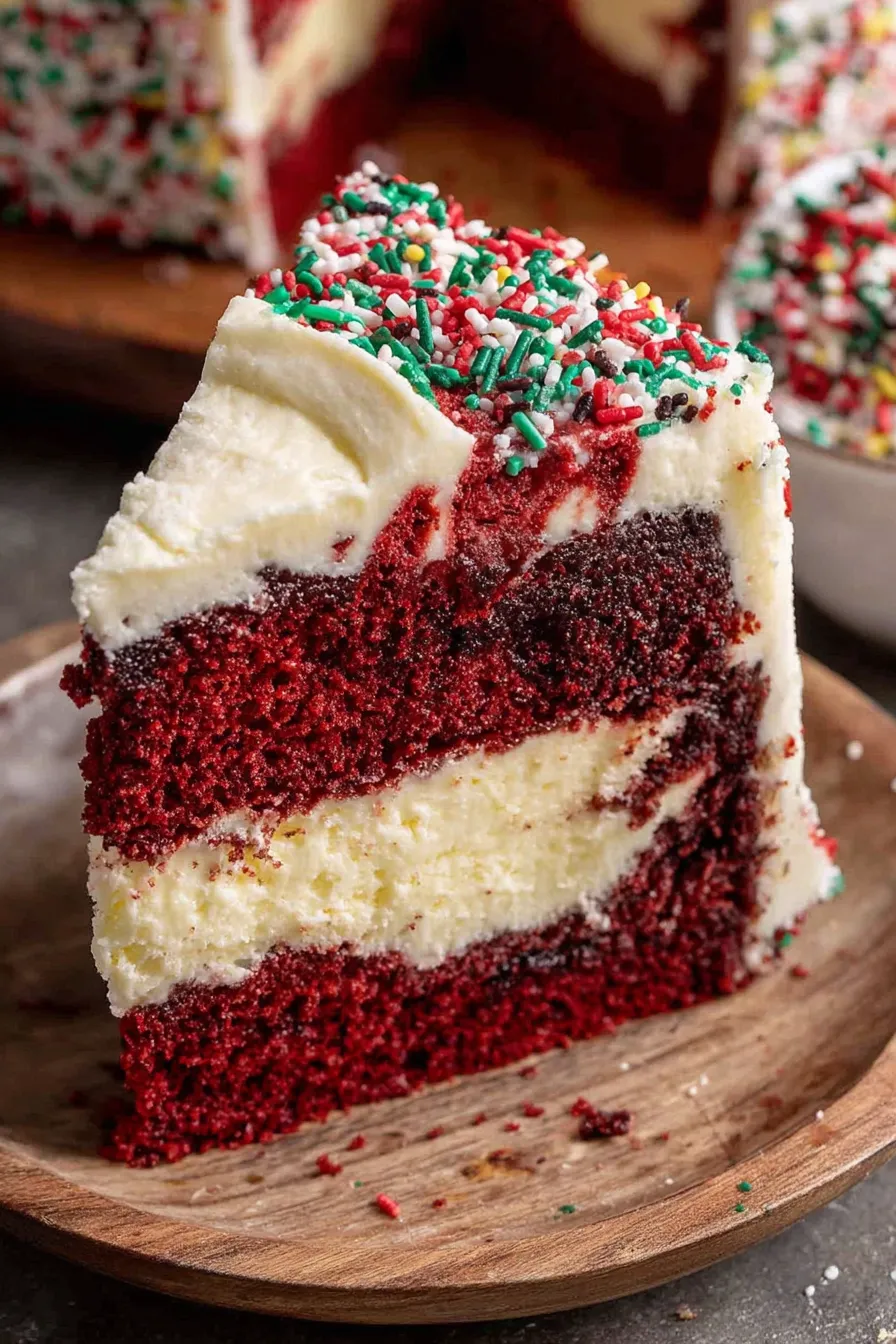
One of my favorite things about this dessert is how it changes with each frost and garnish—simple sprinkles make it holiday-ready while a scattering of toasted pecans gives it a rustic country twist. When I bring this to potlucks, people often ask for the recipe because it looks elegant but is forgiving for home bakers. The cheesecake center is the showpiece, and getting that silky texture is the part I take the most pride in.
To keep the texture and flavor, refrigerate the cake in an airtight container or wrapped tightly in plastic wrap. The cream cheese frosting benefits from refrigeration and will keep the slices stable for up to 4 days. For longer storage, freeze unfrosted squares on a baking sheet until firm, then wrap each piece individually in plastic and foil—this prevents freezer burn and makes thawing easier. Reheat gently in a low oven if you prefer a slightly warm slice, but avoid microwaving, which can make the frosting oily.
If you don’t have buttermilk, make a quick substitute by adding 1 tablespoon white vinegar to a measuring cup and filling to 1 cup with milk; let sit 5 minutes. For sour cream, full-fat plain Greek yogurt is an excellent swap and adds tang. If you need to reduce sugar slightly, decrease granulated sugar in the cake by 2 tablespoons without a major texture change. For a dairy-free adaptation, use vegan cream cheese and a plant-based butter alternative, but expect a slightly different texture and flavor profile.
Serve slices simply with a dusting of cocoa or a few fresh raspberries for brightness. For a dessert platter, pair the squares with a salted caramel sauce or vanilla bean ice cream. This square also works well alongside a coffee bar at brunch or as the finale for holiday meals. Garnish options include crushed candy canes for a festive crunch or a sprinkle of toasted hazelnuts for a nutty counterpoint to the tangy filling.
Red velvet has roots in American baking traditions and rose to wide popularity through classic Southern cakes and diners. Traditionally, the red hue came from a chemical reaction between cocoa and acidic ingredients; modern recipes use gel color for reliability. Adding a cheesecake layer modernizes the classic, offering a fusion between two beloved preparations—cheesecake is rooted in ancient recipes while red velvet is distinctly American; this mash-up celebrates both traditions.
In winter, top with seasonal sprinkles or edible gold dust for a festive look. For spring, swap sprinkles for edible flowers and fresh strawberries. In autumn, toast some pecans and add a drizzle of maple butter before serving. Adjust the frosting flavor by folding in a tablespoon of orange zest for citrus notes or 1/4 teaspoon ground cinnamon for a warm undertone that complements holiday spices.
Make the cake layers a day ahead: bake, cool, wrap, and store in the fridge. Prepare the frosting the morning of serving and frost an hour before guests arrive so the cake has time to settle. For portion control, cut the 9×9 square into nine even pieces. Use parchment overhang to remove the cake from the pan in one piece for cleaner sides and easier slicing. Label and date any frozen portions so you can enjoy them later without guesswork.
This recipe has become a family favorite because it feels celebratory yet reliably simple. I hope it finds a place on your holiday table or special occasions—make it your own with the garnishes and swaps that reflect your kitchen. Happy baking.
Bring eggs and dairy to room temperature for the smoothest cheesecake and even cake rise.
Use gel food coloring to keep batter consistency and a vivid color without adding liquid.
Avoid overmixing the cake batter once dry ingredients are added to maintain tenderness.
Chill the cake briefly after frosting for cleaner slices when serving.
This nourishing red velvet cheesecake cake recipe is sure to be a staple in your kitchen. Enjoy every moist, high protein slice — it is perfect for breakfast or as a wholesome snack any time.
Yes. Freeze unfrosted squares wrapped tightly in plastic and foil for up to 3 months. Thaw overnight in the refrigerator before frosting.
Room-temperature ingredients mix together more smoothly and prevent the cheesecake filling from curdling. Remove dairy and eggs from the fridge 30–60 minutes before baking.
Use a toothpick in the center; a few moist crumbs are okay, but avoid if the center is runny. If runny, bake an extra 3–5 minutes and recheck.
This Red Velvet Cheesecake Cake recipe makes perfectly juicy, tender, and flavorful steak every time! Serve with potatoes and a side salad for an unforgettable dinner in under 30 minutes.
Beat cream cheese and sugar until smooth, add flour and vanilla, then the egg and mix until just combined. Set aside at room temperature.
Preheat oven to 350°F. Spray a 9×9-inch pan, line with parchment, and spray again for easy release.
Whisk together flour, cocoa, baking powder, baking soda, and salt in a medium bowl until uniform.
Whisk oil, sugar, vinegar, eggs, sour cream, buttermilk, and red gel color until smooth and homogeneous.
Fold dry into wet until just combined. Spread half the batter in the pan, add dollops of cheesecake, then top with remaining batter and smooth.
Bake at 350°F for 30–35 minutes until a toothpick shows no wet batter. Cool 10 minutes in pan, then transfer to rack to cool completely.
Beat butter until fluffy, add cream cheese, then gradually add sifted powdered sugar. Add vanilla and beat until silky. Frost cooled cake and decorate.
Last Step: Please leave a rating and comment letting us know how you liked this recipe! This helps our business to thrive and continue providing free, high-quality recipes for you.
Leave a comment & rating below or tag
@epicula on social media!

Ultra-fudgy brownies crowned with toasted mini marshmallows and warm cocoa icing, with molten chocolate pockets in every bite.

Buttery shortbread crust topped with a gooey brown sugar pecan filling. Just 10 minutes to prep for bakery-worthy bars with irresistible crunch.

Ultra-creamy pumpkin cheesecake with a graham crust, bakes without cracks, and shines with caramel and rum-kissed whipped cream.
Leave a comment & rating below or tag @epicula on social media!
Enjoyed this recipe? Share it with friends and family, and don't forget to leave a review!
This recipe looks amazing! Can't wait to try it.
Comments are stored locally in your browser. Server comments are displayed alongside your local comments.

Join to receive our email series which contains a round-up of some of our quick and easy family favorite recipes.
