
>>

Delicious, colorful no-bake protein bites that taste like birthday cake — high in protein, low in fuss, and perfect for snacking or celebration.
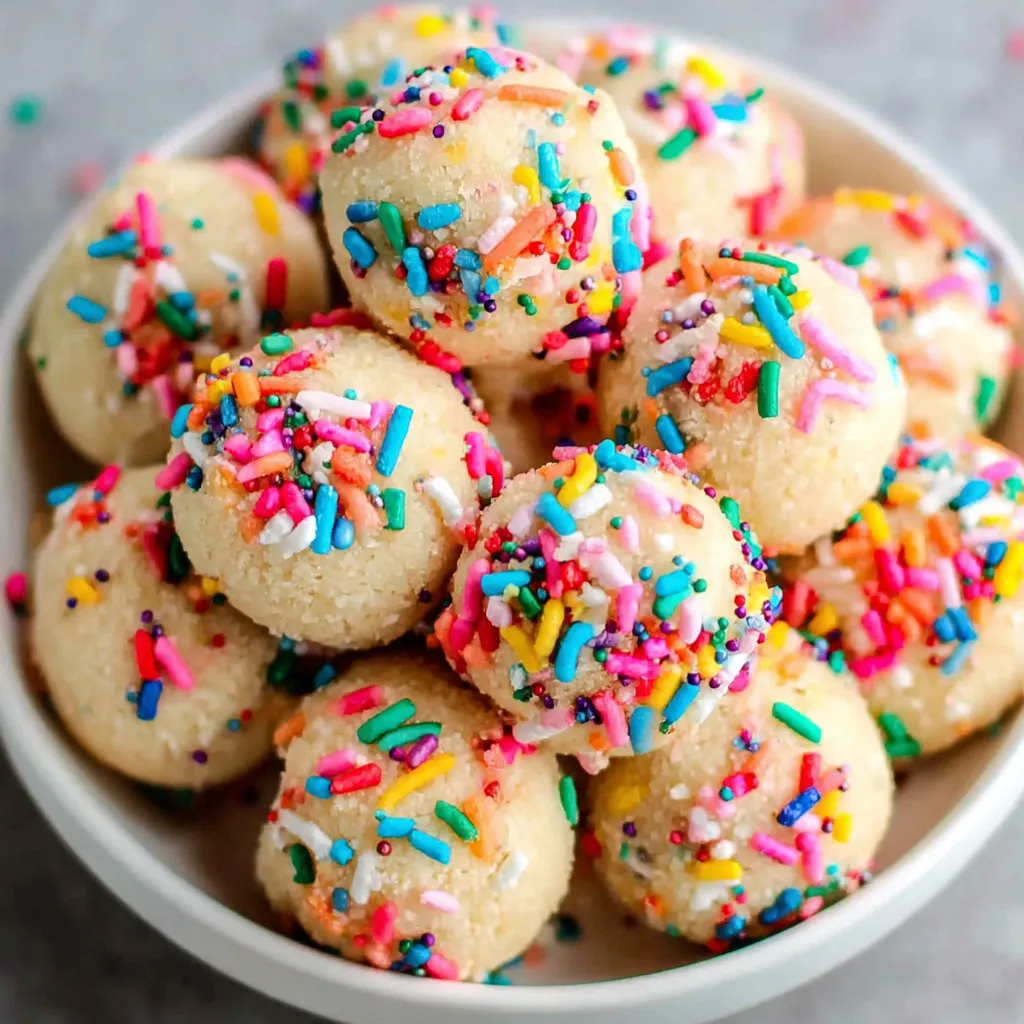
This recipe for birthday cake protein balls began as a small experiment the week of my daughter's eighth birthday. I wanted a treat that felt celebratory — colorful sprinkles and all — but didn’t undo the hard work of our nutrition-forward week. What started with a scoop of vanilla whey and a tablespoon of coconut flour turned into a snack that tastes like cake but behaves like a smart, satisfying bite. The texture is soft and slightly chewy, with the vanilla providing a cake-like sweetness and the sprinkles adding that fun crunch and visual pop every child (and frankly many adults) love.
I discovered this balance one evening while tweaking a pantry recipe: a little coconut oil for richness, coconut flour for structure, and just enough water to bring everything together without turning the mixture into something wet. The result became an instant hit — friends asked for the recipe, my gym partner packed them into his bag for workouts, and my kids declared them the official post-party snack. These no-bake bites are perfect for last-minute celebrations, make-ahead snack boxes, or a controlled dessert when you want portioned indulgence.
Personally, I love that these bites bridge the gap between healthy fueling and celebratory treats. At my daughter’s party we placed them on a small platter next to cupcakes; guests appreciated having a lighter option and several people asked for the recipe. It’s become my go-to when a colorful, shareable snack is called for.
My favorite thing about these bites is their versatility — once you have the base down you can riff endlessly. At home we’ve tried lemon zest, espresso powder, and chopped freeze-dried fruit. Each variation changed the profile but kept the same satisfying bite that makes them ideal for lunchboxes, hiking snacks, or a lighter party option.
To maintain texture and freshness, store the protein balls in a single layer in an airtight container separated by parchment if stacking. Refrigerate for up to seven days — the chill keeps the fat from becoming oily and preserves the shape. For longer storage, freeze them on a tray until solid, then transfer to a resealable freezer bag; they’ll last up to three months frozen. Thaw in the refrigerator overnight or at room temperature for 20–30 minutes before serving. Avoid leaving them at room temperature for more than a few hours, especially on warm days; the coconut oil will soften and the structure may change.
If you need to adapt the formula, several simple swaps work well. Replace whey with a plant-based vanilla protein powder to make them dairy-free; you may need slightly more liquid because plant proteins can be drier. Swap coconut oil for melted butter or a neutral oil like avocado oil for different flavor profiles. To reduce added sweeteners, use a sweeter protein powder and cut the low-calorie sweetener to 1 tablespoon. If you’re nut-free but want a crunchy exterior, use toasted oats or seed-based toppings instead of nuts. Keep in mind that coconut flour is extremely thirsty — switching to almond flour will change both texture and hydration needs (reduce almond flour slightly and add less water).
Serve these on a dessert platter alongside fruit and a small bowl of Greek yogurt for dipping, or place them in cupcake liners for individual portions at parties. They pair well with coffee or a cold-brew for a post-workout pick-me-up. For a themed party, use colored sprinkles or flavored extracts like almond or lemon to match your celebration. They also work nicely crumbled over a bowl of yogurt or oatmeal as a protein-rich topping.
Protein bites are a modern pantry-driven creation born from fitness and convenience culture — combining traditional no-bake snack techniques with contemporary nutritional priorities. Their lineage is similar to older energy-ball recipes made with dates and nuts, but this approach uses protein powder and low-carb elements to align with performance and dietary trends. The "birthday cake" flavor is an American confection influence: vanilla, sweet tones, and sprinkles mimic classic celebration cakes in a hand-held, portion-controlled format.
Adapt the base for seasonal flavorings: add pumpkin spice in the fall with a pinch of cinnamon and nutmeg plus a tablespoon of pumpkin purée; in winter, fold in a tablespoon of cocoa and top with toasted coconut for a festive chocolate version; spring calls for light citrus additions like a teaspoon of lemon zest and a few chopped freeze-dried strawberries. For summer gatherings, chill longer and serve alongside fresh berries for a cooler treat.
Make a double batch and portion into small containers for ready-to-go snacks. These are ideal for packed lunches and travel — keep them chilled until serving for the best texture. When prepping, measure dry ingredients in advance and store them in a jar; when you’re ready, whisk in oil and water to speed assembly. Label frozen portions with the date so you can rotate stock and use the oldest batch first.
These birthday cake protein balls are a small ritual of joy — colorful, portable, and reliably tasty. They prove that with a few simple ingredients and a little patience, you can create something that feels special without hours in the kitchen. Try them for your next celebration and make the recipe your own.
If the mixture is crumbly, add water one teaspoon at a time until you reach a firm but pliable dough.
Use a tablespoon scoop for uniform balls so they chill and portion evenly.
Chill the balls for at least 20–30 minutes to firm up and improve texture before serving.
Press sprinkles gently so they adhere; for a lower-sugar coating try shredded coconut or cocoa powder.
This nourishing best birthday cake protein balls recipe is sure to be a staple in your kitchen. Enjoy every moist, high protein slice — it is perfect for breakfast or as a wholesome snack any time.
Yes — store in an airtight container in the refrigerator for up to 7 days or freeze for up to 3 months.
Use a plant-based vanilla powder and replace coconut oil with neutral oil; texture will vary and may require slight adjustments to liquid.
This Best Birthday Cake Protein Balls recipe makes perfectly juicy, tender, and flavorful steak every time! Serve with potatoes and a side salad for an unforgettable dinner in under 30 minutes.
Combine the vanilla whey, sweetener, and coconut flour in a bowl. Add melted coconut oil and six tablespoons of water. Fold with a spatula until the mixture forms a firm, pliable dough, adding water one teaspoon at a time if crumbly.
Use a tablespoon to portion the dough and roll between palms to form compact balls. If the dough sticks, dampen palms slightly. Aim for uniform sizes for consistent chilling.
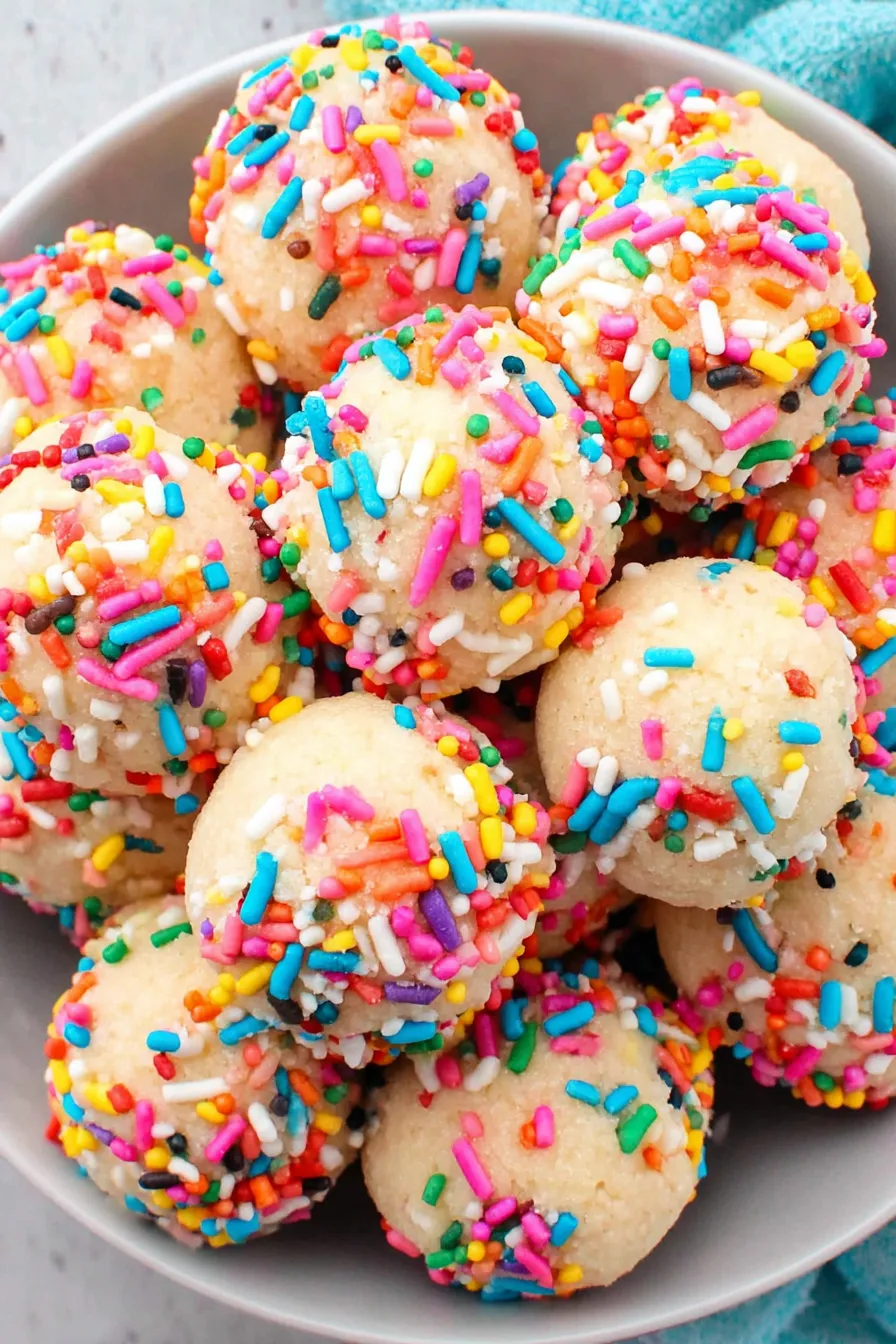
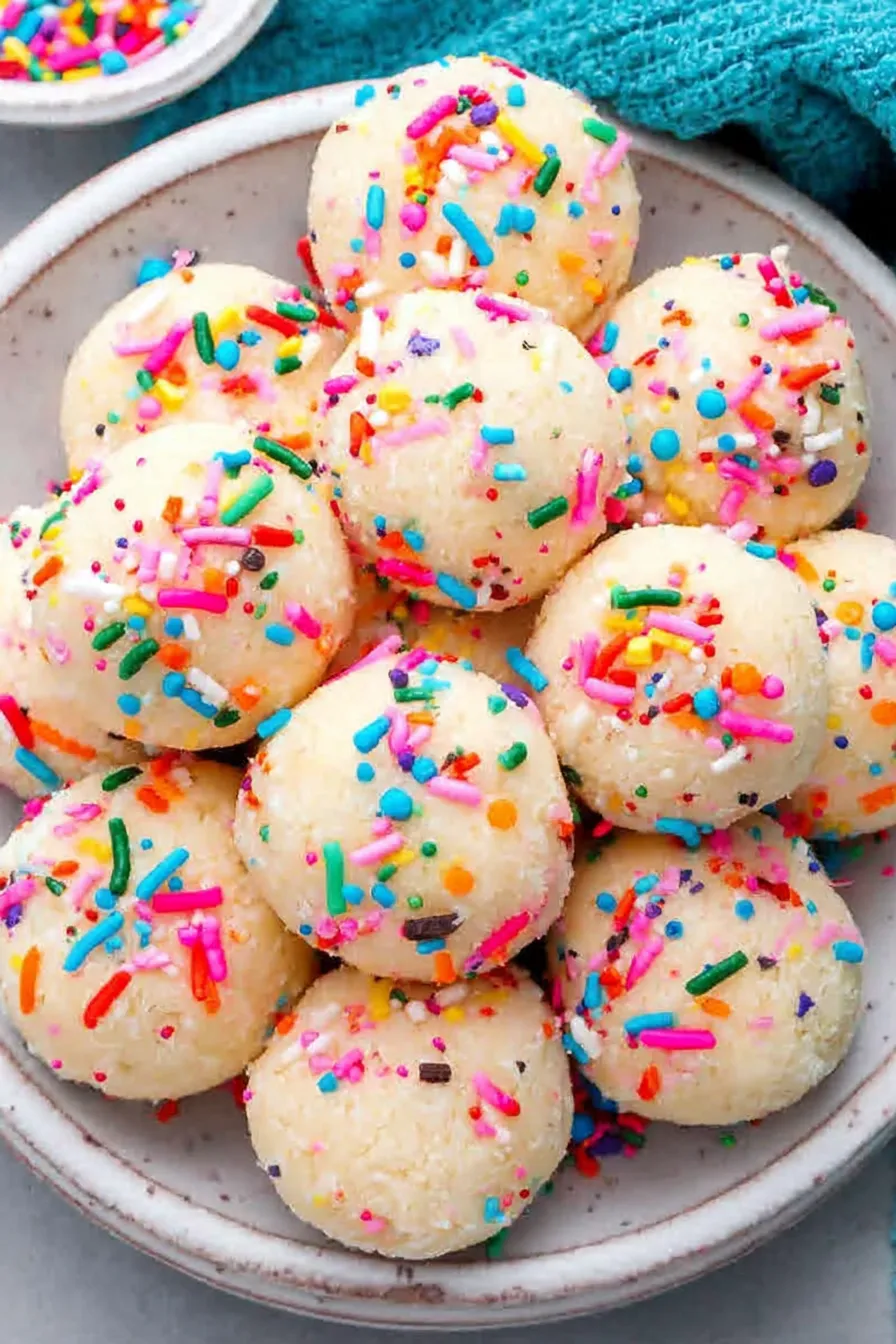
Spread sprinkles on a plate and roll each ball to coat evenly. Press gently so sprinkles adhere. Alternative coatings include shredded coconut, cocoa powder, or chopped seeds.
Place finished balls on a plate or in a container and refrigerate for 20–30 minutes to firm up. Store in the fridge up to one week or freeze for longer storage.
Last Step: Please leave a rating and comment letting us know how you liked this recipe! This helps our business to thrive and continue providing free, high-quality recipes for you.
Leave a comment & rating below or tag
@epicula on social media!

Ultra-fudgy brownies crowned with toasted mini marshmallows and warm cocoa icing, with molten chocolate pockets in every bite.

Buttery shortbread crust topped with a gooey brown sugar pecan filling. Just 10 minutes to prep for bakery-worthy bars with irresistible crunch.

Ultra-creamy pumpkin cheesecake with a graham crust, bakes without cracks, and shines with caramel and rum-kissed whipped cream.
Leave a comment & rating below or tag @epicula on social media!
Enjoyed this recipe? Share it with friends and family, and don't forget to leave a review!
This recipe looks amazing! Can't wait to try it.
Comments are stored locally in your browser. Server comments are displayed alongside your local comments.

Join to receive our email series which contains a round-up of some of our quick and easy family favorite recipes.
