
Christmas Caramel Pretzel Bites

Sweet, salty, and festive: sandwich caramels between pretzel twists, cloak them in red, green, and white candy coatings, and finish with holiday sprinkles for the easiest seasonal bite.

This little seasonal treat has been my go-to for holiday parties ever since I first made a batch during a last-minute cookie swap. I wanted something fast, kid-friendly, and utterly addictive that didn’t require rolling dough or long bake times. What began as an experiment on a snowed-in afternoon—a handful of pretzels, a bag of caramels, and a few candy melts in a pantry raid—turned into a signature handout that neighbors and friends now request every December.
The charm of these bites is in the contrasts: the crisp snap of a mini pretzel, the warm chew of melted caramel, and a glossy, candy-coated shell that crackles when you bite in. The colors make them instantly giftable—red, green, and white in neat, drizzled lines—so they travel well to potlucks and cookie exchanges. They’re simple enough for kids to help with, but the final presentation looks like something that took much more effort than the ten to twenty minutes involved. Over the years I've refined the timing so the caramel melts just enough to stick without oozing everywhere, and how much shortening to add for the perfect drizzle consistency.
Why You'll Love This Recipe
- Ready in about 30 minutes from start to finish, including cooling time—perfect for last-minute party prep and quick gifting.
- Uses pantry staples: mini pretzels, soft caramels, and candy melts you can find year-round or at seasonal displays.
- Kid-friendly assembly: little hands can press the pretzel halves together and help drizzle the candy under supervision.
- Highly customizable with colors, sprinkles, or flavored melts—adaptable for any holiday or theme.
- No rolling or complicated techniques—bake the caramels just until soft, sandwich, and coat: foolproof for beginner cooks.
- Stores well at room temperature in an airtight container for up to one week, so you can make them ahead and save time on party day.
I still remember the first time I brought these to a neighborhood gathering and someone mistook them for a specialty confection. That started a tradition: each year someone asks if I’ll bring a batch, and every year I tweak the sprinkles and colors to match the party theme. They’re reliable little showstoppers that never last long on the buffet.
Ingredients
- Base: 48 mini pretzel twists — look for sturdy, bakery-style mini twists rather than thin, hollow varieties so they hold the caramel without sogging; brands like Snyder’s and Rold Gold work well.
- Caramel: 12 soft caramels, unwrapped and cut in half — use individually wrapped soft caramels like Werther's Soft Caramels or Brach's for consistent melting; cutting them in half yields the perfect sandwich thickness.
- Candy Coating: 1 cup red Candy Melts, 1 cup green Candy Melts, 1 cup white Candy Melts — Candy Melts or similar confectionery coating wafers melt smoothly; choose good-quality melts for shine and snap.
- Shortening: 1 to 2 tablespoons vegetable shortening — use shortening to thin the melts for drizzling; start with 1 teaspoon per cup when microwaving and add by the teaspoon to reach the right viscosity.
- Toppings: Holiday sprinkles — choose sturdy sugar sprinkles rather than delicate nonpareils if you want them to retain shape; metallic sugar stars add a festive touch.
Instructions
Preheat and prepare the baking surface:Preheat the oven to 375°F. Line a rimmed baking sheet with parchment paper so the pretzels and melted caramel won’t stick and cleanup is quick. Use a single layer to ensure even heating; if your oven runs hot, set the rack to the middle position.Arrange pretzels and top with caramel:Place 24 of the mini pretzel twists in a single layer on the prepared sheet, leaving a little space between each. Lay one half of a soft caramel in the center of each pretzel. The cut surface should face down if you prefer a flatter top once sandwiched.Bake briefly to soften caramels:Bake in the preheated oven for 5 minutes or until the caramels have softened but not fully melted into a puddle. The goal is pliable caramel that will glue the pretzels together; watch closely after the 4-minute mark so you catch the right texture.Sandwich with remaining pretzels:Remove the sheet and immediately top each softened caramel with another pretzel twist, pressing gently to spread the caramel to the edge without squeezing it out. Leave the assembled bites on the tray to cool and set while you prepare the coatings.Melt the red coating:In a microwave-safe bowl, combine 1 cup red Candy Melts with 1 teaspoon vegetable shortening. Microwave on 50% power in 30-second intervals, stirring thoroughly between intervals until smooth. If the mixture looks too thick for drizzling, add shortening by the teaspoon until you reach a ribbon-like consistency. Avoid overheating; candy melts scorch easily.Drizzle the red coating:Transfer melted red coating to a piping bag or a small plastic bag with a tiny corner snipped. Drizzle over each bite in long sweeping lines for a polished look. Allow the red to set for a few minutes at room temperature so colors remain distinct when you add the next color.Melt and drizzle the green coating:Repeat the same melting steps with the green Candy Melts and 1 teaspoon shortening. Drizzle the green over the bites in a contrasting pattern to the red. If lines begin to break, microwave briefly at 10-second bursts and stir until smooth.Melt and drizzle the white coating and add sprinkles:Melt the white Candy Melts with shortening and drizzle over the bites. While the white is still wet, immediately scatter holiday sprinkles so they adhere. Work quickly as candy melts set fast at room temperature.Set and store:Let the coated bites sit at room temperature until fully hardened, about 15 to 30 minutes. Once set, transfer to an airtight container. Store at room temperature up to one week or refrigerate to extend freshness; bring to room temperature before serving for best texture.
You Must Know
- These bites are high in sugar and best enjoyed in moderation; they provide a quick sweet snack and a festive addition to holiday spreads.
- Allow coatings to fully harden at room temperature to maintain the glossy finish and prevent smudging during packaging.
- Freezes well for up to three months: flash-freeze on a tray then transfer to freezer-safe containers to preserve crispness.
- Store at room temperature in a cool, dry place; avoid humid environments that can soften the candy shell.
What I love most about these bites is how reliably they disappear. I’ve wrapped them in small cellophane bags tied with ribbon for neighbors and teachers; the feedback is always enthusiastic. One year I made a tray for my son’s school party and a teacher told me the bites were so addictive she hid the last few in her teacher’s lounge drawer. Little victories like that keep this simple formula in my holiday rotation.
Storage Tips
Pack cooled bites in a single layer or separated by parchment in an airtight container. At room temperature they stay fresh for up to one week; if your home is warm, refrigerate them to keep the candy shell from sweating. For longer storage, freeze in a single layer on a tray, then move to freezer bags; thaw in the refrigerator before bringing them to room temperature so condensation doesn’t dull the coating. Use rigid containers to prevent crushing and keep sprinkles intact.

Ingredient Substitutions
Swap the soft caramels for individually wrapped chocolate caramels for a deeper flavor; reduce bake time slightly as chocolate melts faster. If you don’t have Candy Melts, use colored almond bark or melt white chocolate and tint with oil-based color—avoid water-based dyes which seize chocolate. For a gluten-free version, use gluten-free mini pretzels, and ensure your candy melts are certified gluten-free. Use coconut oil instead of shortening for a slightly different sheen and subtle coconut flavor, though it will change the mouthfeel.
Serving Suggestions
Arrange on a decorative holiday platter with sprigs of rosemary or evergreen for color contrast. Pair with hot cocoa, mulled cider, or a salted caramel latte for a cozy dessert table. The bites are also ideal in small cellophane bags tied with ribbon as edible favors. For a grown-up twist, serve alongside a cheese board—the salty-sweet combination pairs surprisingly well with mild cheddar or a semi-soft cheese.
Cultural Background
These simple confections are part of the modern holiday tradition of combining sweet and salty elements for festive snacks. They draw on classic candy-making techniques—melting, coating, and sprinkling—that are quick adaptations of confectionery methods. While not a historic dish, they reflect the contemporary habit of creating themed treats for celebrations where visual impact and ease of preparation matter as much as flavor.
Seasonal Adaptations
Change colors and sprinkles to match any holiday: pastel melts and confetti sprinkles for spring, orange and black for Halloween, or red-white-blue for summer gatherings. In winter, add a tiny pinch of ground cinnamon or a drop of peppermint extract to the white coating for a festive twist. You can also swap holiday sprinkles for chopped toasted nuts or crushed candy canes for texture variations.
Meal Prep Tips
Assemble multiple batches at once: pre-cut the caramels, line trays, and set up three melting stations for red, green, and white coatings. Work assembly-line style—bake, sandwich, chill, and then coat in stages—so you don’t have to manage too many tasks at once. Use disposable piping bags to minimize cleanup, and label containers with production dates if making ahead for gifting.
These bites are one of those small pleasures that bring people together—simple to make, easy to share, and always welcome at celebrations. Whether you’re a beginner or a seasoned host, they’re a fast way to add homemade charm to your holiday table.
Pro Tips
Use soft caramels (not hard caramels) for reliable melting and chewiness.
Add shortening by the teaspoon to candy melts to thin them for drizzling without losing gloss.
Let each color set slightly before adding the next to keep colors distinct and prevent blending.
If candy melts thicken, microwave in 10-second bursts at 50% power and stir until smooth.
Store in a cool, dry place; avoid humid environments which can make the coating sticky.
This nourishing christmas caramel pretzel bites recipe is sure to be a staple in your kitchen. Enjoy every moist, high protein slice — it is perfect for breakfast or as a wholesome snack any time.
Tags
Christmas Caramel Pretzel Bites
This Christmas Caramel Pretzel Bites recipe makes perfectly juicy, tender, and flavorful steak every time! Serve with potatoes and a side salad for an unforgettable dinner in under 30 minutes.
Ingredients
Base
Candy Coating
Toppings
Instructions
Preheat and prepare baking sheet
Preheat oven to 375°F and line a rimmed baking sheet with parchment paper to prevent sticking and simplify cleanup.
Arrange pretzels and add caramel
Place 24 mini pretzel twists in a single layer and top each with one half of a soft caramel, cut-side down if preferred for a flatter sandwich.
Bake to soften caramels
Bake for 5 minutes or until caramels are softened but not puddled; watch closely after 4 minutes to prevent over-melting.
Top with remaining pretzels
Remove from oven and immediately press a pretzel twist on top of each softened caramel to create sandwich bites. Allow them to cool slightly before coating.
Melt red candy coating
Combine 1 cup red Candy Melts with 1 teaspoon shortening in a microwave-safe bowl. Microwave at 50% power in 30-second intervals, stirring between, until smooth; add shortening as needed by teaspoon.
Drizzle red coating
Place melted red coating in a piping bag and drizzle over each bite in decorative lines. Let set a few minutes before adding the next color.
Melt and drizzle green coating
Melt 1 cup green Candy Melts with 1 teaspoon shortening as above and drizzle in contrasting patterns. Reheat briefly if mixture starts to thicken.
Melt white coating and add sprinkles
Melt white Candy Melts with shortening, drizzle over bites, and immediately scatter holiday sprinkles while coating is still wet so they adhere.
Set and store
Allow coatings to harden at room temperature for 15 to 30 minutes. Store in an airtight container at room temperature for up to one week or refrigerate for longer freshness.
Last Step: Please leave a rating and comment letting us know how you liked this recipe! This helps our business to thrive and continue providing free, high-quality recipes for you.
Nutrition
Did You Make This?
Leave a comment & rating below or tag
@epicula on social media!
Categories:
You might also like...
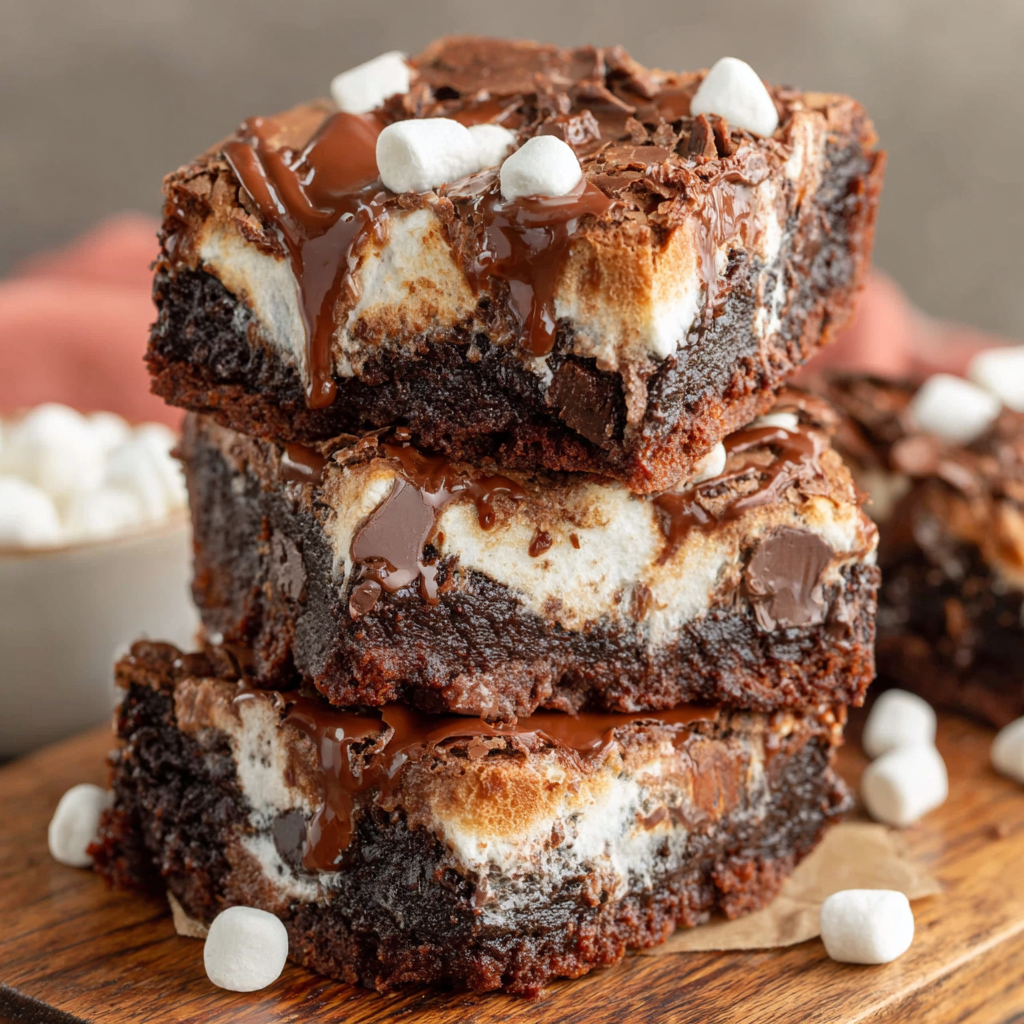
Mississippi Mud Brownies
Ultra-fudgy brownies crowned with toasted mini marshmallows and warm cocoa icing, with molten chocolate pockets in every bite.
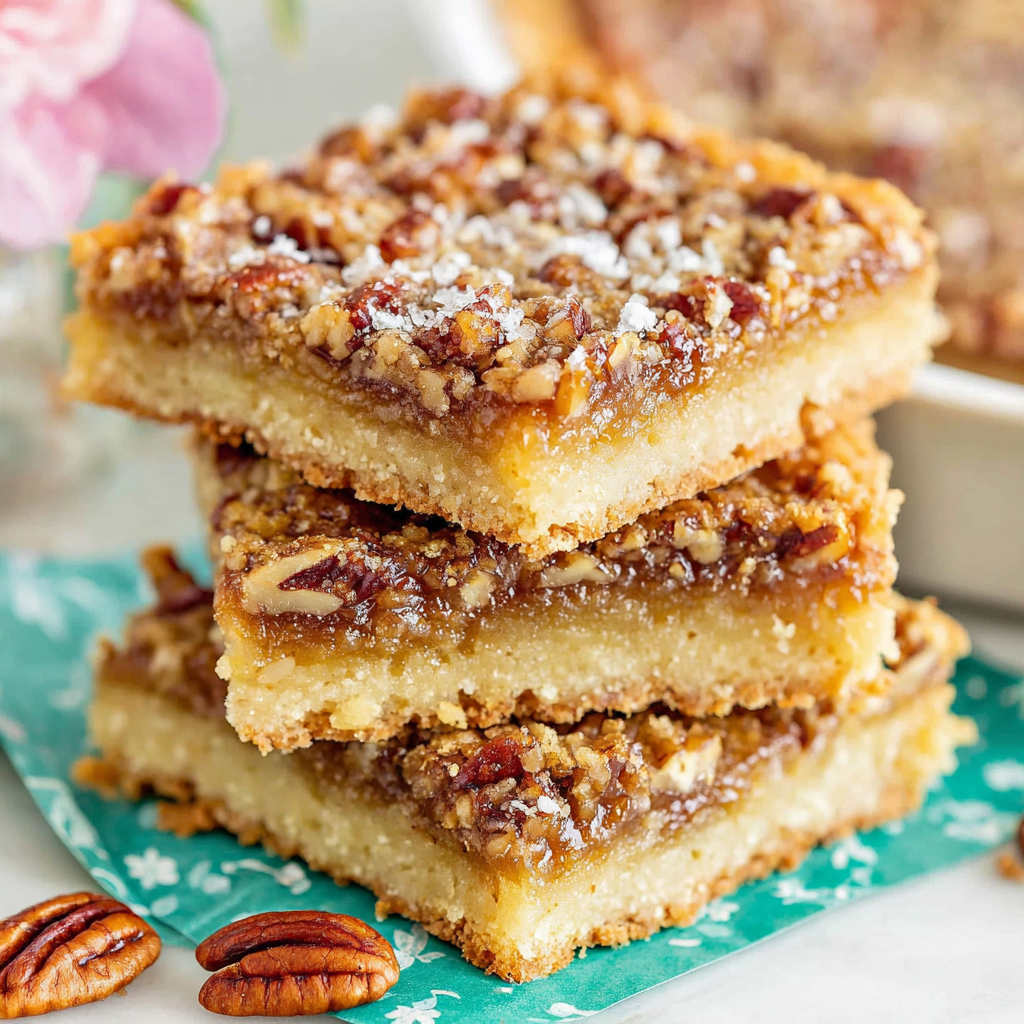
Buttery Pecan Pie Bars
Buttery shortbread crust topped with a gooey brown sugar pecan filling. Just 10 minutes to prep for bakery-worthy bars with irresistible crunch.
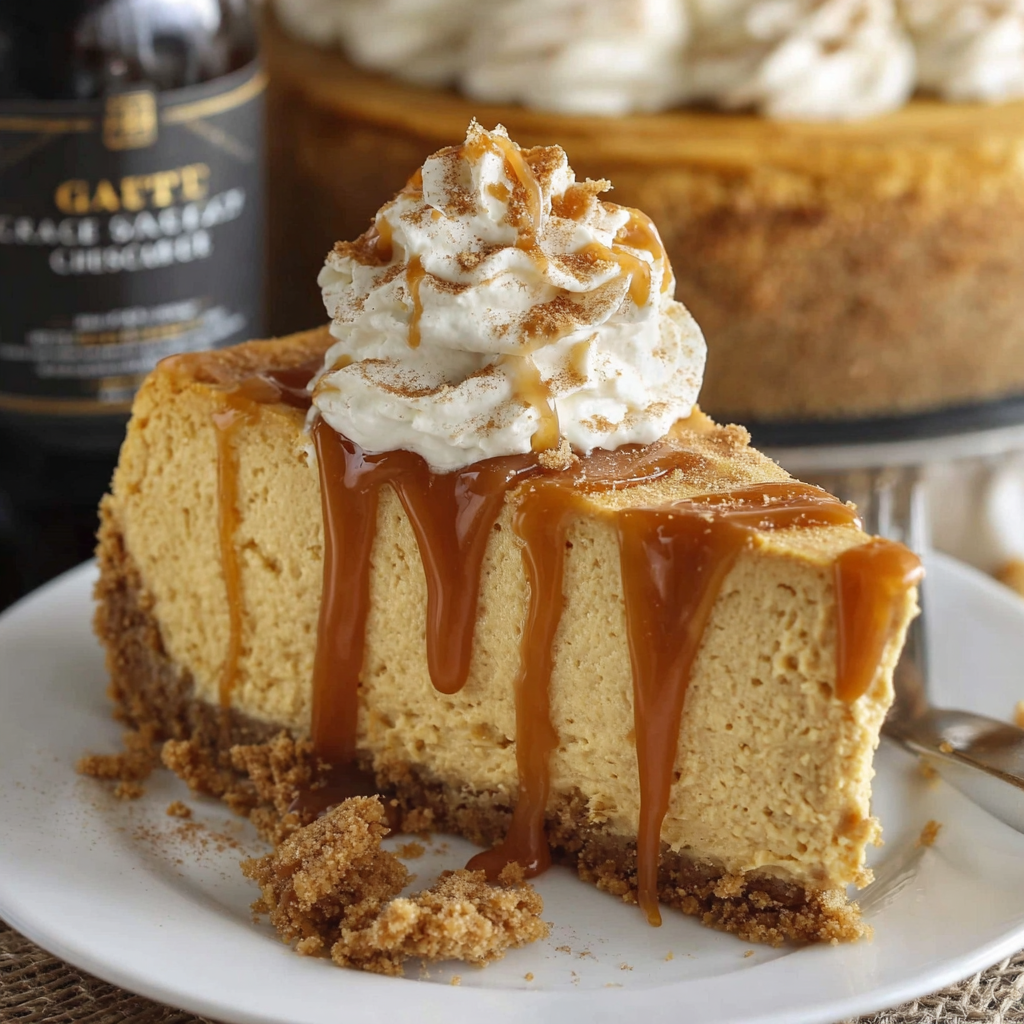
Crack-Free Pumpkin Cheesecake
Ultra-creamy pumpkin cheesecake with a graham crust, bakes without cracks, and shines with caramel and rum-kissed whipped cream.
Did You Make This?
Leave a comment & rating below or tag @epicula on social media!
Rate This Recipe
Share This Recipe
Enjoyed this recipe? Share it with friends and family, and don't forget to leave a review!
Comments (1)
This recipe looks amazing! Can't wait to try it.
Comments are stored locally in your browser. Server comments are displayed alongside your local comments.

Hi, I'm Olivia!
What's Popular
30-Minute Meals!
Join to receive our email series which contains a round-up of some of our quick and easy family favorite recipes.