
>>

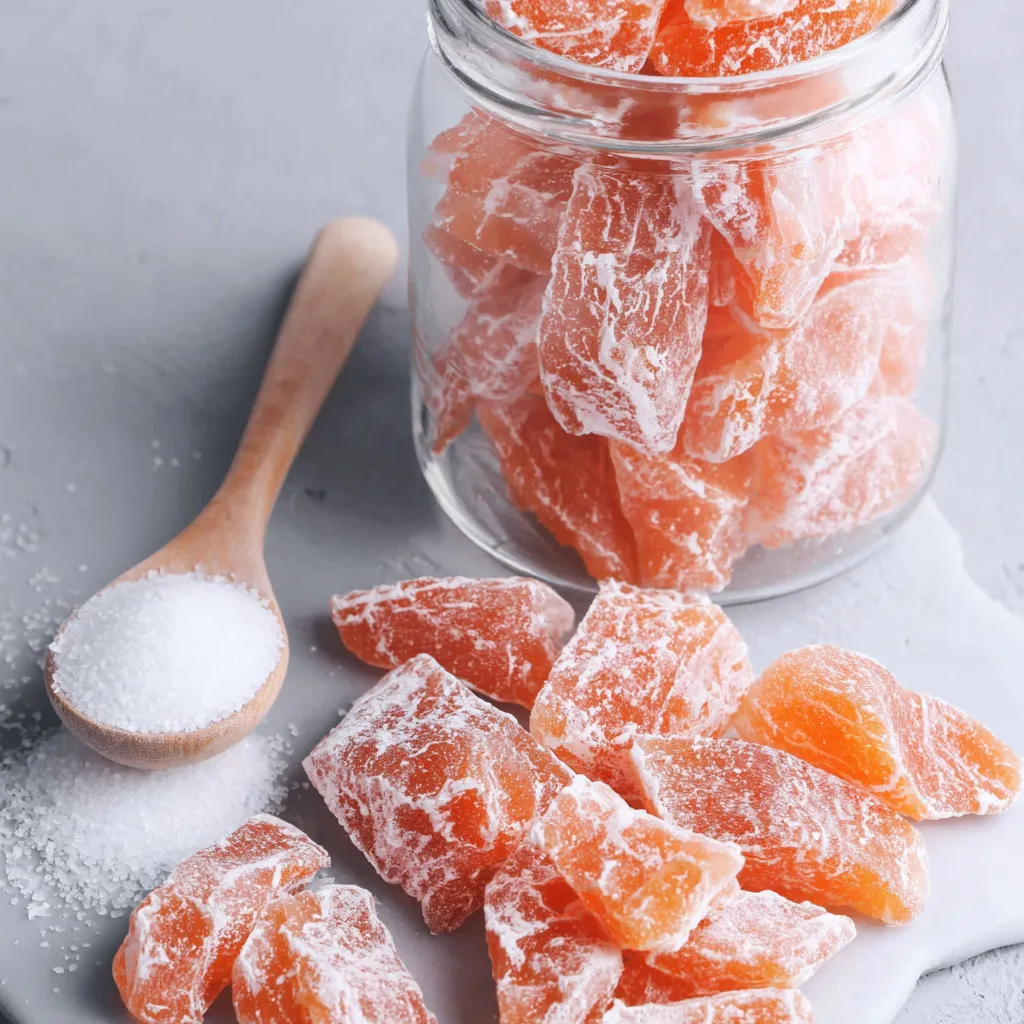
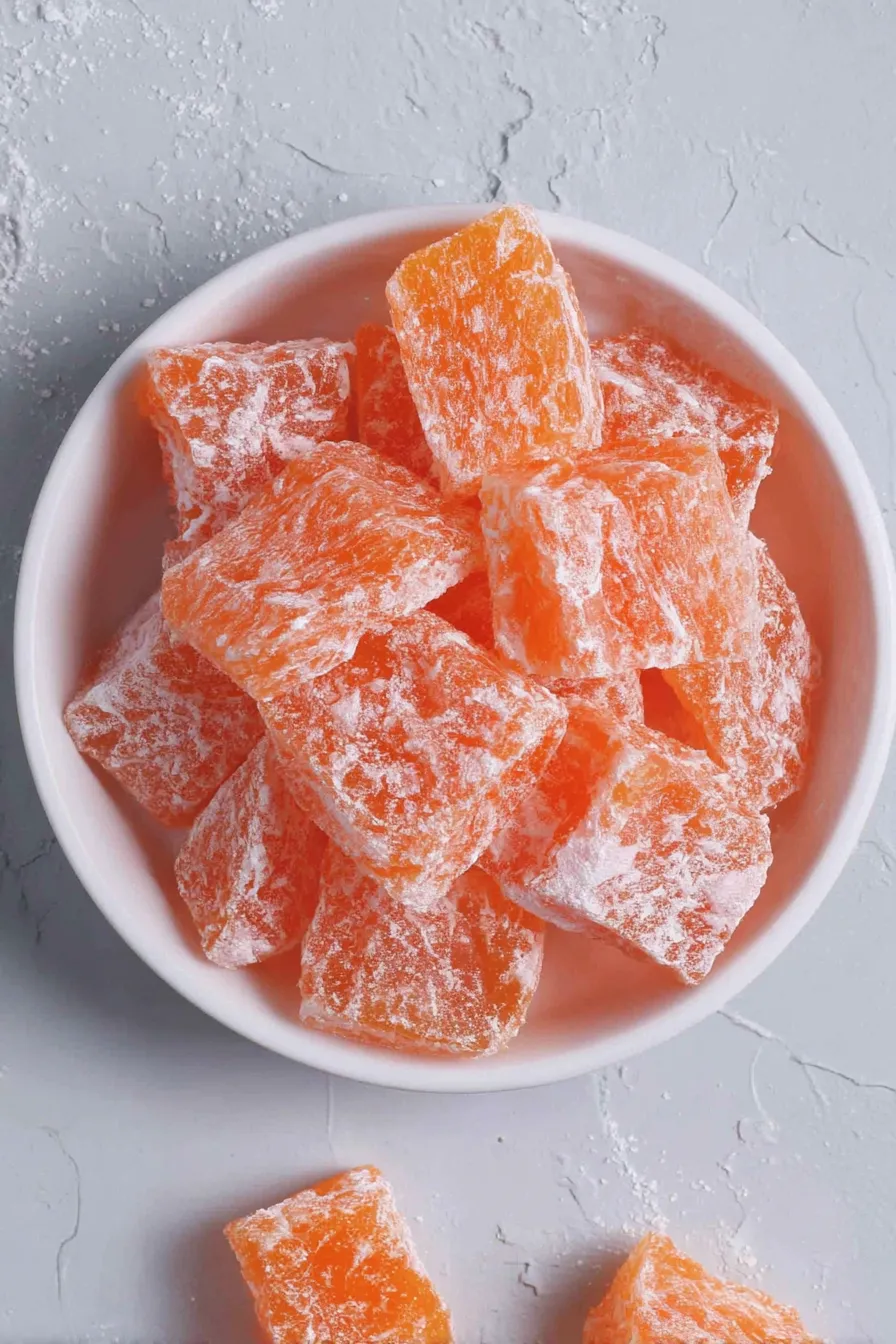
Bright, crunchy homemade hard candy with customizable flavors and colors — a timeless treat made from pantry staples and simple technique.
This homemade hard candy is one of those small kitchen triumphs that feels both nostalgic and proudly modern. I first learned to pull a pan of brittle, glassy candy for a holiday gift swap years ago, experimenting with lemon and orange extracts until the flavors landed. The result is a candy with a perfectly crisp snap, a glass-like sheen, and a flavor that comes through clean and bright. It matters because the texture is all about precision: when you hit the hard-crack stage at 300 degrees Fahrenheit the sugar sets into a durable, crunchy candy that holds color and flavor well. The confection is simple, but the satisfaction of cutting neat little pieces and watching them shine in a jar is enormous.
I discovered this method during a winter weekend when pantry basics were the only game in town. The recipe uses just sugar, light corn syrup, water, and a dusting of confectioners sugar as a working surface. That dusting makes the candies easy to handle and bite into, while the extracts and optional food coloring let you personalize the final pieces. Over the years I have made trays of red anise candies for a family gathering and sunny lemon pieces to cheer up a gray afternoon. Every batch brought back stories — a neighbor’s childhood memory of peppermint disks, a child marveling at how a clear liquid becomes bright, brittle treats.
I’ve watched skeptical friends light up when they taste their first piece of homemade candy. My family’s favorite memory is a batch I made for a backyard picnic; the kids loved cutting the pieces and choosing colors, while the adults appreciated how crisp and balanced the flavors were. That hands-on involvement makes this more than candy — it’s a small ritual that sparks conversation and smiles.
My favorite part of making these is the ritual of coating the candies in confectioners sugar and arranging them in little jars with ribbons. I once packaged them as party favors and the reaction was delightful — people commented on how fresh and clean the flavors were compared with store-bought pieces. There’s a distinct satisfaction in turning basic pantry staples into something bright and celebratory.
Store pieces in a tightly sealed container at room temperature away from direct sunlight and heat sources. Use parchment or wax paper between layers to prevent sticking. In dry climates they remain crisp for 2 to 3 weeks; in humid locations aim to consume within a week or keep in a cool, dry place with a small food-safe desiccant. Avoid refrigeration — moisture in the refrigerator can cause the candy to become tacky. If storing as gifts, include a note advising recipients to keep the candy dry.
If you prefer to avoid corn syrup, replace 3/4 cup light corn syrup with 3/4 cup glucose syrup or use a 1:1 mix of honey and water for a slightly different texture and flavor; note that honey will darken the candy and add floral notes. For confectioners sugar, use a certified gluten-free brand if needed. Extracts can be swapped freely: peppermint yields classic mints, vanilla provides a warm backdrop, and essential oils formulated for candy (use sparingly) are more concentrated than extracts. Gel colors require only a tiny amount to avoid diluting the syrup.
Present pieces in small glass jars or cellophane bags tied with ribbon for an elegant gift. For holiday gatherings, arrange candies on a white platter with contrasting colored pieces for visual appeal. Pair citrus-flavored pieces with light teas, or serve anise-flavored candies with after-dinner coffee. For children’s parties, create a candy bar with several color and flavor options and small scoops so guests can mix their own take-home bags.
Hard boiled candy has roots in simple sugar cookery practiced across Europe and the Americas. Early confectioners used sugar and water heated to high temperatures to produce glassy candies flavored with herbs and spices. In the United States, regional variations emerged using molasses or corn syrup to improve texture and shelf life. Flavorings like anise and citrus have long been used: anise in Mediterranean and Middle Eastern sweets, citrus in European confections, making these flavors a bridge between culinary traditions.
Adjust the color and flavor to match seasons: red and orange with cinnamon or clove extracts for autumn, bright lemon or lime for spring, and peppermint or wintergreen for winter holidays. For Halloween, create mini disks in orange and black tones; for weddings, use pastel hues with champagne flavoring. Temperature matters too — on humid summer days, make candies early in the morning when humidity is lower to ensure proper setting and crispness.
For batch prep, make multiple trays back-to-back and store them layered between parchment in airtight boxes. Label jars with flavor and date. To speed production for gifts, prepare the confectioners sugar pans ahead of time and pre-measure extracts and color into small ramekins. Use a second glass measuring cup to pour multiple colors without cross-contaminating. Reheating the sugar mixture is not recommended; make fresh batches rather than trying to rescue overcooked or crystallized syrup.
Making this candy always brings a small dose of wonder into my kitchen — watching clear syrup transform into shiny, crunchy treats is a reminder that simple techniques yield joyful results. I hope you enjoy creating and sharing these as much as I do.
Use a heavy-bottomed saucepan and a calibrated candy thermometer to ensure even heating and accurate temperature readings.
Brush down sugar crystals on the pan sides with a wet pastry brush during cooking to prevent recrystallization.
Work with one color or flavor at a time and have confectioners sugar ready to coat and prevent sticking.
When stirring in extracts, remove the pan from heat to avoid evaporating delicate aromatics.
This nourishing classic homemade hard candy recipe is sure to be a staple in your kitchen. Enjoy every moist, high protein slice — it is perfect for breakfast or as a wholesome snack any time.
Yes, use a reliable candy thermometer and make sure it reads 300 degrees Fahrenheit for the hard-crack stage. If you prefer visual checks, the syrup will form brittle threads in cold water.
Yes, store in an airtight container at room temperature and separate layers with parchment to avoid sticking.
This Classic Homemade Hard Candy recipe makes perfectly juicy, tender, and flavorful steak every time! Serve with potatoes and a side salad for an unforgettable dinner in under 30 minutes.
Fill a 15 x 10 x 1-inch pan with 5 to 6 cups confectioners' sugar to a 1/2-inch depth. Use the handle of a wooden spoon to make a continuous curved-line indentation for pouring the syrup. Set aside.
In a heavy saucepan combine 2 cups granulated sugar, 3/4 cup light corn syrup, and 1/2 cup water. Stir over medium heat until the sugar begins to dissolve.
Once boiling, cover the pan and allow it to steam for 3 minutes without stirring to melt stray crystals on the sides.
Uncover and increase heat to medium-high. Cook without stirring until the candy thermometer registers 300 degrees Fahrenheit, watching closely to avoid burning.
Remove from heat and quickly stir in 1 to 2 teaspoons extract and food coloring. Work carefully; the syrup will be extremely hot.
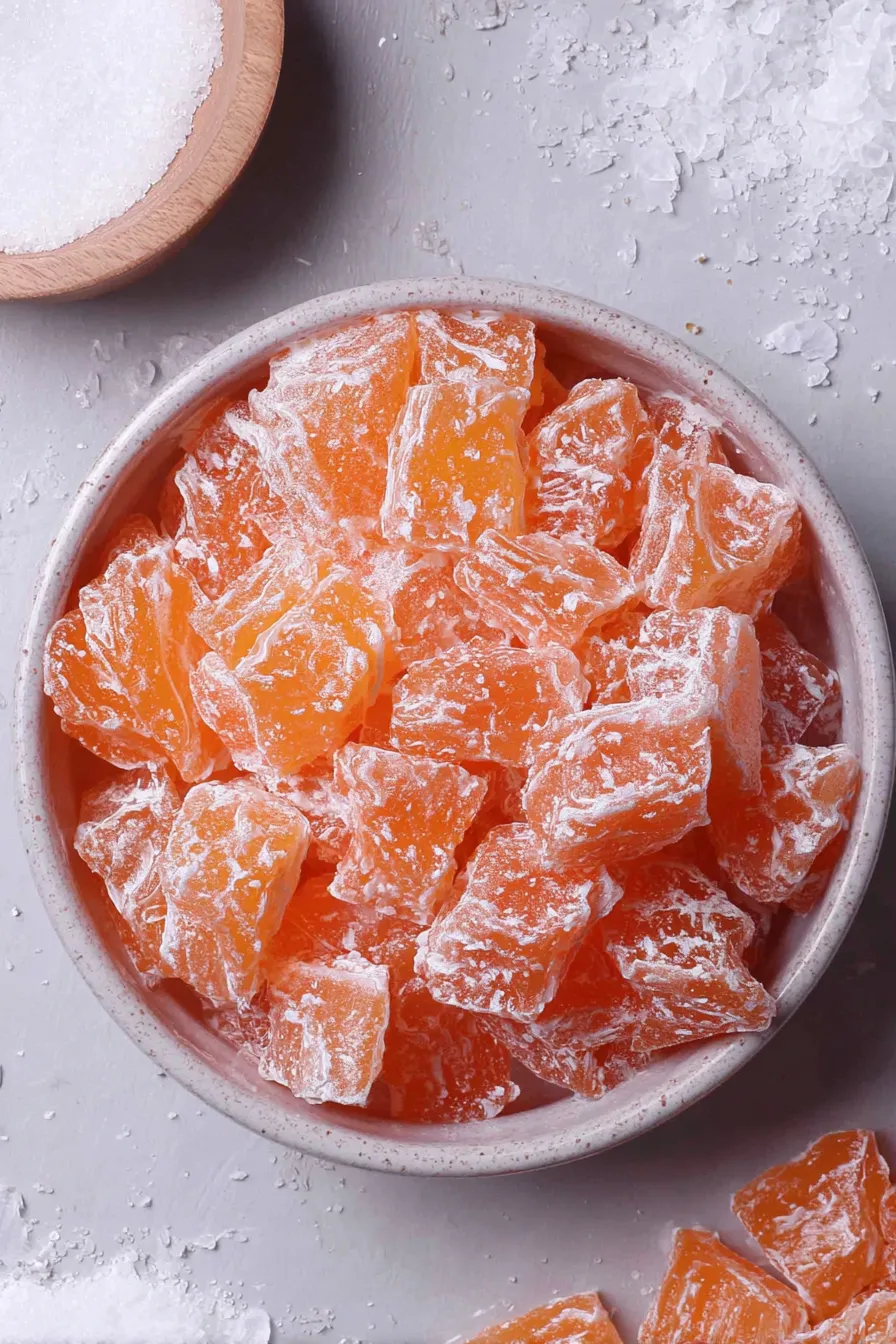
Pour the hot syrup into a glass measuring cup and then into the prepared sugar-lined indentation. Generously cover the surface with confectioners' sugar to prevent sticking.
After the candy is completely cool and firm, cut into bite-sized pieces with scissors and store in a covered container separated by parchment layers.
Last Step: Please leave a rating and comment letting us know how you liked this recipe! This helps our business to thrive and continue providing free, high-quality recipes for you.
Leave a comment & rating below or tag
@epicula on social media!

Ultra-fudgy brownies crowned with toasted mini marshmallows and warm cocoa icing, with molten chocolate pockets in every bite.

Buttery shortbread crust topped with a gooey brown sugar pecan filling. Just 10 minutes to prep for bakery-worthy bars with irresistible crunch.

Ultra-creamy pumpkin cheesecake with a graham crust, bakes without cracks, and shines with caramel and rum-kissed whipped cream.
Leave a comment & rating below or tag @epicula on social media!
Enjoyed this recipe? Share it with friends and family, and don't forget to leave a review!
This recipe looks amazing! Can't wait to try it.
Comments are stored locally in your browser. Server comments are displayed alongside your local comments.

Join to receive our email series which contains a round-up of some of our quick and easy family favorite recipes.
