
>>

Chewy, coconut-filled bites coated in rich chocolate — an easy, no-bake treat that’s perfect for parties, make-ahead desserts, or a simple sweet craving.
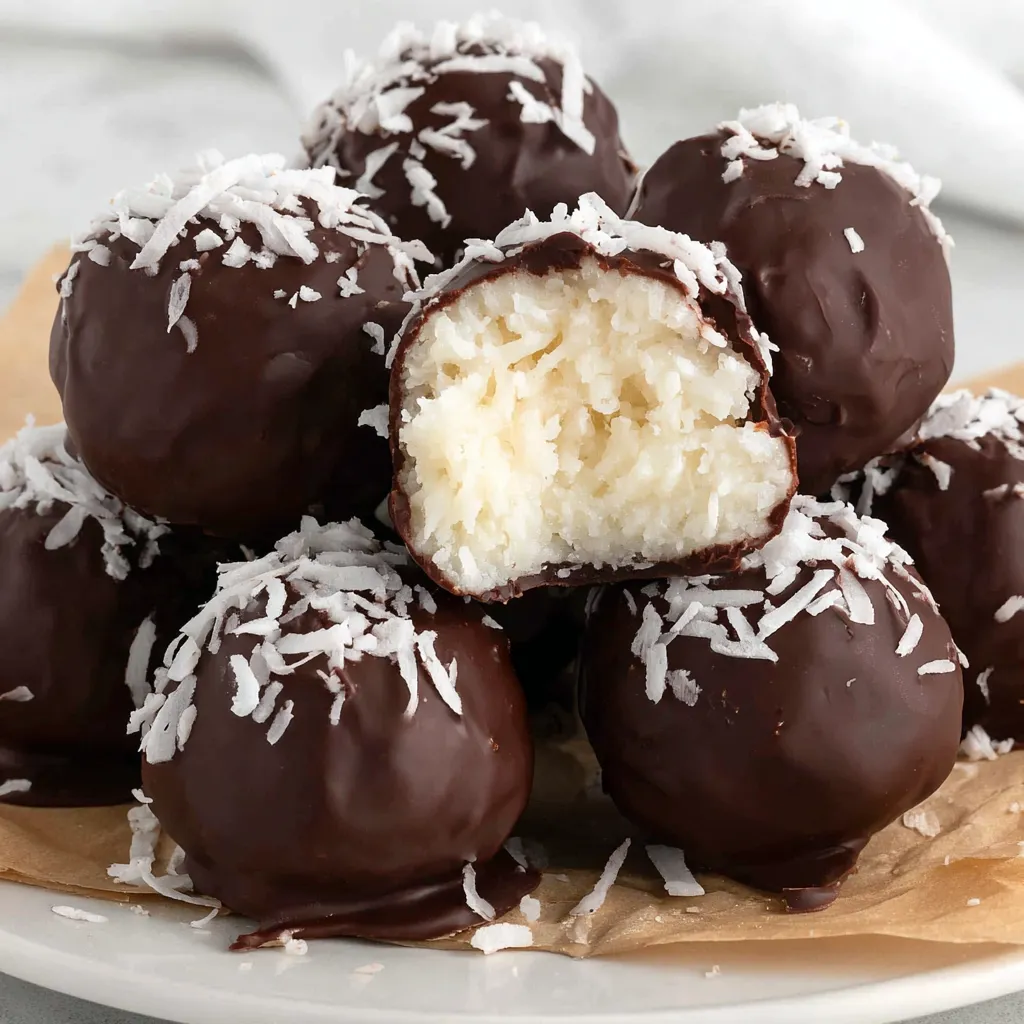
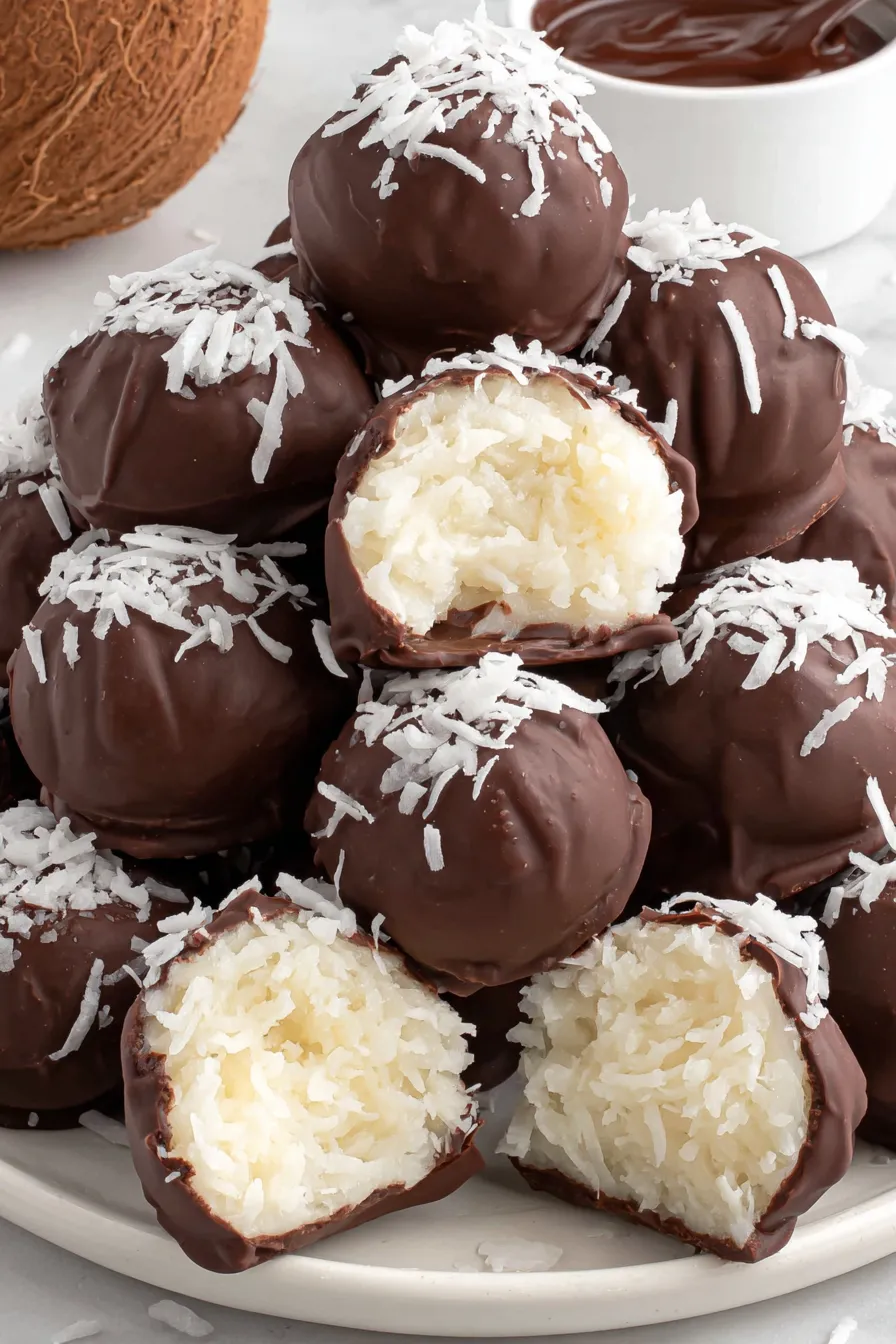
This recipe for Coconut Chocolate Balls is one I reach for when I want an effortless treat that feels indulgent without a lot of fuss. I first made these on a rainy afternoon when a friend dropped by unexpectedly; I had shredded coconut and sweetened condensed milk in the pantry and needed something to serve with coffee. The combination of sweet, tender coconut and a glossy chocolate coating instantly became a hit. The texture is the real star: a chewy, slightly granular coconut center that yields to a thin shell of cooled chocolate.
I love how forgiving this method is. The base comes together in minutes with a hand mixer, then a short chill makes scooping simple. The first batch I made I rolled in chocolate and sprinkled with flaky salt—my partner insisted on labeling them "dangerously moreish." Since then I've made them for holiday cookie swaps, as an easy edible gift, and packed a few in lunches for a midday treat. They store beautifully in the refrigerator and hold up well for several days, which makes them perfect for preparing ahead of time.
My family’s reaction the first holiday I brought these to a party sealed the recipe’s place in our rotation: they disappeared within an hour and I was asked to bring them again the next week. Over the years I tweaked the scoop size and coating technique to make dipping easy and consistent, and now I always keep a bag of melting chocolate in the pantry for a last-minute sweet.
My favorite aspect is how flexible they are. One year during the holidays I turned a batch into three versions—plain chocolate, sprinkled with toasted coconut, and dipped in dark chocolate with a pinch of sea salt—and every variation had a fan. It’s a simple base with endless possibilities, and that adaptability is why I come back to it time and again.
Place set pieces in a single layer in an airtight container with parchment between layers to prevent sticking. Refrigerated, they stay best for up to two weeks. For longer storage, freeze on a tray until solid, then move to a freezer-safe container or bag; frozen treats can last three months. Thaw in the refrigerator for a few hours before serving to preserve texture—avoid leaving them at room temperature for long periods to prevent the interior from becoming too soft.
If you need to reduce sweetness, use unsweetened shredded coconut combined with 10 to 12 ounces of condensed milk and increase powdered sugar gradually until the texture holds. For a dairy-free version, swap condensed coconut milk (reduced and thickened) and use dairy-free chocolate melts; expect a slightly different flavor and a firmer chill. For extra richness, fold in 1/4 cup finely chopped toasted almonds or macadamia nuts into the coconut base before scooping.
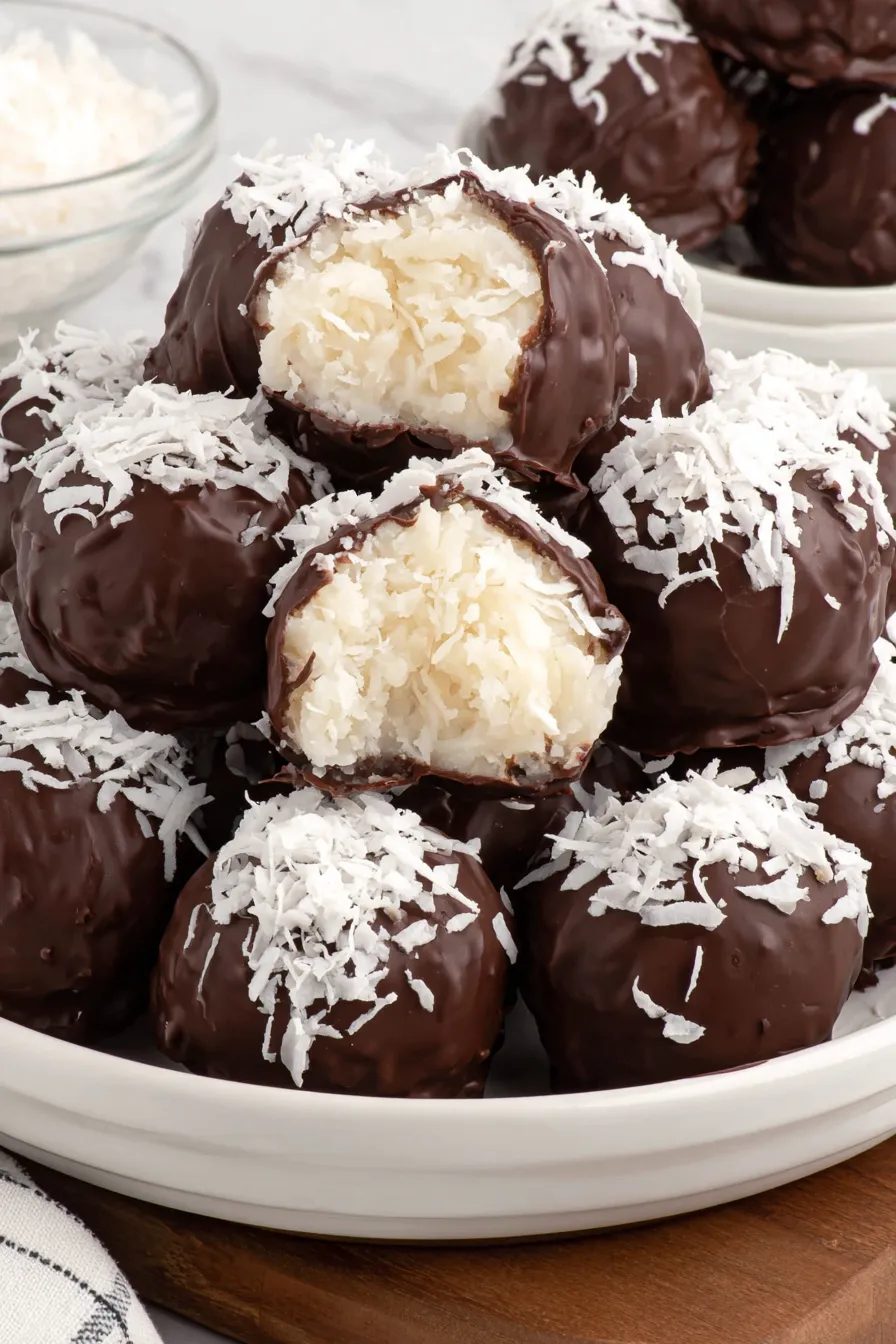
Serve on a platter with a mix of flavors—plain, toasted coconut, and salted nut-coated—so guests can choose. Pair with strong coffee or black tea to balance the sweetness, or offer them alongside citrus-scented shortbread for contrast. For a festive touch, add edible gold dust or a quick drizzle of white chocolate to create a marbled effect.
Sweetened coconut confections appear in many cuisines— from South Asian laddoos to European coconut macaroons—each with unique binders and coatings. This particular preparation borrows the chewy coconut center popular in macaroons and combines it with a chocolate glaze reminiscent of chocolate-covered truffles. It’s a simple cross-cultural treat that uses readily available pantry ingredients to create something familiar yet distinct.
In summer, keep them plain or roll them in toasted coconut and refrigerate until serving. For winter holidays, add 1/2 teaspoon of ground cardamom or a splash of rum extract to the base for warm spice notes. For spring, fold in lemon or orange zest to lighten the flavor. You can also tint white chocolate for themed events and drizzle it over the dark-coated pieces for visual contrast.
Make the coconut centers up to two days ahead and keep them frozen on a tray; when ready to serve, melt chocolate and dip straight from the freezer—this prevents softening and speeds the process. Use a cookie scoop for uniform sizing so chocolate sets evenly. Store finished pieces in stackable containers lined with parchment, and don’t overcrowd to avoid chipping the coating.
These coconut chocolate bites are small but versatile: a quick homemade confection that keeps well, looks attractive on a platter, and adapts to flavor experiments. They’re proof that some of the best sweets come from simple pantry ingredients and a few thoughtful steps.
Chill the coconut mixture briefly before scooping—this makes portioning neater and faster.
Work with one or two balls at a time while dipping so your chocolate stays smooth and at the right temperature.
If chocolate thickens, stir in a teaspoon of neutral oil or warm gently in short bursts until fluid but not hot.
This nourishing coconut chocolate balls recipe is sure to be a staple in your kitchen. Enjoy every moist, high protein slice — it is perfect for breakfast or as a wholesome snack any time.
Freeze on a tray until solid, then transfer to a freezer-safe container to keep for up to three months. Thaw in the refrigerator before serving.
Yes. Use dairy-free condensed coconut milk and dairy-free chocolate melts, but expect a slightly different texture and flavor.
This Coconut Chocolate Balls recipe makes perfectly juicy, tender, and flavorful steak every time! Serve with potatoes and a side salad for an unforgettable dinner in under 30 minutes.
Place coconut, sweetened condensed milk, powdered sugar, and vanilla extract in a medium mixing bowl and mix with a hand mixer until fully combined and glossy.
Place the bowl in the freezer for 10 minutes to allow the mixture to firm up enough for easier scooping.
Use a cookie scoop to portion the mixture onto a baking sheet lined with parchment paper, then freeze the scoops for 60 minutes to harden.
Place the chocolate melts in a microwave-safe bowl and heat in 30-second increments, stirring between each, until chips are mostly melted. Continue stirring off heat until smooth.
Remove 1–2 coconut balls at a time from the freezer. Use a fork to dip each ball into the chocolate, tap to remove excess, and place on parchment to set. Repeat until complete.
Allow chocolate to set, then transfer to an airtight container and refrigerate. Store for up to two weeks or freeze for up to three months.
Last Step: Please leave a rating and comment letting us know how you liked this recipe! This helps our business to thrive and continue providing free, high-quality recipes for you.
Leave a comment & rating below or tag
@epicula on social media!

Ultra-fudgy brownies crowned with toasted mini marshmallows and warm cocoa icing, with molten chocolate pockets in every bite.

Buttery shortbread crust topped with a gooey brown sugar pecan filling. Just 10 minutes to prep for bakery-worthy bars with irresistible crunch.

Ultra-creamy pumpkin cheesecake with a graham crust, bakes without cracks, and shines with caramel and rum-kissed whipped cream.
Leave a comment & rating below or tag @epicula on social media!
Enjoyed this recipe? Share it with friends and family, and don't forget to leave a review!
This recipe looks amazing! Can't wait to try it.
Comments are stored locally in your browser. Server comments are displayed alongside your local comments.

Join to receive our email series which contains a round-up of some of our quick and easy family favorite recipes.
