>>

Light, creamy coconut bites coated in vanilla almond bark and shredded coconut—an easy no-bake treat perfect for holidays, gifts, or afternoon tea.
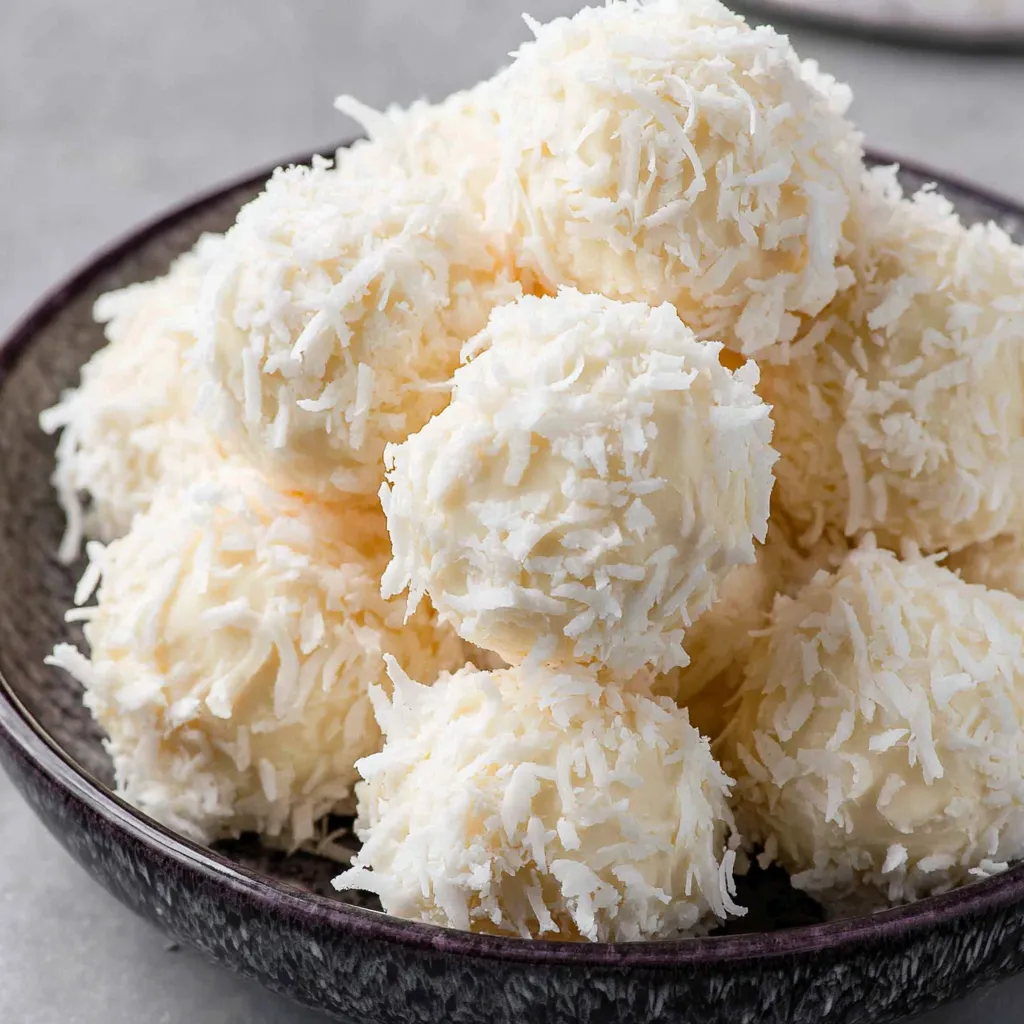
This recipe for Coconut Snowballs has been a holiday staple in my kitchen for years and always prompts the same reaction—surprised delight. I first created these little bites on a dreary December afternoon when I wanted something festive that didn’t demand oven time. The texture is what sold everyone: a pillowy, slightly tangy cream cheese center with a tender almond-coconut crumb, all wrapped in a glossy vanilla shell and dusted with sweet coconut. They look like tiny snowballs, which makes them irresistible at gatherings or when I want a seasonal sweet that travels well.
I discovered the proportions for this version after several rounds of tasting with family and friends. What makes these special is the balance of sweetness and fat—cream cheese adds a soft tang that keeps the sweetness from becoming cloying, while almond flour provides structure without gluten. The vanilla almond bark creates a crisp outer shell that sets quickly, sealing the delicate center so these can be stacked and boxed for gifting. I usually make a double batch for parties because they disappear almost instantly.
In my experience, guests love the combination of textures and the bite-sized format. One year I brought a tray to a potluck and neighbors raved about the almond-coconut flavor—several asked for the recipe on the spot. They truly make any gathering feel a little more celebratory.
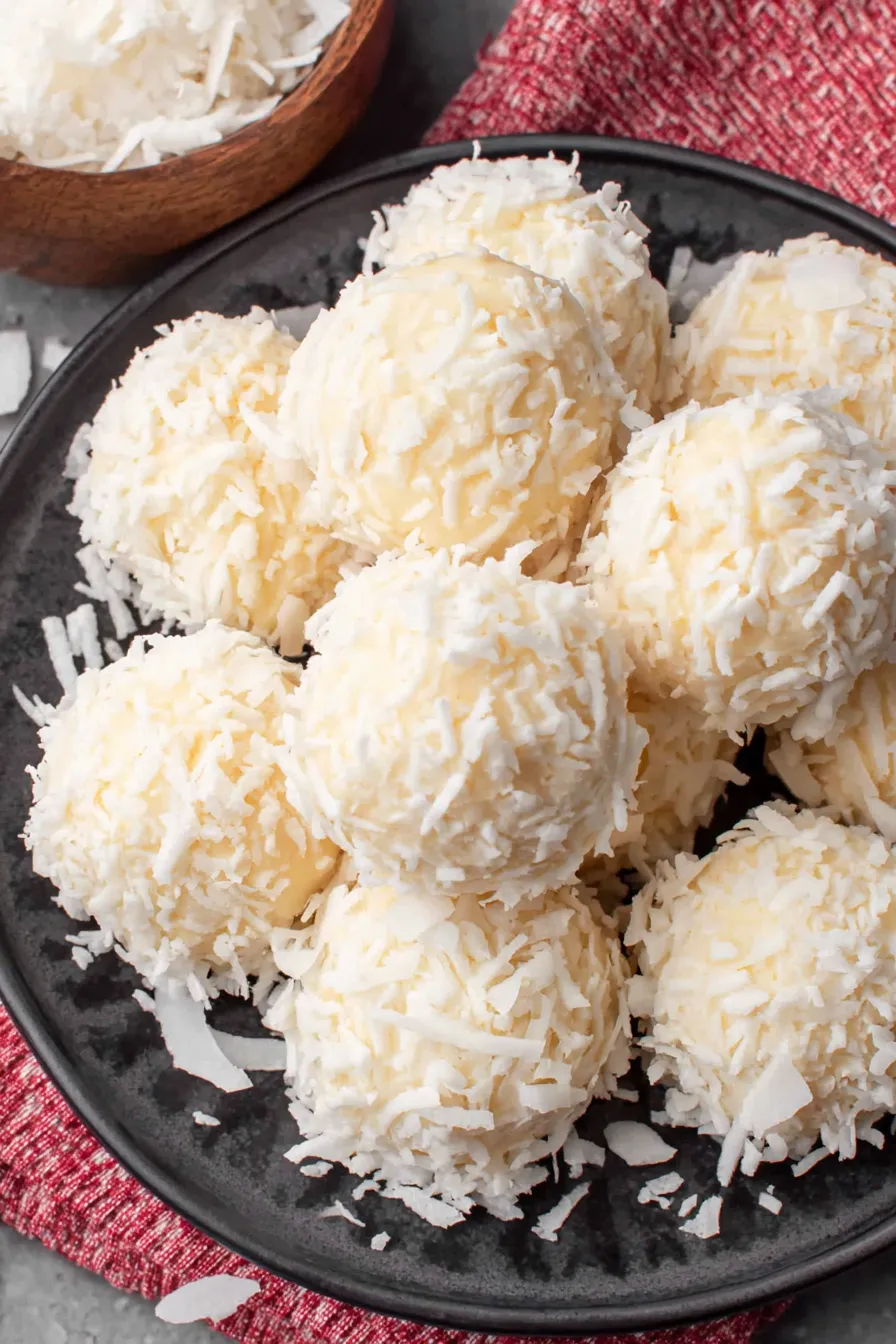
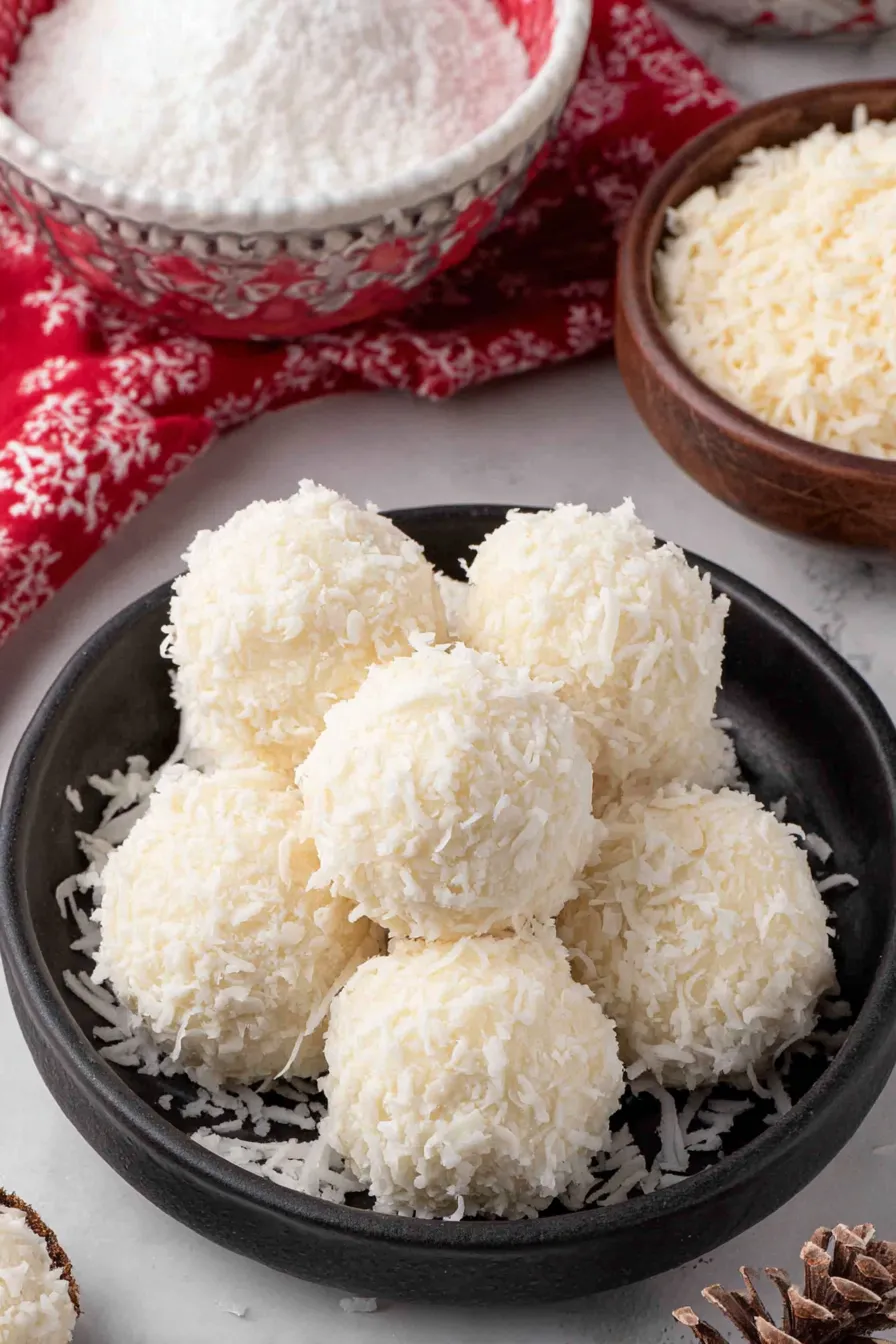
My favorite thing about these is how portable they are—perfect for holiday plates, packed lunches, or a small box gift. Once, I delivered a tin to a neighbor recovering from surgery and she told me these were the first thing she’d looked forward to in days. They’re small comforts that last in memory longer than on the plate.
Store the snowballs in a single layer or separated with parchment in an airtight container in the refrigerator for up to seven days. For longer storage, arrange them in a single layer on a baking sheet and freeze for one hour, then transfer to a freezer-safe bag or container for up to three months. Thaw frozen snowballs in the refrigerator overnight or on the counter for 15 to 20 minutes. To refresh the coating shine after thawing, let them come to room temperature briefly and they regain their glossy appearance.
If you need dairy-free options, swap the cream cheese for a high-quality dairy-free cream cheese and choose a dairy-free almond bark or melting confection specifically labeled vegan. To reduce sweetness, use unsweetened shredded coconut for the outer coating and increase coconut extract slightly to compensate. If almond flour is unavailable, finely ground cashew flour can be used at a 1:1 ratio, though flavor will be slightly different.
Serve the snowballs on a festive platter with sprigs of fresh rosemary or mint for color. They pair well with robust black coffee, a lightly sweetened chai, or a glass of dessert wine. For parties, arrange in cupcake liners and stack in tiers for visual appeal. They also make charming edible gifts when boxed with tissue and tied with ribbon.
Snowball-style confections appear in many culinary traditions and often celebrate winter or festive seasons. These particular coconut-based bites draw on classic European tea cake traditions—small, decorative sweets designed to be eaten in one or two bites—while incorporating tropical coconut flavors and modern no-bake techniques popular in American home baking.
For summer parties, roll the centers in toasted coconut for a nuttier flavor and skip the almond bark for a lighter finish. For holidays, add a few drops of peppermint extract to the melted coating or mix a teaspoon of finely grated orange zest into the filling for a bright, citrusy twist. Consider dusting with edible glitter or drizzling with dark chocolate for an elegant touch.
Make the centers up to three days in advance and keep them chilled; shape and coat on the day you plan to serve for the freshest appearance. If preparing for gifting, freeze the finished snowballs on a tray until firm, then layer in a box with parchment. Add a small cold pack if shipping to maintain quality and texture.
These Coconut Snowballs are a small labor of love that reward you with elegant results and warm reactions. Whether you’re assembling them for a holiday table or an everyday sweet treat, they’re easy to personalize and always appreciated. Give them a try and make them your own—swap extracts, try different coatings, or add a sprinkle of sea salt for contrast. Happy cooking and gift-making.
Soften cream cheese at room temperature for 30 minutes for easy mixing; avoid microwaving which can make it runny.
If the melted almond bark becomes grainy, stir in a teaspoon of neutral oil and warm gently to restore smoothness.
Chill the filling before scooping; cold centers hold shape and make coating much easier.
Use a 1½-inch cookie scoop for consistent sizing so all pieces set and coat uniformly.
This nourishing coconut snowballs recipe is sure to be a staple in your kitchen. Enjoy every moist, high protein slice — it is perfect for breakfast or as a wholesome snack any time.
Yes. Freeze in a single layer until firm, then transfer to a freezer container for up to 3 months. Thaw in the refrigerator overnight.
Use room-temperature cream cheese and chill the filling before scooping. If the filling is too wet add 1 tablespoon almond flour at a time.
This Coconut Snowballs recipe makes perfectly juicy, tender, and flavorful steak every time! Serve with potatoes and a side salad for an unforgettable dinner in under 30 minutes.
Line a rimmed baking sheet with parchment paper and set aside to receive the filled and coated pieces.
Beat the softened cream cheese, powdered sugar, coconut cream, and coconut extract until smooth and slightly thickened, then fold in 2 cups shredded coconut and almond flour.
Cover the bowl and refrigerate for 30 minutes to firm the mixture for easy scooping and shaping.
Use a 1½-inch scoop to portion and roll the chilled mixture into smooth balls, placing them on the prepared parchment-lined sheet.
Melt the vanilla almond bark in a microwave-safe bowl in 1-minute then 30-second intervals, stirring until smooth. Follow packaging guidelines.
Dip chilled balls into melted bark using a fork, tap off excess, then roll in the remaining shredded coconut to coat evenly.
Place coated pieces back on the baking sheet and refrigerate for another 30 minutes until the coating hardens and centers are firm.
Last Step: Please leave a rating and comment letting us know how you liked this recipe! This helps our business to thrive and continue providing free, high-quality recipes for you.
Leave a comment & rating below or tag
@epicula on social media!
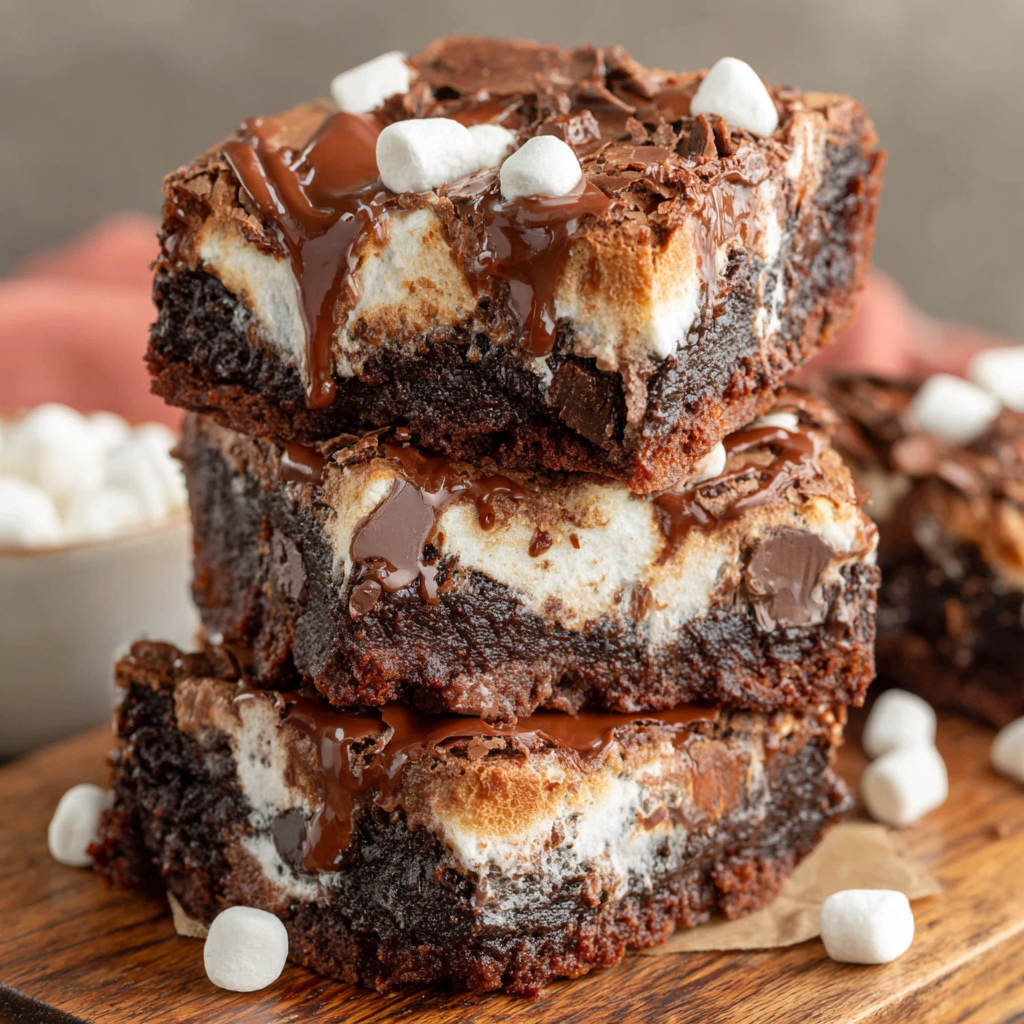
Ultra-fudgy brownies crowned with toasted mini marshmallows and warm cocoa icing, with molten chocolate pockets in every bite.
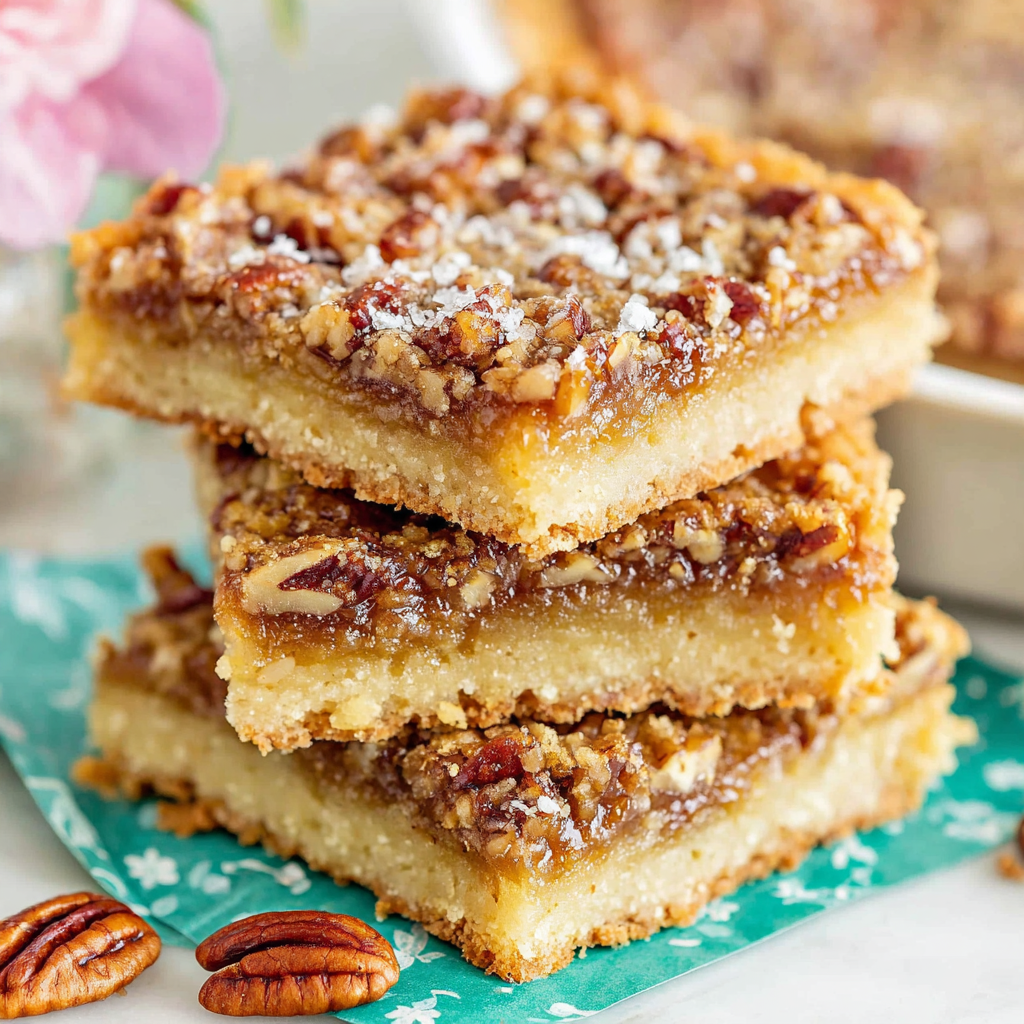
Buttery shortbread crust topped with a gooey brown sugar pecan filling. Just 10 minutes to prep for bakery-worthy bars with irresistible crunch.
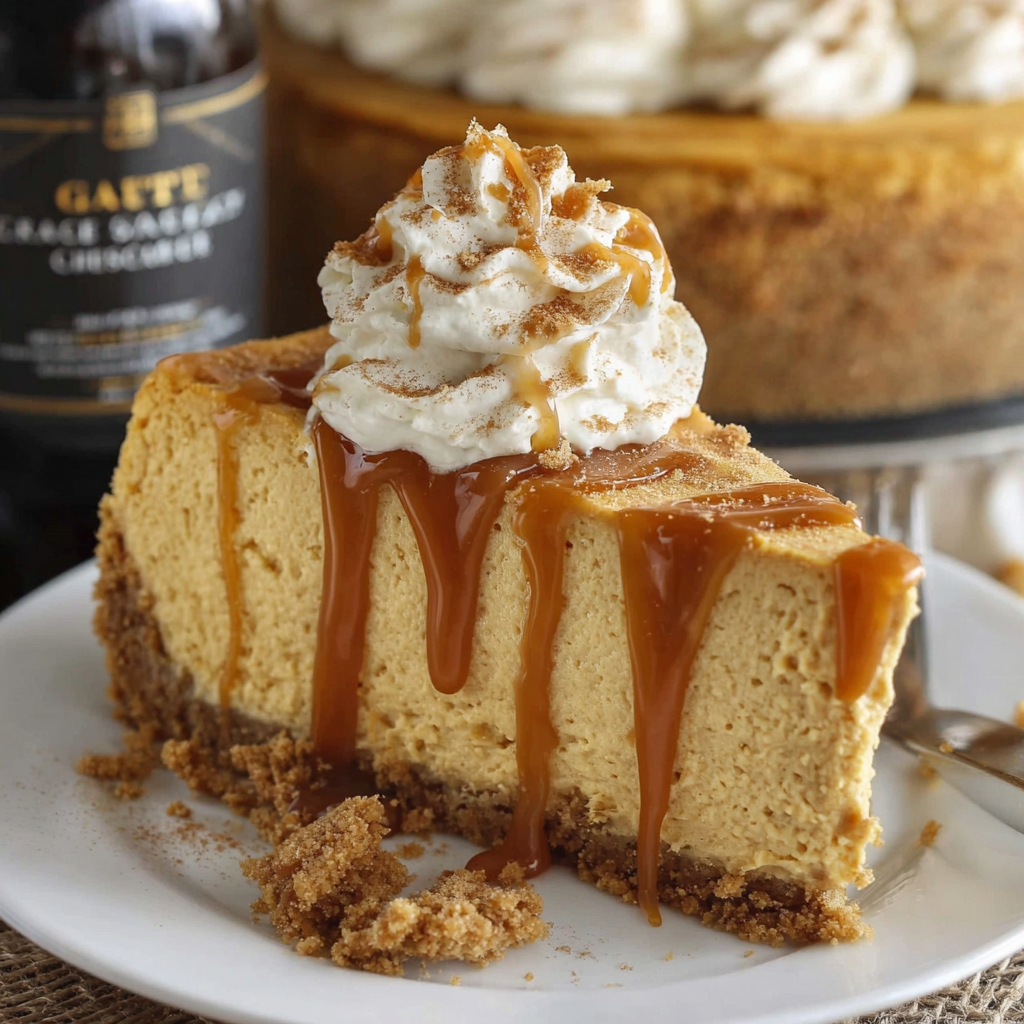
Ultra-creamy pumpkin cheesecake with a graham crust, bakes without cracks, and shines with caramel and rum-kissed whipped cream.
Leave a comment & rating below or tag @epicula on social media!
Enjoyed this recipe? Share it with friends and family, and don't forget to leave a review!
This recipe looks amazing! Can't wait to try it.
Comments are stored locally in your browser. Server comments are displayed alongside your local comments.

Join to receive our email series which contains a round-up of some of our quick and easy family favorite recipes.