
>>

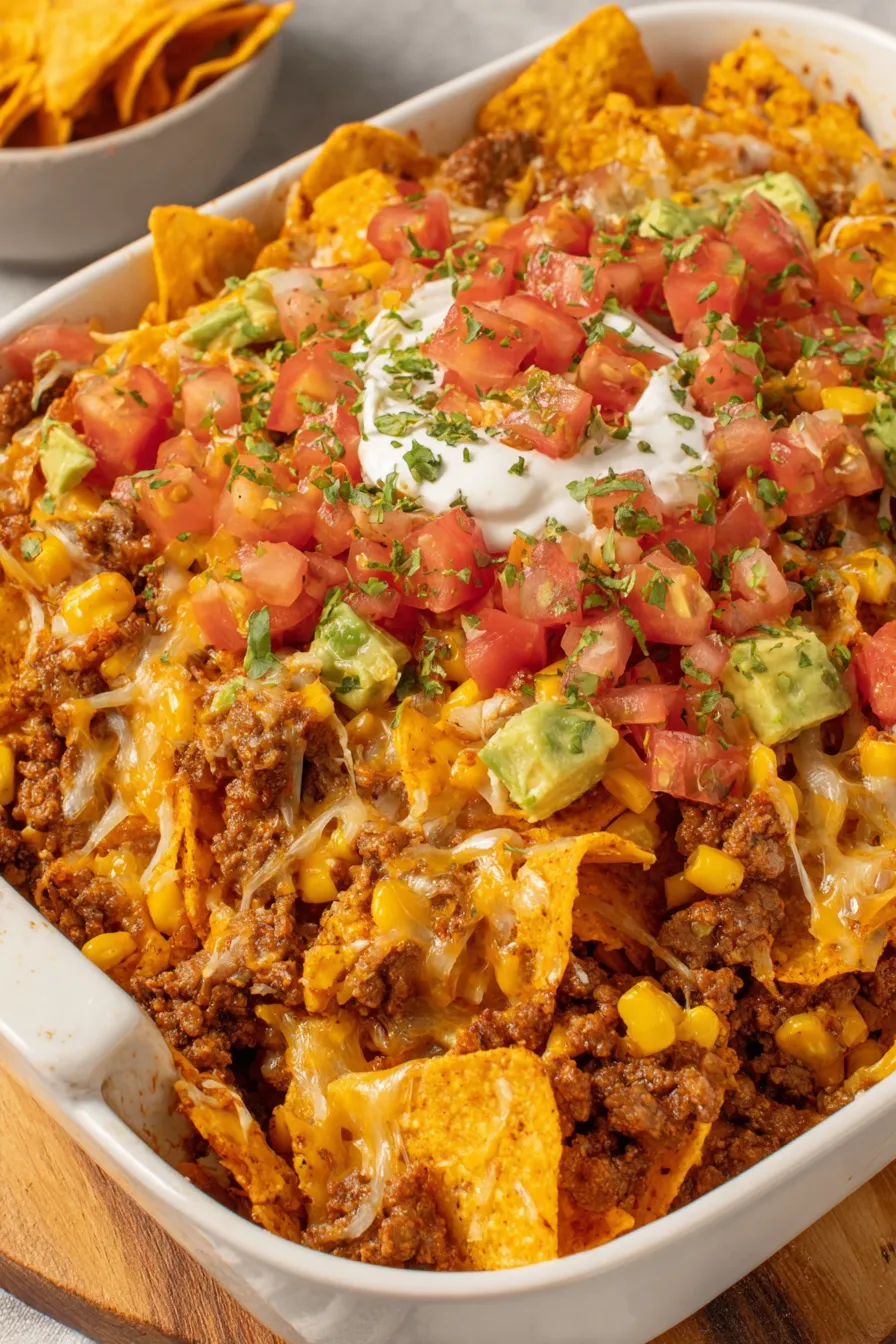
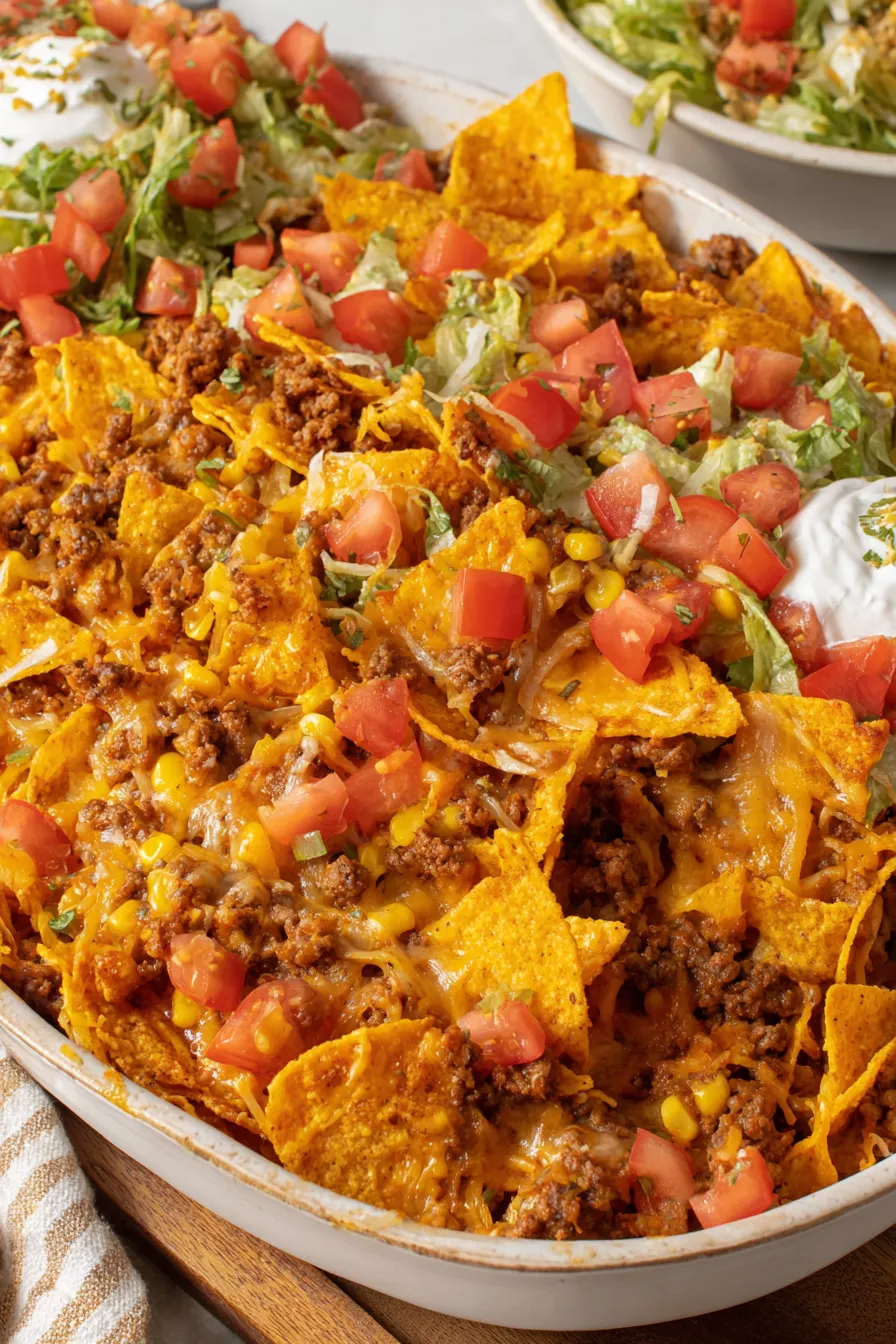
A crunchy, creamy, crowd-pleasing casserole layered with seasoned beef, tangy tomatoes, frozen corn, sour cream and two textures of Doritos for an easy Tex-Mex weeknight favorite.
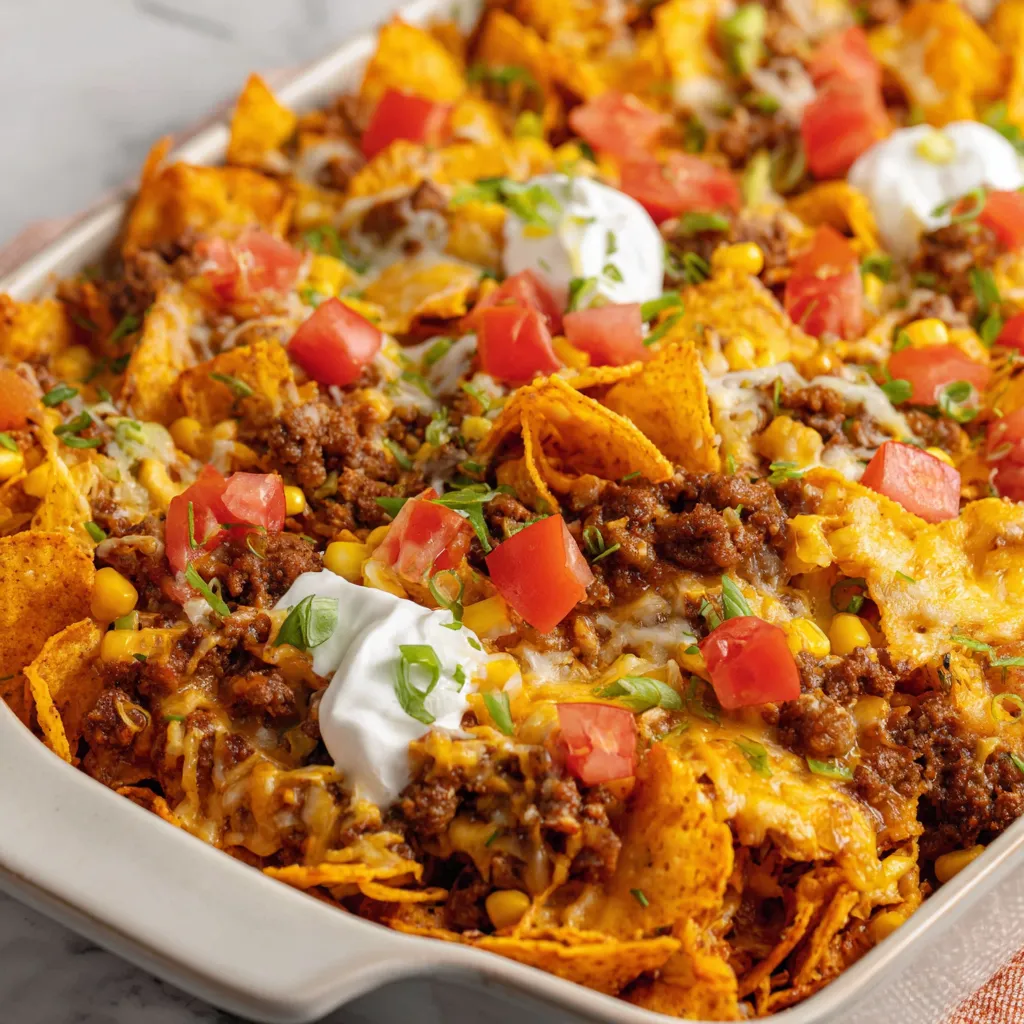
This Doritos taco casserole has been my go-to for busy weeknights and impromptu gatherings ever since I first cobbled it together from pantry staples. I discovered this combination one evening while cleaning out my pantry: I had a bag of Doritos, a pound of ground beef, and a half-used tub of sour cream. The result was unexpectedly balanced — crunchy, tangy, salty and creamy — and it instantly became a favorite with family and friends. The layered texture of finely crushed chips blended through the filling and larger chip pieces on top gives each bite that unmistakable Doritos crunch while the melted Mexican cheese binds everything together.
What makes this dish special is how forgiving it is: it adapts to what you have on hand, reheats beautifully, and scales easily for a potluck. It carries bold Tex-Mex flavors without complicated technique, and it has won over picky eaters who usually avoid anything with vegetables. Serve it with simple garnishes like shredded lettuce, diced tomatoes, avocado and green onion, and you’ll have a one-dish meal that feels celebratory and comforting at the same time.
When I first served this at a backyard game night, the casserole disappeared faster than anything else. People loved the crunchy top and creamy interior, and several guests asked for the recipe on the spot. Over time I’ve refined the balance of chips-to-filling so the interior isn’t soggy and the top stays crisp — a small adjustment that makes a big difference.
My favorite thing about this casserole is the way the crunchy Doritos top contrasts with the creamy interior. At a recent family gathering, a picky teenager asked if they could take the leftovers home — a sure sign of approval. Small adjustments like using fresh-shredded cheese or swapping in fire-roasted tomatoes can heighten the flavors and make this dish feel custom for any occasion.
Store cooled leftovers in an airtight container in the refrigerator for up to 3–4 days. For best texture, reheat in a preheated 350°F oven for 10–12 minutes — this refreshes the topping and melts the cheese evenly. If using the microwave, cover loosely to retain moisture and reheat in 30–45 second bursts, stirring or rotating between intervals. To freeze, allow the assembled but un-toppped casserole to cool, wrap tightly with plastic wrap and foil, and label with date; for best quality, use within 3 months. When reheating from frozen, thaw overnight in the refrigerator before finishing the bake.
If you need to swap ingredients, there are several easy options. Replace ground beef with ground turkey or chicken for a leaner profile; if choosing turkey, add a teaspoon of oil while browning to compensate for lower fat. For a vegetarian version, use a can of seasoned black beans or a plant-based crumbled protein and omit the meat. Use Greek yogurt in place of sour cream for tang and extra protein — use same volume but expect slightly tangier flavor. If you need gluten-free, choose certified gluten-free tortilla chips or nacho-style chips in place of Doritos and check the taco seasoning for gluten.
Serve slices with a crisp shredded lettuce salad, pico de gallo, sliced avocado and extra sour cream on the side to brighten the rich casserole. For a heartier spread, offer warm flour or corn tortillas and refried beans. A simple cilantro-lime slaw adds acidity and crunch that contrasts nicely with the melted cheese and crunchy chip topping. For beverages, a citrusy beer or a lime-spiked iced tea complements the bold flavors.
This dish is a modern Tex-Mex comfort creation rather than a traditional regional staple. It riffs on classic layered casseroles and Americanized Mexican-inspired flavors by integrating snack-chip nostalgia with familiar taco-seasoned fillings. The idea of using chips in casseroles is common in home cooking — chips act like a quick breadcrumb, lending both flavor and texture. Doritos, specifically, provide a bold, seasoned shortcut that captures the crunchy element of tostadas while keeping the preparation simple and fast.
In summer, boost brightness with fresh-roasted corn and chopped tomatoes, and add a squeeze of lime to the filling before baking. For fall or winter, swap in a can of diced green chiles for extra warmth and stir in a cup of roasted sweet potato for heartiness. For holiday gatherings, make individual portions in muffin tins and top each with a dollop of guacamole and pico — they work well as handheld appetizers.
To meal-prep, fully assemble the filling and store it in a covered container for up to three days; keep the crushed Doritos for topping in a separate airtight bag so they remain crisp. For grab-and-go lunches, portion into individual containers and reheat in a microwave; add fresh garnishes after reheating to preserve texture. If freezing, freeze the filling in meal-sized portions and thaw in the refrigerator overnight before baking and topping with fresh chips and cheese.
This Doritos taco casserole is an easy, flexible classic that turns simple ingredients into something the whole table will dig into. Make it your own, take notes on what you change, and enjoy the way a humble pantry-friendly dish can make weeknight dinners feel special.
Reserve one cup of loosely crushed chips to sprinkle on top after an initial warm-up bake to preserve crunch.
Shred your own cheese if possible; pre-shredded blends contain anti-caking agents that can affect melting.
Do not drain the can of diced tomatoes with green chilies — the juices help bind the filling and keep it moist.
If using lean ground meat, add a teaspoon of oil while browning to keep the filling from drying out.
This nourishing doritos taco casserole recipe is sure to be a staple in your kitchen. Enjoy every moist, high protein slice — it is perfect for breakfast or as a wholesome snack any time.
Yes. Assemble through the first bake, cool, wrap tightly and freeze up to 3 months. Thaw overnight before finishing with cheese and Doritos on top.
Reheat in a 350°F oven for 10–12 minutes from refrigerated, or microwave in 30–45 second bursts until hot.
This Doritos Taco Casserole recipe makes perfectly juicy, tender, and flavorful steak every time! Serve with potatoes and a side salad for an unforgettable dinner in under 30 minutes.
Preheat oven to 350°F and spray a 9x13-inch casserole dish with nonstick spray to prevent sticking and make cleanup easier.
Finely crush two cups of Doritos until breadcrumb-like for the filling and loosely crush one cup for the topping; reserve separately.
In a large skillet over medium-high heat, cook 1 lb ground beef with 1/2 diced yellow onion until browned and the onion is translucent, about 6–8 minutes; drain excess grease.
Stir in 1 teaspoon minced garlic and cook 30–60 seconds. Add 12 oz frozen corn, taco seasoning, entire can (14.5 oz) diced tomatoes with green chilies (undrained) and two cups of finely crushed Doritos; remove from heat.
Stir in 1 cup sour cream and 2 cups of shredded Mexican cheese until evenly combined, creating a creamy filling.
Pour mixture into the prepared casserole dish and bake for 5 minutes at 350°F to warm through and set slightly.
Remove from oven; sprinkle remaining 1 cup cheese and 1 cup loosely crushed Doritos on top. Return to oven and bake another 5 minutes until cheese is melted and topping is warm.
Let rest 5 minutes before serving to allow the filling to set. Garnish with shredded lettuce, diced tomatoes, sliced green onions, avocado and extra sour cream as desired.
Last Step: Please leave a rating and comment letting us know how you liked this recipe! This helps our business to thrive and continue providing free, high-quality recipes for you.
Leave a comment & rating below or tag
@epicula on social media!

Ultra-fudgy brownies crowned with toasted mini marshmallows and warm cocoa icing, with molten chocolate pockets in every bite.

Buttery shortbread crust topped with a gooey brown sugar pecan filling. Just 10 minutes to prep for bakery-worthy bars with irresistible crunch.

Ultra-creamy pumpkin cheesecake with a graham crust, bakes without cracks, and shines with caramel and rum-kissed whipped cream.
Leave a comment & rating below or tag @epicula on social media!
Enjoyed this recipe? Share it with friends and family, and don't forget to leave a review!
This recipe looks amazing! Can't wait to try it.
Comments are stored locally in your browser. Server comments are displayed alongside your local comments.

Join to receive our email series which contains a round-up of some of our quick and easy family favorite recipes.
