
>>

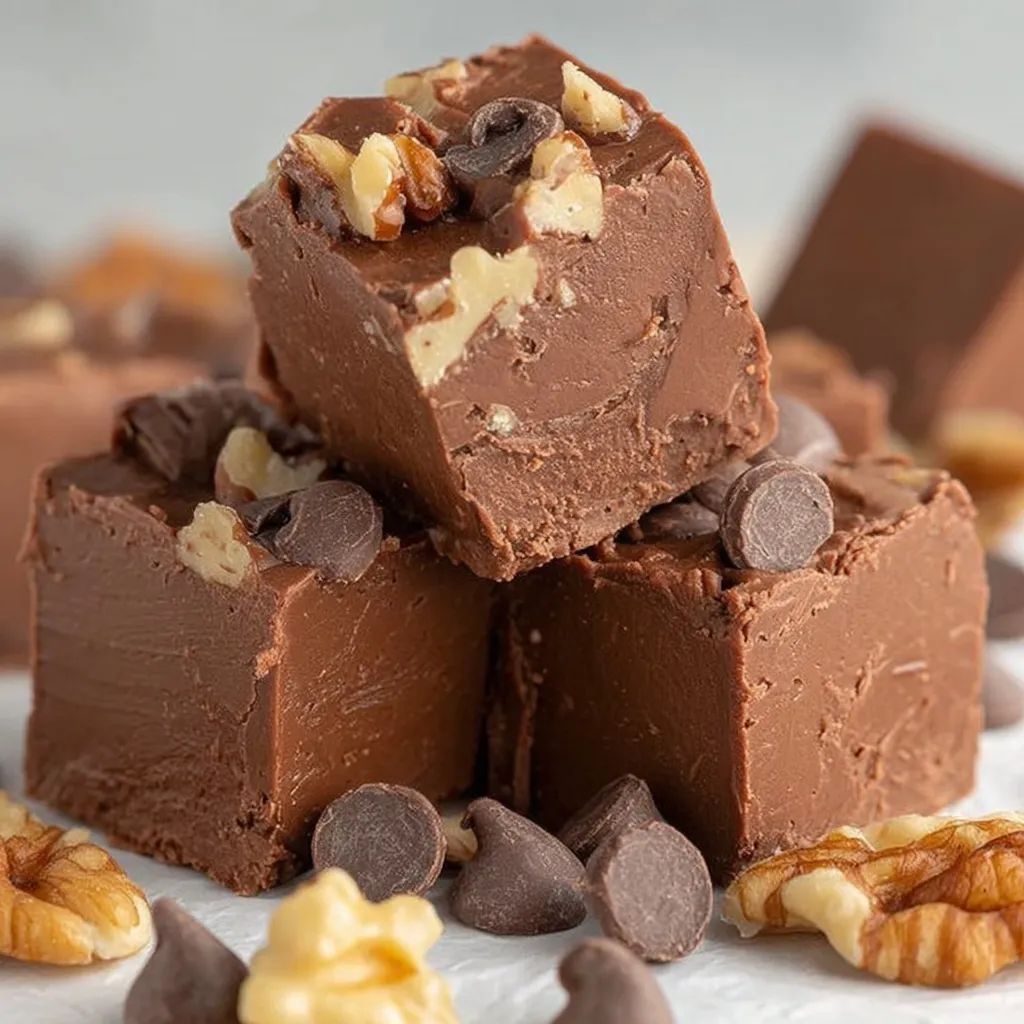
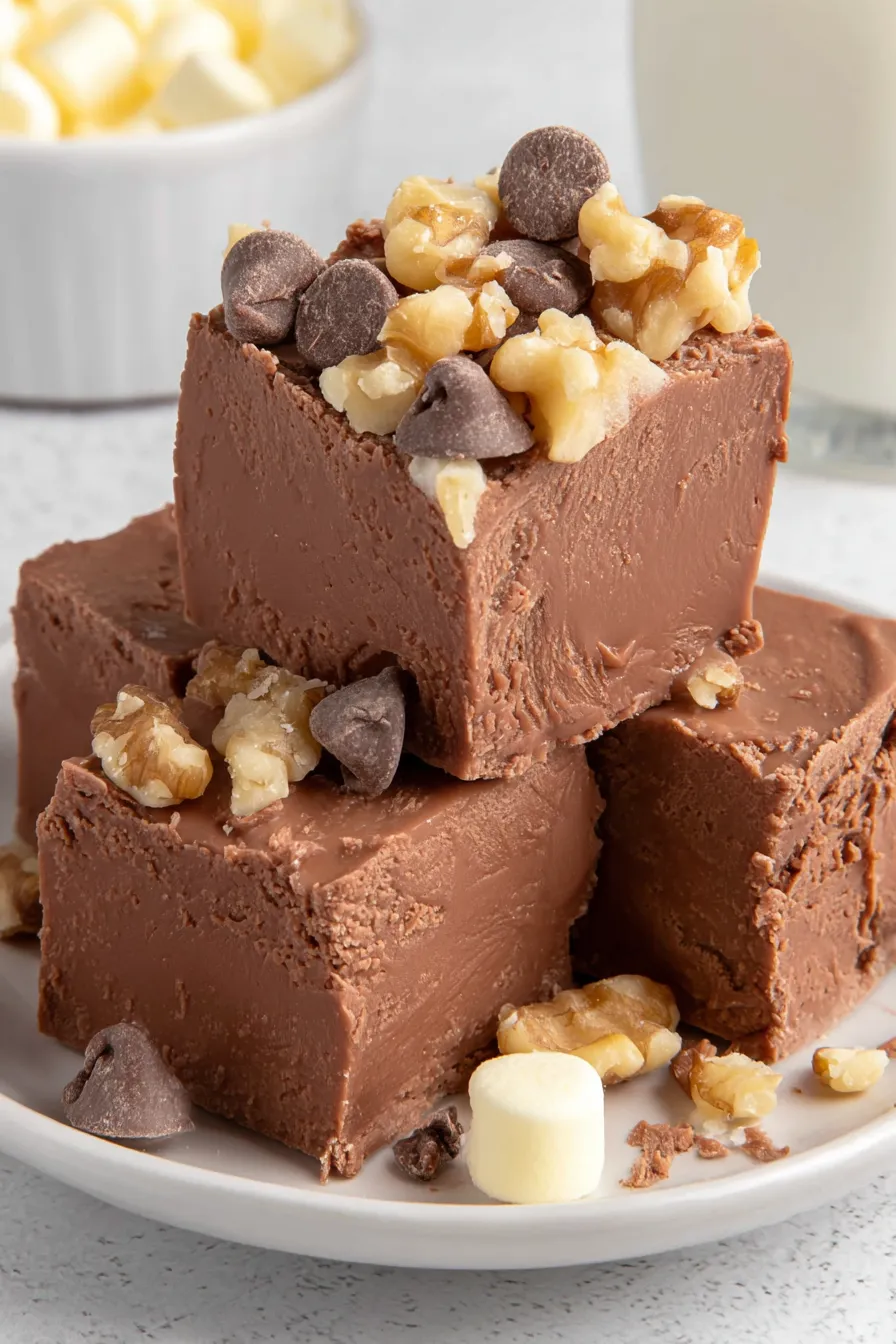
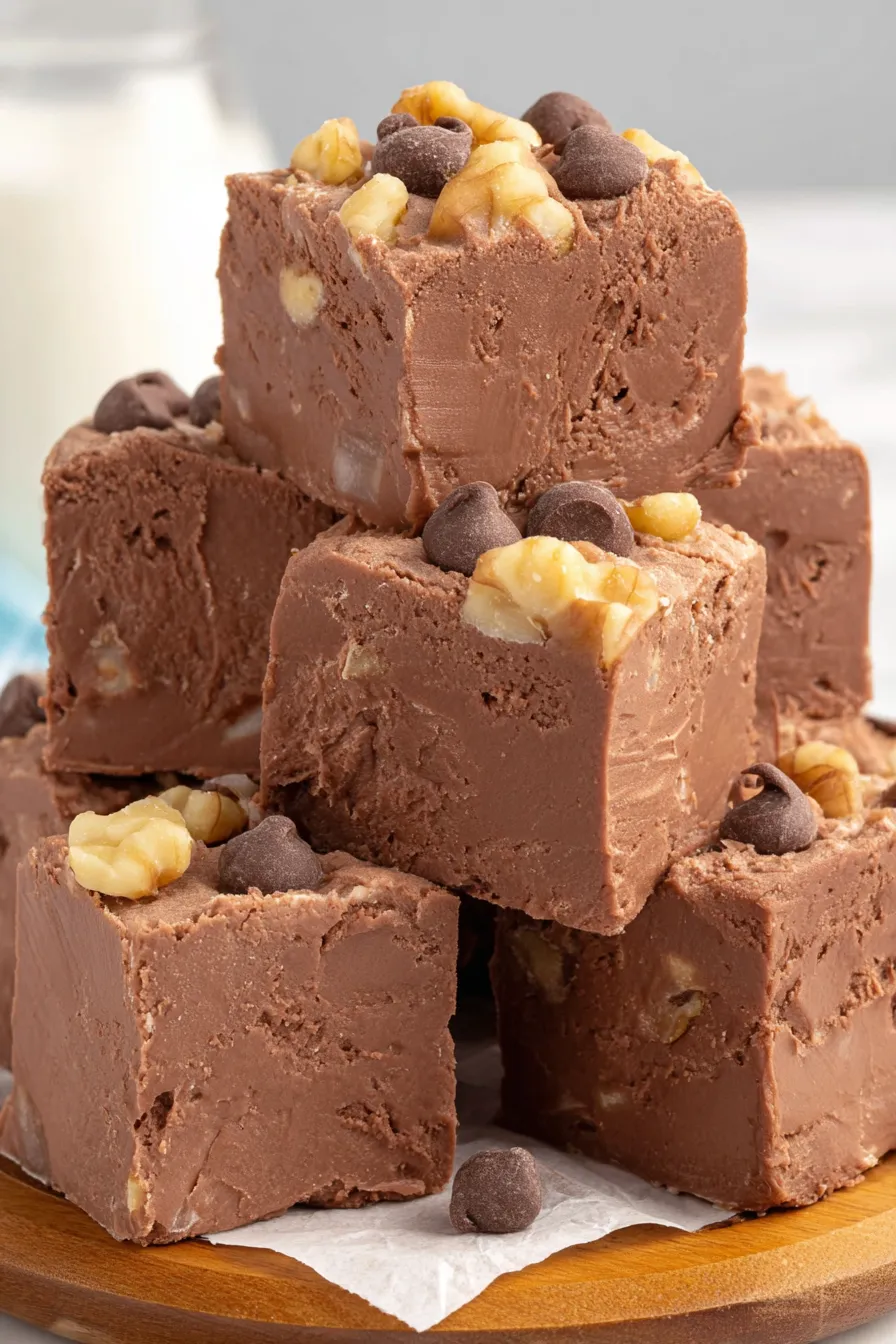
A classic, glossy chocolate fudge swirled with marshmallow cream and studded with walnuts — easy to make and irresistible for holidays or anytime treats.
Personally, I’ve found that this fudge is a recipe that brings families together. When I first brought a tray to my sister’s book club, the room fell quiet — not out of criticism but pure enjoyment. My father, who rarely reached for dessert, took three pieces before the evening ended. It’s a recipe that has turned everyday afternoons into small celebrations in my home.
One of my favorite things about this recipe is how forgiving it is with timing and texture. Even if your kitchen is humid and the set takes a bit longer, the final product still tastes indulgently rich. My friends often ask how it can be so glossy and still slice cleanly; the secret is the combination of margarine and evaporated milk plus that careful 5-minute rolling boil. The walnuts add a contrast that keeps each square from feeling cloying.
Wrap cooled squares individually in wax or parchment paper for gifting, then place them in an airtight container. At room temperature in a cool pantry, they keep for up to 1 week; refrigeration extends freshness to about 2 weeks and helps maintain a firm bite. For longer storage, freeze in single layers separated by parchment in a freezer-safe container for up to 3 months. Thaw in the refrigerator or at room temperature; avoid microwaving frozen pieces as it can change texture. Use a sharp knife dipped in hot water and wiped dry to make clean cuts.
If you prefer butter, substitute an equal volume of unsalted butter for the margarine; expect a slightly richer, creamier flavor and a softer set. To make this dairy-free, use a dairy-free chocolate that replaces milk solids and a nondairy evaporated milk alternative designed for cooking, though results will vary. Swap walnuts for pecans or chopped almonds for different textures. For a nut-free version, omit nuts entirely and add 1/2 cup toasted coconut or crushed pretzels for crunch.
Serve these squares on a decorative platter sprinkled lightly with flaky sea salt or a dusting of cocoa powder for contrast. They pair wonderfully with coffee or a nutty dessert wine. For holiday gatherings, nestle pieces in mini paper cups and present them in tiers. These are ideal as small after-dinner treats, part of a dessert board with cookies and candies, or tucked into gift boxes for neighbors and teachers.
Sweet, chocolate-based confections like this one have deep roots in American holiday baking traditions where small, rich bites are exchanged and shared. The use of marshmallow creme is a distinctly mid-20th-century American convenience twist that replaced older methods using hand-toasted marshmallows or sugar syrups. Adding nuts like walnuts or pecans echoes regional preferences across the U.S. South and Midwest, creating variations that reflect local harvests and family customs. This recipe lives at the intersection of nostalgia and convenience.
In winter, fold in 1/2 cup crushed peppermint candies for a festive touch and top with a sprinkle of crushed candy cane. For spring, stir in 1/2 cup dried cherries or cranberries and garnish with chopped pistachios for color. During summer cookouts, omit the nuts and ripple in a swirl of peanut butter for a more summery, picnic-friendly treat. Adjust cooling time if your kitchen is warm; refrigerate briefly to speed setting when necessary.
Make a double batch and freeze half for later; divide into single layers on parchment and freeze flat before stacking in airtight containers. Label with date and contents. When preparing for events, slice the chilled slab the day before and keep pieces chilled in an airtight container to minimize sweating and preserve crisp edges. If transporting, pack between layers of parchment in a shallow box to prevent sticking and crushing.
Ultimately, this Fantasy Fudge is about the little rituals of sharing: the careful stirring, the aroma that fills the kitchen, and the way a simple square can prompt conversation. Make it your own with nuts or no nuts, add a sprinkle of sea salt, and watch how quickly it disappears.
Use a heavy-bottomed saucepan and stir constantly during the boiling stage to prevent hot spots and crystallization.
Measure ingredients carefully and cook exactly five minutes at a rolling boil after reaching that stage for a consistent set.
Line the pan with parchment paper and leave an overhang to lift the slab out easily for even slicing.
Cool completely before slicing; place the slab in the refrigerator briefly only if your kitchen is very warm to speed setting.
This nourishing fantasy fudge recipe is sure to be a staple in your kitchen. Enjoy every moist, high protein slice — it is perfect for breakfast or as a wholesome snack any time.
Yes. Store in an airtight container in the refrigerator for up to 2 weeks or freeze up to 3 months.
You can substitute unsalted butter 1:1 for margarine, though the texture will be slightly softer and flavor richer.
If it seems grainy, reheat gently and stir until smooth, then beat quickly off heat with a spoon to improve texture; ensure the initial boil time was precise.
This Fantasy Fudge recipe makes perfectly juicy, tender, and flavorful steak every time! Serve with potatoes and a side salad for an unforgettable dinner in under 30 minutes.
Line a 9x13-inch straight-sided baking pan with parchment paper leaving an overhang on the long sides to lift the fudge out for slicing later.
In a 3-4 quart heavy-bottomed saucepan over medium heat combine sugar, margarine and evaporated milk. Stir constantly to dissolve sugar and distribute heat evenly.
Bring mixture to a hard rolling boil and once at that stage continue stirring constantly and cook exactly five minutes. Watch for large, steady bubbles across the pan surface.
Remove from heat and immediately add the chocolate chips. Stir until fully melted and the mixture is glossy and smooth.
Stir in the marshmallow creme and vanilla until no streaks remain, then fold in the chopped walnuts until evenly distributed.
Pour into the prepared pan, smooth into an even layer with an offset spatula, cool completely at room temperature until set, then lift from pan and slice into 1x1-inch squares.
Last Step: Please leave a rating and comment letting us know how you liked this recipe! This helps our business to thrive and continue providing free, high-quality recipes for you.
Leave a comment & rating below or tag
@epicula on social media!

Ultra-fudgy brownies crowned with toasted mini marshmallows and warm cocoa icing, with molten chocolate pockets in every bite.

Buttery shortbread crust topped with a gooey brown sugar pecan filling. Just 10 minutes to prep for bakery-worthy bars with irresistible crunch.

Ultra-creamy pumpkin cheesecake with a graham crust, bakes without cracks, and shines with caramel and rum-kissed whipped cream.
Leave a comment & rating below or tag @epicula on social media!
Enjoyed this recipe? Share it with friends and family, and don't forget to leave a review!
This recipe looks amazing! Can't wait to try it.
Comments are stored locally in your browser. Server comments are displayed alongside your local comments.

Join to receive our email series which contains a round-up of some of our quick and easy family favorite recipes.
