
>>

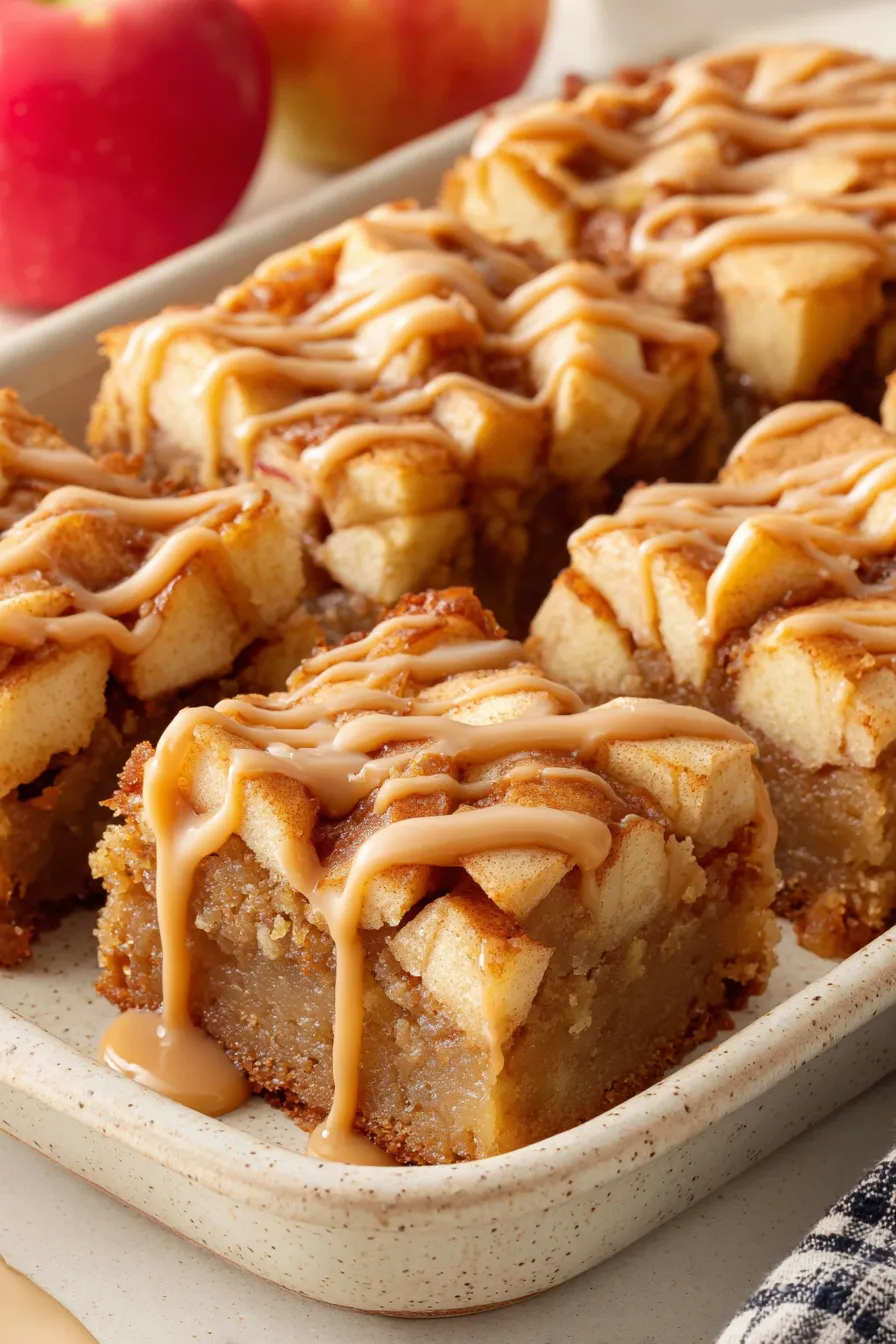
Buttery, tender squares studded with caramelized Honeycrisp apples and finished with a silky maple glaze—an easy, crowd-pleasing twist on classic bars.
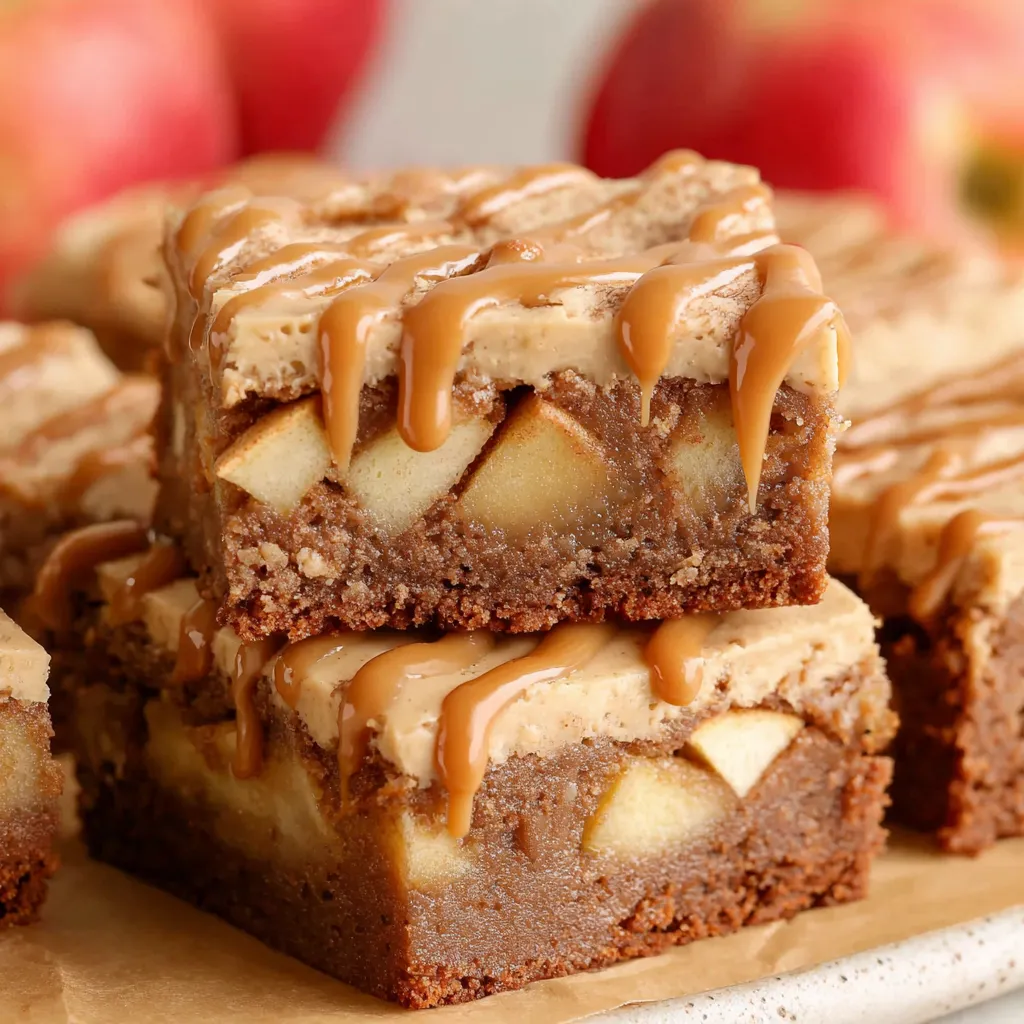
This recipe started as an experiment on a rainy October afternoon when I had an overabundance of Honeycrisp apples and a craving for something more autumnal than a plain tray bake. The combination of tender, gently spiced apples folded into a buttery, cake-like batter produced a texture that sits halfway between a brownie and an apple bar—moist, slightly cakey, with pockets of caramelized fruit that burst with brightness. From the first bite it felt like a cozy shop dessert brought into my kitchen, and it quickly became the baked good I turn to when friends come over for tea.
I first discovered how transformative quick-cooked apples could be when I caramelized them just long enough to concentrate sweetness but not so long that they broke down completely. The maple glaze seals everything with a glossy finish and a deep, rounded flavor that plays beautifully against the warm cinnamon notes. These bars travel well, keep for several days refrigerated, and are one of those recipes that prompts people to ask for the recipe after just one serving. They are perfect for potlucks, school lunches, or a simple weekend treat with coffee.
My family’s reaction the first time I brought these to a Sunday brunch was instant approval: two teenage skeptics asked for seconds and my neighbor took an entire pan home. I love that this recipe feels comforting and slightly indulgent without requiring complex techniques—just a little attention during the stovetop step and careful folding keeps the apples intact and evenly distributed.
My favorite part of these bars is how the maple glaze transforms the look and taste—what begins as a humble tray bake becomes gift-worthy with a glossy finish. Every time I bring a pan to a gathering, someone asks whether I used a bakery recipe. It feels special without being fussy, which is the sweet spot for everyday baking.
Store cooled squares in a single layer in an airtight container in the refrigerator for 3 to 4 days. If stacking is necessary, separate layers with parchment to protect the glaze. For longer storage, wrap individual squares tightly in plastic wrap and place in a freezer-safe bag for up to 3 months. To serve frozen bars, thaw overnight in the refrigerator and come to room temperature for 30 minutes before enjoying. Reheat gently in a 300 F oven for 6 to 8 minutes if you prefer a warm square.
If Honeycrisp are not available, Fuji or Gala are good alternatives; their sweetness and texture are similar. For a dairy-free version, substitute vegan butter in both the batter and glaze—expect a slightly different mouthfeel but similar structure. To make these gluten-free, use a 1-to-1 gluten-free flour blend and add a teaspoon of xanthan gum if your blend lacks it. If you don’t have maple extract, boost pure maple syrup in the glaze by a tablespoon and omit the extract.
Serve bars warm with a dollop of whipped cream or a scoop of vanilla ice cream for an indulgent dessert. For brunch, pair with strong coffee or a lightly spiced chai. Garnish with a light dusting of powdered sugar and a small drizzle of warmed maple syrup for presentation. These squares also travel well for picnics and make a thoughtful neighborly gift when packed in a decorative tin.
Apples and maple syrup have deep roots in North American culinary traditions, especially in the northeastern United States and eastern Canada. This combination evokes fall harvest flavors and the historic practice of making maple syrup from sap. Brownie-like tray bakes have been adapted across cultures as approachable sweets that highlight seasonal produce; these bars are a modern take on that tradition, blending familiar baking techniques with regionally inspired ingredients.
In late summer, substitute peaches or pears prepared the same way for a seasonal twist. During the holidays, fold in 1/2 cup chopped toasted pecans or walnuts for texture and a festive flavor. For a spring version, add a tablespoon of lemon zest to the glaze to brighten the overall profile. Adjust cinnamon levels to taste—less for a subtle warmth, more for a spicier note.
Prepare the apples and batter one day ahead and refrigerate separately; assemble and bake the next day for the freshest texture. The glaze can be made up to 24 hours ahead and refrigerated—bring it to room temperature and whisk before using. Cut bars into uniform squares using a sharp knife dipped in hot water between cuts to preserve clean edges and keep the glaze intact.
These maple-glazed apple bars are a reliable, crowd-pleasing option that celebrate simple techniques and seasonal produce. They have a way of making busy mornings feel a little cozier and holiday tables a little brighter—give them a try and adapt them to fit your family’s tastes.
Cook the diced apples just until softened and glossy to concentrate flavor without adding excess moisture to the batter.
Use room-temperature eggs for a lighter, more even crumb in the finished bars.
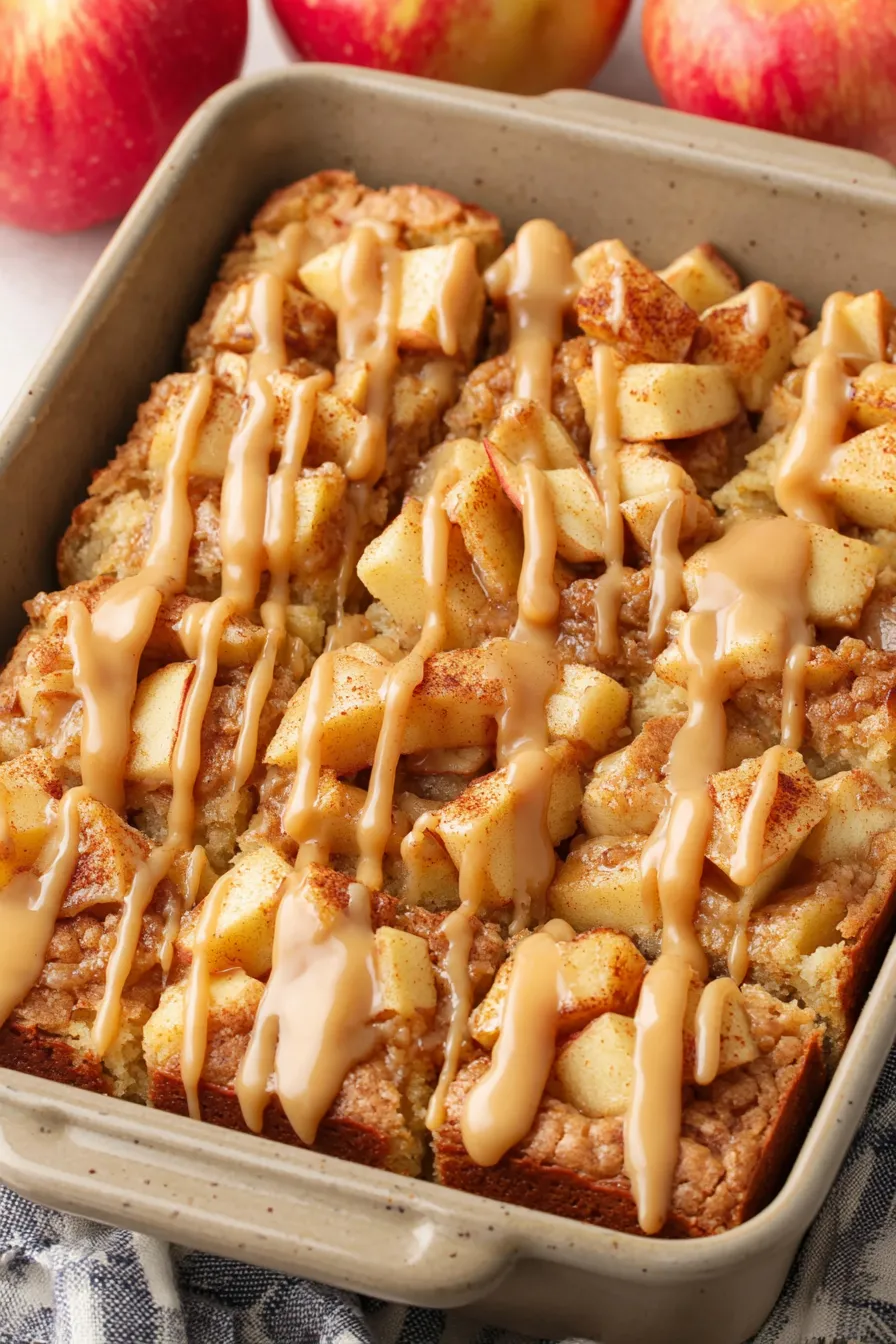
Line the 9x13 pan with parchment paper and leave an overhang to lift the bars out easily for clean slicing.
If glaze is too thick, add a teaspoon of warm water or a bit more maple syrup to reach a pourable consistency.
This nourishing maple-glazed apple brownies recipe is sure to be a staple in your kitchen. Enjoy every moist, high protein slice — it is perfect for breakfast or as a wholesome snack any time.
This Maple-Glazed Apple Brownies recipe makes perfectly juicy, tender, and flavorful steak every time! Serve with potatoes and a side salad for an unforgettable dinner in under 30 minutes.
Preheat oven to 350 F. Spray a 9x13-inch pan with baking spray and line with parchment paper, leaving an overhang to lift the bars out after baking.
In a medium skillet over medium heat, combine diced apples, 1/4 cup granulated sugar, and 1/2 teaspoon cinnamon. Cook 5 to 7 minutes, stirring often, until apples soften and caramelize slightly. Cool to room temperature.
In a small bowl, whisk 2 1/4 cups flour, 1 teaspoon baking powder, 1/2 teaspoon cinnamon, and 1/2 teaspoon salt until evenly combined.
In a large bowl, beat 1 1/2 cups light brown sugar with 1 cup melted butter, 1 teaspoon vanilla, and 1/2 teaspoon maple extract on medium-low until incorporated. Add eggs and beat until smooth and slightly fluffy.
Fold the flour mixture into the wet ingredients just until combined. Use a slotted spoon to add cooled apples to the batter, leaving excess liquid behind. Fold gently to distribute fruit evenly.
Spread batter into the prepared pan and bake 25 to 30 minutes at 350 F, until the top is lightly golden and a toothpick comes out with a few moist crumbs. Cool completely before glazing.
In a small saucepan over medium heat, whisk 3 tablespoons melted butter, 1/3 cup maple syrup, 1/2 teaspoon maple extract, 1/8 teaspoon cinnamon, and 1/8 teaspoon salt until warmed and just bubbling. Remove from heat and whisk in 1 1/2 cups sifted powdered sugar until smooth.
Pour glaze evenly over cooled bars and spread. Allow glaze to set at room temperature for at least 30 minutes before slicing into approximately 12 squares.
Last Step: Please leave a rating and comment letting us know how you liked this recipe! This helps our business to thrive and continue providing free, high-quality recipes for you.
Leave a comment & rating below or tag
@epicula on social media!

Ultra-fudgy brownies crowned with toasted mini marshmallows and warm cocoa icing, with molten chocolate pockets in every bite.

Buttery shortbread crust topped with a gooey brown sugar pecan filling. Just 10 minutes to prep for bakery-worthy bars with irresistible crunch.

Ultra-creamy pumpkin cheesecake with a graham crust, bakes without cracks, and shines with caramel and rum-kissed whipped cream.
Leave a comment & rating below or tag @epicula on social media!
Enjoyed this recipe? Share it with friends and family, and don't forget to leave a review!
This recipe looks amazing! Can't wait to try it.
Comments are stored locally in your browser. Server comments are displayed alongside your local comments.

Join to receive our email series which contains a round-up of some of our quick and easy family favorite recipes.
