
>>

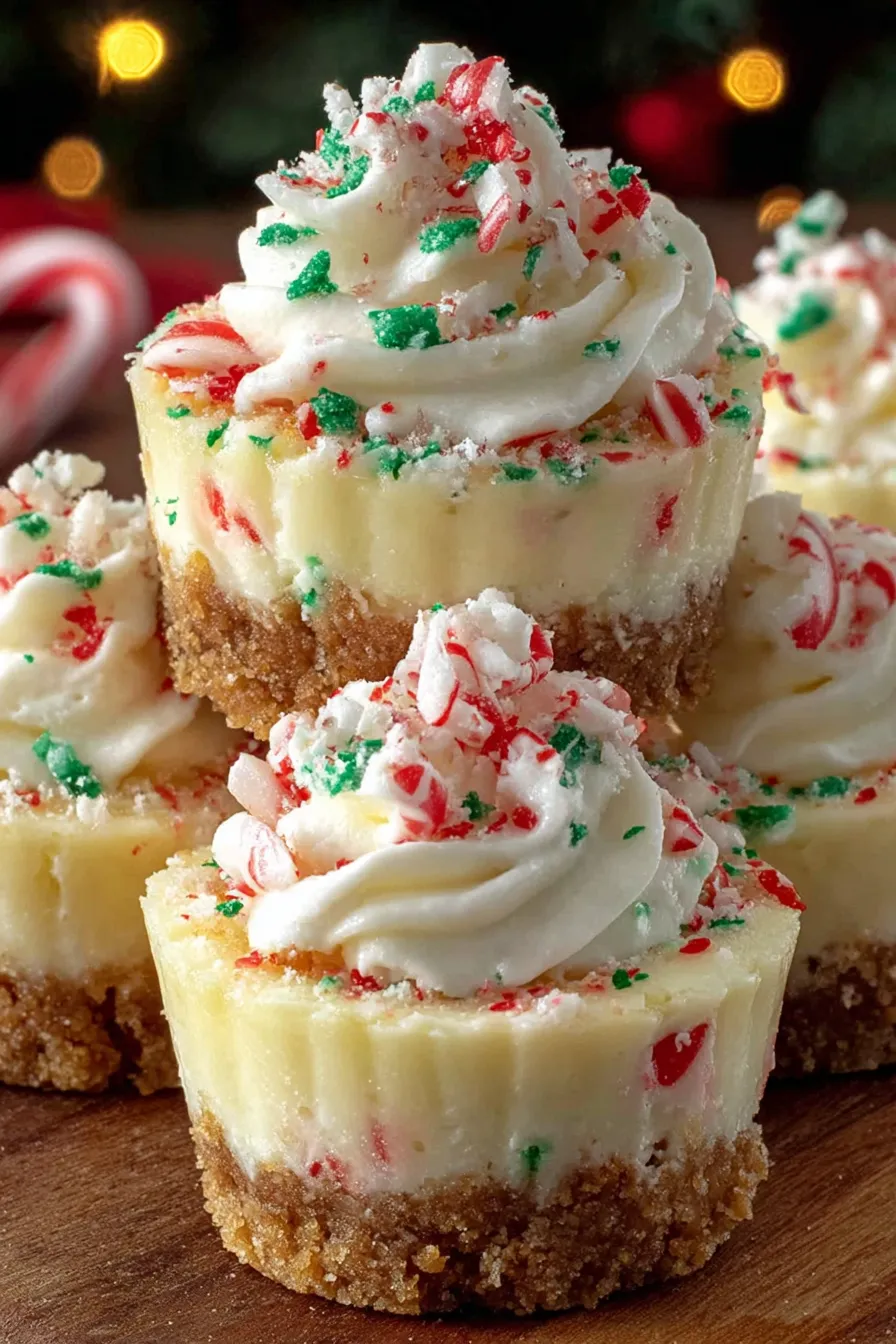
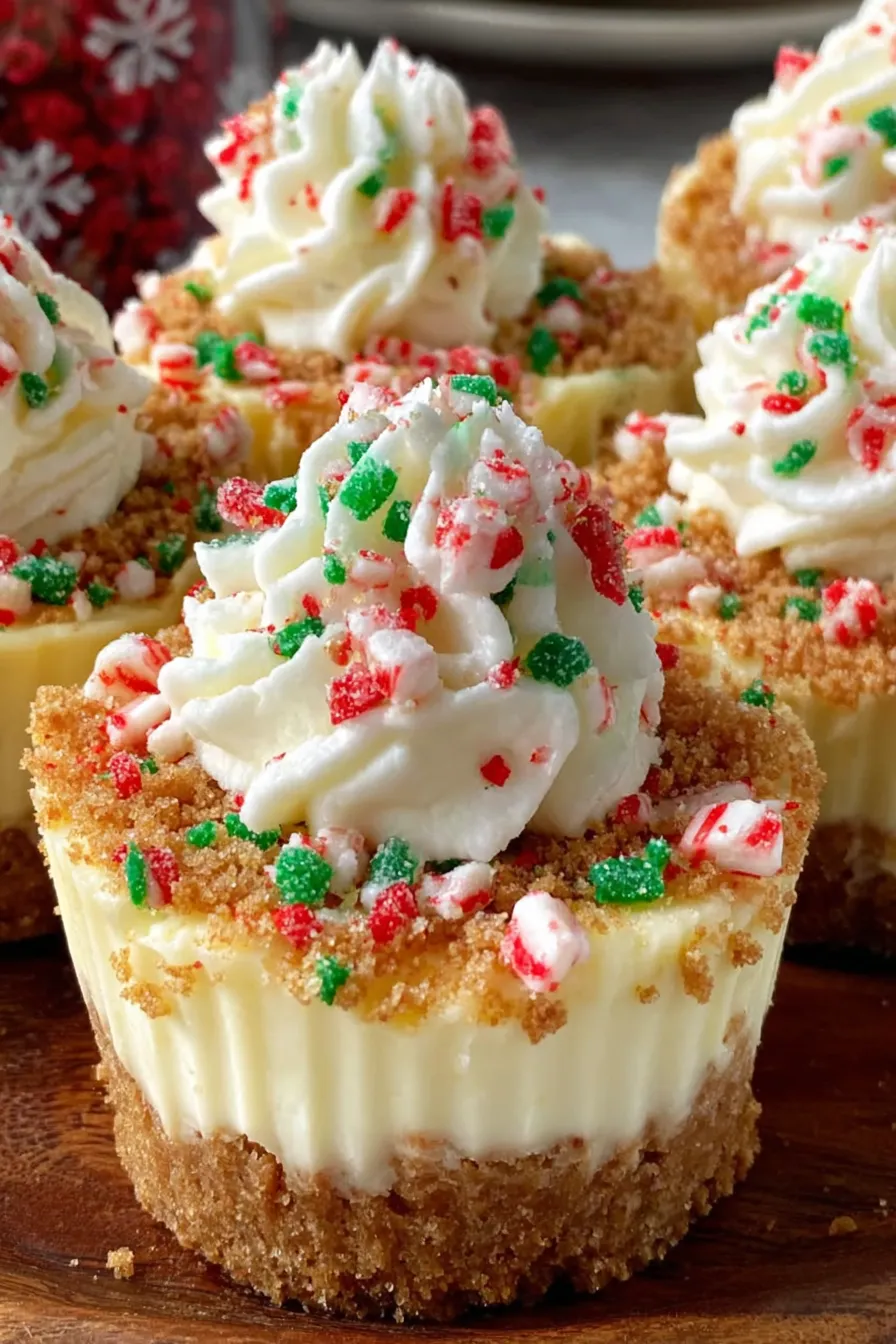
Festive, bite-sized no-bake cheesecakes topped with red and green sprinkles and optional crushed candy canes — simple, make-ahead treats perfect for holiday gatherings.
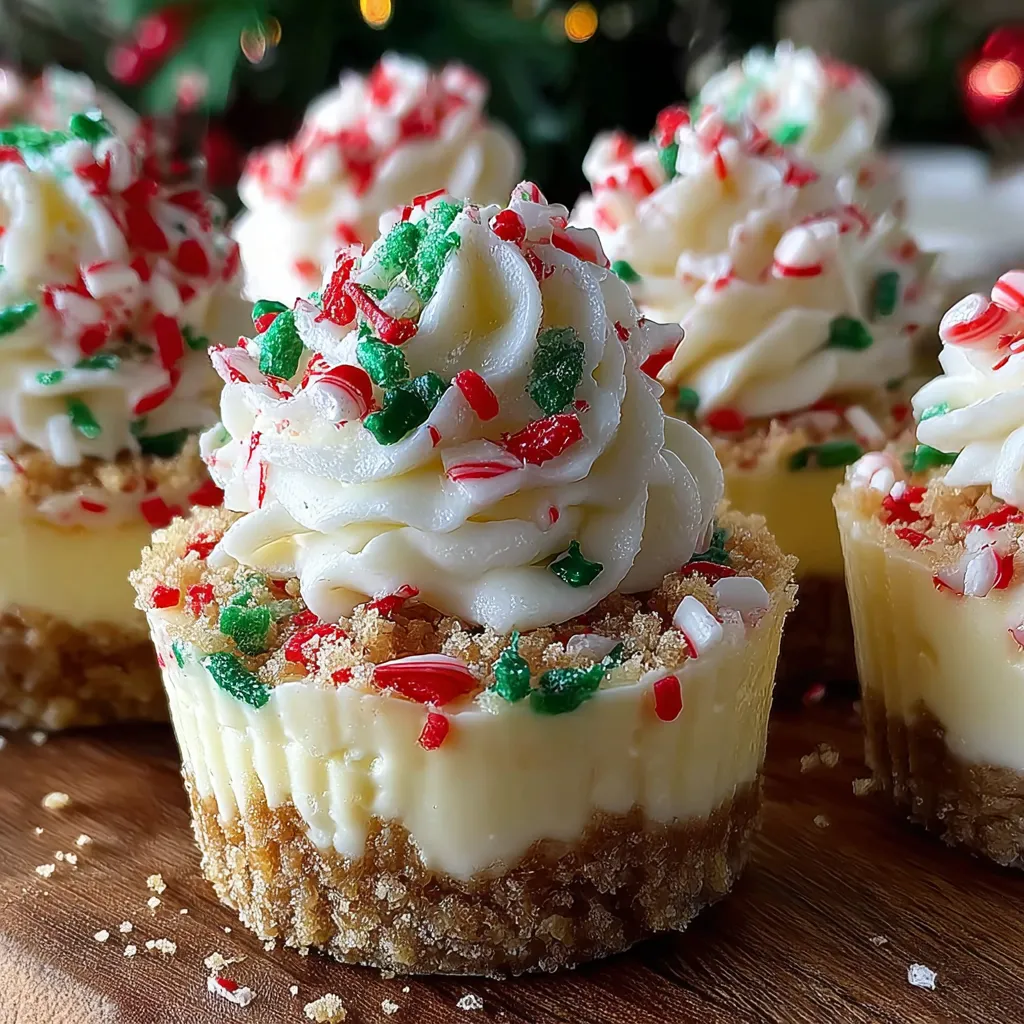
This recipe arrived in my life during the busiest December I can remember. I needed something cheerful, fast, and transportable for a neighborhood cookie swap, and these little no-bake cheesecakes fit the bill perfectly. They are creamy yet light, bright with sugary crunch when you sprinkle crushed candy cane on top, and small enough that guests can sample many desserts without getting weighed down. The texture balances a buttery graham cracker base with an aerated cream-cheese filling made light by whipped heavy cream — every bite yields a silky mouthfeel with a crisp, buttery crust.
I discovered the exact proportions after several trial runs on a cold evening while listening to holiday music and testing different crust thicknesses. The 1 1/2 cups of graham crumbs pressed into mini liners gives you a satisfying crunch without overwhelming the filling, and whipping the heavy cream to stiff peaks before folding in gives the final bites a feather-light quality that melts on the tongue. Family and friends often ask for the recipe because these come together quickly, store and travel well, and look like something you’d buy at a patisserie — but they’re effortless to make at home.
In my own kitchen these have become my go-to hostess gift when I’m running behind: I tuck a dozen into a box with parchment and ribbon, and they always disappear. Guests love that they’re light and not overly sweet, and I love that I can prepare them while cookies are in the oven or while setting the table.
I love that these mini cheesecakes feel gourmet but are forgiving — I’ve assembled them on busy mornings and still watched guests rave at the party. My family requests them every year; last Christmas I brought a platter to a friend’s house and someone asked for the recipe on the spot. The simple ingredients mask the care that goes into technique — particularly whipping cold cream and properly chilling the crust — and those small steps make a big difference in the final result.
Store chilled in a single layer in an airtight container with parchment between layers to avoid smudging the tops. In the fridge they hold up nicely for 3 to 4 days; longer than that the crust will begin to soften and the sprinkles can lose color. For freezing, place them on a baking sheet in a single layer until solid (about 1 hour), then move to a freezer-safe container. Thaw in the refrigerator overnight and add fresh sprinkles or crushed candy cane just before serving for the best texture.
If you need a gluten-free version, use gluten-free graham-style crumbs or crushed gluten-free digestives. For a lighter filling, substitute half the heavy cream with whipped coconut cream (this will add a mild coconut note). To make them less sweet, reduce powdered sugar to 3/4 cup and add a teaspoon of lemon zest for brightness. Vegans: use a well-tested vegan cream-cheese alternative and stabilized aquafaba whipped to peaks instead of heavy cream — results will be slightly different but still tasty.
Arrange on a tiered dessert stand for a festive display and garnish with fresh mint leaves or small candied cranberries for color contrast. Serve alongside hot cocoa or coffee — the cool, creamy texture makes a nice counterpoint to warm drinks. For a kids’ party, swap sprinkles for mini M&Ms or holiday-shaped sugar toppers. If you’re making a dessert platter, include a chocolate option and a fruit tart to give guests a variety of textures and flavors.
Miniature chilled cheesecakes owe their roots to classic cheesecake traditions that date back to ancient Greece, but the modern no-bake version gained popularity in American kitchens for its convenience and lighter texture. The graham crust is an American innovation, created by treating graham crackers like sweet biscuits, and it pairs beautifully with a whipped cream–based filling. Over time, no-bake formats evolved into bite-sized versions popular at potlucks and holiday spreads because they are easy to share and visually appealing.
Change toppings with the season: in winter add crushed candy cane or a smear of peppermint ganache; in spring swap to lemon curd and edible flowers; for summer, top with macerated berries or a blueberry compote. For Thanksgiving, add a spiced pecan praline on top; during Halloween, use orange and black sprinkles or a smear of salted caramel with toasted pumpkin seeds. The base is neutral enough to adapt to any holiday palette.
Prepare the crusts and filling up to two days ahead: keep crusts chilled and the filling chilled separately in an airtight container, then assemble the day of the event and chill to set. If you’re short on time, press crusts and freeze them briefly while you make the filling so assembly is quicker. Use a piping bag fitted with a round tip to speed up filling multiple tins and keep portions uniform for a professional look.
These little no-bake cheesecakes are one of those recipes that repeatedly deliver joy at the holidays — easy to make, easy to transport, and endlessly customizable. Try them once and they’ll become part of your seasonal repertoire.
Chill both the mixing bowl and beaters before whipping the cream to achieve firm peaks quickly.
Press crumbs firmly and uniformly into liners using the back of a small measuring spoon for consistent crusts.
Fold whipped cream into the cream cheese gently to preserve airiness and avoid a dense filling.
Add decorative toppings right before serving to preserve color and crunch, especially with crushed candy canes.
This nourishing no-bake christmas mini cheesecakes recipe is sure to be a staple in your kitchen. Enjoy every moist, high protein slice — it is perfect for breakfast or as a wholesome snack any time.
Yes — assembled minis can be frozen for up to 3 months; thaw overnight in the fridge and add sprinkles before serving.
Use full-fat block cream cheese for best texture; tub-style cream cheese contains stabilizers that can alter the mouthfeel.
This No-Bake Christmas Mini Cheesecakes recipe makes perfectly juicy, tender, and flavorful steak every time! Serve with potatoes and a side salad for an unforgettable dinner in under 30 minutes.
Combine graham cracker crumbs, melted butter, and granulated sugar in a medium bowl. Mix until crumbs resemble wet sand and press 1 to 1 1/2 tablespoons into each mini liner.
Refrigerate the pressed crusts for 15 minutes so the butter solidifies and the base firms up before adding filling.
Beat softened cream cheese until smooth, then add powdered sugar gradually and mix until silky. Scrape bowl to ensure even texture.
In a chilled bowl, whip cold heavy cream with vanilla extract to stiff peaks, taking care not to overbeat.
Fold whipped cream into cream cheese mixture in two additions until uniformly light, then pipe or spoon onto chilled crusts and smooth tops.
Refrigerate assembled minis for at least 3 hours or until firm. For best results, chill overnight.
Top with red and green sprinkles and optional crushed candy canes just before serving. Store leftovers chilled up to 4 days.
Last Step: Please leave a rating and comment letting us know how you liked this recipe! This helps our business to thrive and continue providing free, high-quality recipes for you.
Leave a comment & rating below or tag
@epicula on social media!

Ultra-fudgy brownies crowned with toasted mini marshmallows and warm cocoa icing, with molten chocolate pockets in every bite.

Buttery shortbread crust topped with a gooey brown sugar pecan filling. Just 10 minutes to prep for bakery-worthy bars with irresistible crunch.

Ultra-creamy pumpkin cheesecake with a graham crust, bakes without cracks, and shines with caramel and rum-kissed whipped cream.
Leave a comment & rating below or tag @epicula on social media!
Enjoyed this recipe? Share it with friends and family, and don't forget to leave a review!
This recipe looks amazing! Can't wait to try it.
Comments are stored locally in your browser. Server comments are displayed alongside your local comments.

Join to receive our email series which contains a round-up of some of our quick and easy family favorite recipes.
