
>>

Sweet, spooky, and utterly irresistible Oreo truffles dipped in colorful white chocolate and decorated with candy eyes and sprinkles, perfect for Halloween gatherings.
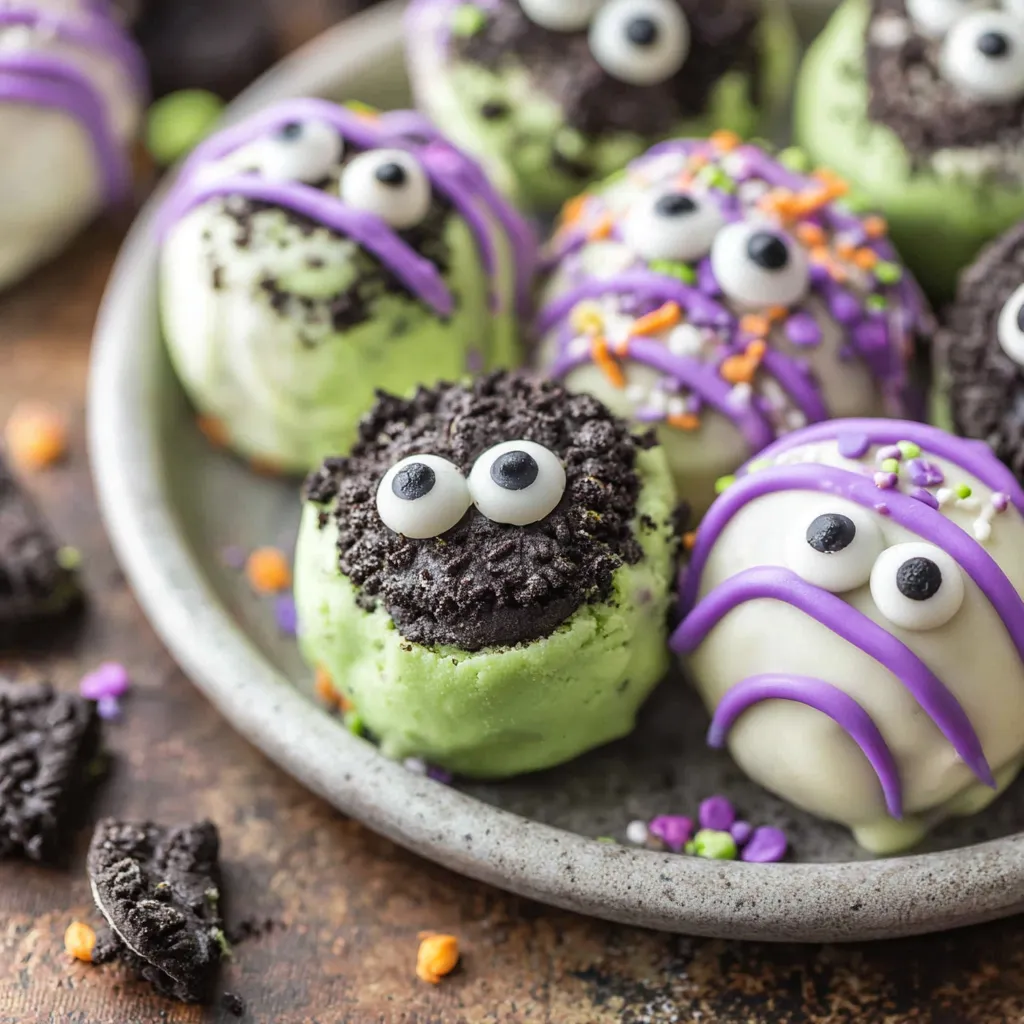
This recipe is all about fun and flavor. These monster truffles began as a playful idea the first year I wanted a Halloween treat that could be made in under an hour and still feel special. I discovered the combination of crushed sandwich cookies and softened cream cheese many years ago and adapted it with colorful white chocolate and candy eyes to make something that looks as good as it tastes. The texture is creamy at the center with a crisp chocolate coating and little crunchy sprinkles that give each bite a playful contrast.
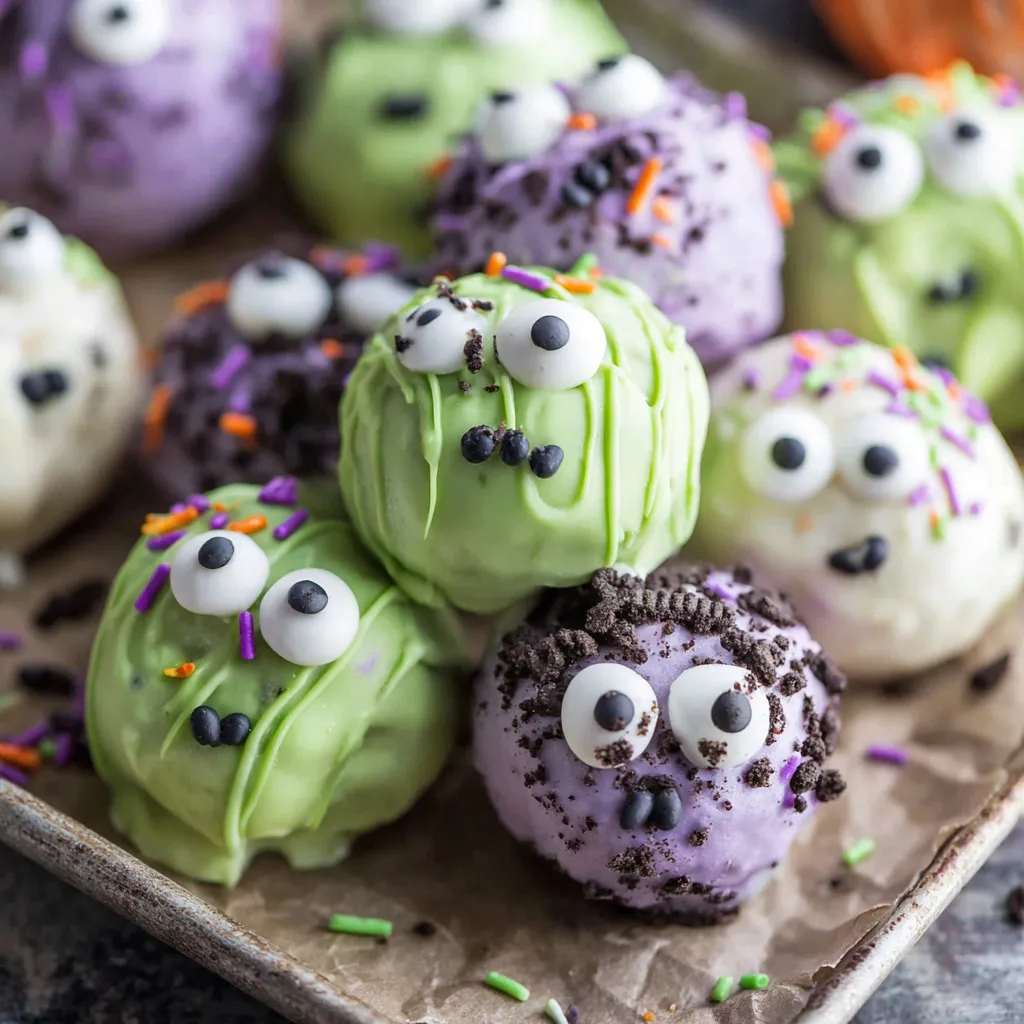
I first made these during a busy October when I needed a dessert that could be prepared ahead and transported without fuss. They became an instant hit with kids and adults alike. What makes them special is how easy they are to customize. The white chocolate coating takes color beautifully so you can create monsters in green purple or a mix of both. The cream cheese keeps the interior silky and helps the balls hold their shape after chilling. Every party I bring these to, someone asks for the recipe.
In my experience these truffles get better each time you adapt them. I remember making a batch where the kids insisted on purple monsters only and another time when a neighbor brought orange sprinkles that turned the tray into a tiny carnival. They are forgiving to work with which makes them a go to for gatherings when you want to focus on people instead of fussing in the kitchen.
My favorite thing about these is how hands on the decorating can be. When friends visit during October we set up a simple decorating station and everyone gets a chance to personalize their monsters. One year a teenager turned the tray into a tiny monster zoo by stacking tiny eyes and using sprinkles to create teeth. Those small creative moments make this recipe more than just dessert they make it a party activity.
Store the truffles in a single layer or with parchment between layers in an airtight container. Refrigerate them for up to five days. For longer storage arrange in a single layer on a baking sheet and freeze for one hour then transfer to a freezer safe container for up to three months. Thaw frozen truffles in the refrigerator overnight then bring to room temperature for thirty minutes before serving. Avoid leaving them in a warm car or direct sunlight as the coating can soften and lose shape.
If you prefer dairy free options use dairy free cream cheese and dairy free white melting coating. For gluten free choose a certified gluten free sandwich cookie substitute and follow the same method. If white melting chocolate is unavailable use white chocolate chips but add one teaspoon of neutral oil per eight ounces to improve melting and sheen. Swap gel food color for powdered petal colors mixed with a drop of glycerin if you want vivid hues without altering the chocolate texture.
Arrange truffles on a platter with autumn leaves or a cake stand for a centerpiece. Pair with warm beverages like spiced cider hot chocolate or coffee for adult guests. For a child friendly dessert table add small paper cups so each truffle can be served individually. Consider placing a variety of decorations on different truffles so guests can sample green purple and mixed designs. Small name cards make a festive touch if you bring them to a party.
Although ideal for Halloween the base method works year round. For winter swap sprinkles and eyes for red green or gold colors and use crushed peppermint for a festive finish. For spring try pastel coatings with floral sprinkles. The same technique translates to birthdays by changing colors and decorations so you have a versatile no oven option for any holiday.
Make the cookie base up to two days ahead and keep it refrigerated. Scoop the balls and store them on a tray covered with plastic wrap in the refrigerator then dip on the day you plan to serve for the best coating adhesion. Prepare the colored coatings in separate microwave safe bowls and reheat briefly if they thicken while you work. Label containers with the date and color so you can assemble multiple batches without confusion.
I once made a double batch for a neighborhood block party and a friend who does not usually like sweet treats declared them the best party dessert she had tasted. One parent told me they made these at school as a classroom activity and the children loved lining up their monsters and naming them. Those small endorsements make this recipe a winner in my book and keep me making a fresh batch every October.
These monster truffles are simple to make share and adapt. They are proof that a little creativity turns familiar flavors into something memorable. I hope you enjoy making them as much as I do and that they bring laughter and treats to your next gathering.
Soften the cream cheese to room temperature for smooth blending and fewer lumps in the filling.
Chill the formed balls well before dipping to reduce the chance of cracks in the coating.
Use gel food color to tint white chocolate because gel does not thin the coating.
Work in small batches to keep the coating warm and fluid for easy dipping.
Place candy eyes while the coating is tacky so they adhere without extra glue.
This nourishing no bake monster truffles (halloween oreo balls) recipe is sure to be a staple in your kitchen. Enjoy every moist, high protein slice — it is perfect for breakfast or as a wholesome snack any time.
Yes freeze them in a single layer on a sheet then transfer to a sealed container for up to three months. Thaw overnight in the refrigerator before serving.
If the chocolate thickens warm it gently in the microwave at ten second intervals stirring between each burst until smooth.
This No Bake Monster Truffles (Halloween Oreo Balls) recipe makes perfectly juicy, tender, and flavorful steak every time! Serve with potatoes and a side salad for an unforgettable dinner in under 30 minutes.
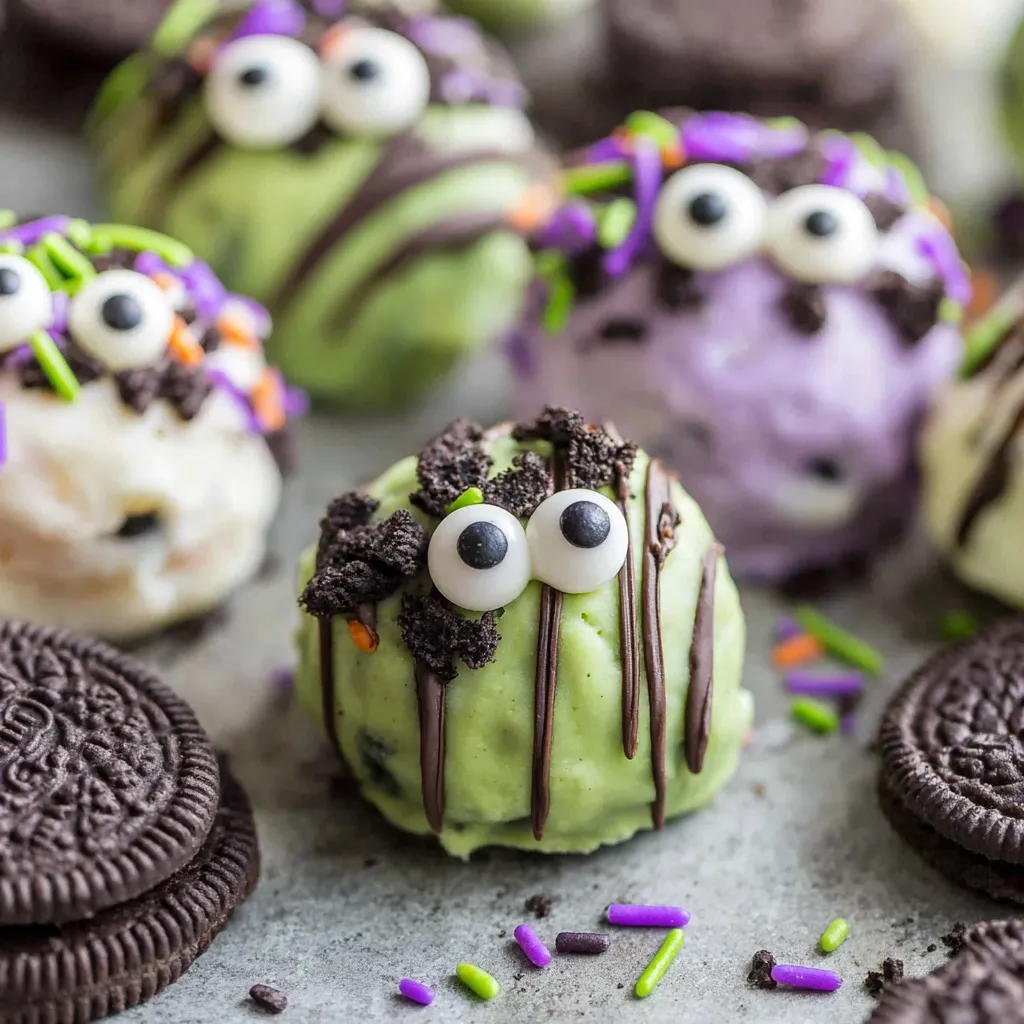
Place 24 sandwich cookies into a food processor and pulse until the cookies are finely ground into a sand like texture. If you do not have a processor crush cookies in a sealed bag with a rolling pin and measure crumbs.
Add four ounces of softened cream cheese to the cookie crumbs and pulse until the mixture forms a cohesive dough. Scrape down the bowl and pulse again to ensure even mixing.
Scoop the mixture with a small ice cream scoop or two tablespoon measure into even balls. Place them on a parchment lined baking sheet and freeze for twenty minutes until firm.
Melt twelve ounces of white melting chocolate in a microwave safe bowl in thirty second intervals stirring between each interval until smooth. Add three to four drops of green gel coloring and stir until uniform.
Dip chilled truffles into the colored chocolate using a fork to coat. Tap off excess and return to the parchment. Melt remaining four ounces of white chocolate and color with purple gel for drizzling.
Drizzle purple chocolate over the coated truffles add candy eyes and sprinkle with Halloween sprinkles while the coating is tacky. Allow the coating to set at room temperature or chill briefly.
Last Step: Please leave a rating and comment letting us know how you liked this recipe! This helps our business to thrive and continue providing free, high-quality recipes for you.
Leave a comment & rating below or tag
@epicula on social media!

Ultra-fudgy brownies crowned with toasted mini marshmallows and warm cocoa icing, with molten chocolate pockets in every bite.

Buttery shortbread crust topped with a gooey brown sugar pecan filling. Just 10 minutes to prep for bakery-worthy bars with irresistible crunch.

Ultra-creamy pumpkin cheesecake with a graham crust, bakes without cracks, and shines with caramel and rum-kissed whipped cream.
Leave a comment & rating below or tag @epicula on social media!
Enjoyed this recipe? Share it with friends and family, and don't forget to leave a review!
This recipe looks amazing! Can't wait to try it.
Comments are stored locally in your browser. Server comments are displayed alongside your local comments.

Join to receive our email series which contains a round-up of some of our quick and easy family favorite recipes.
