
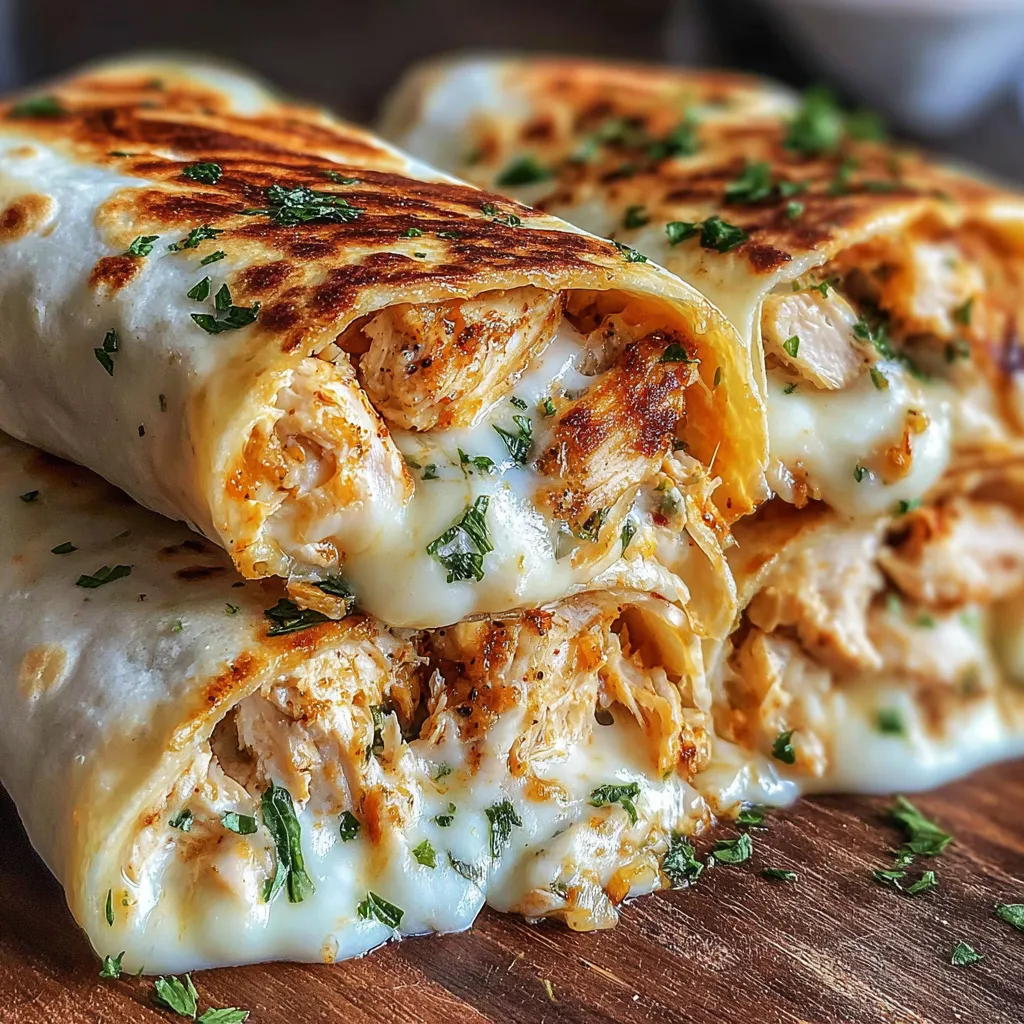
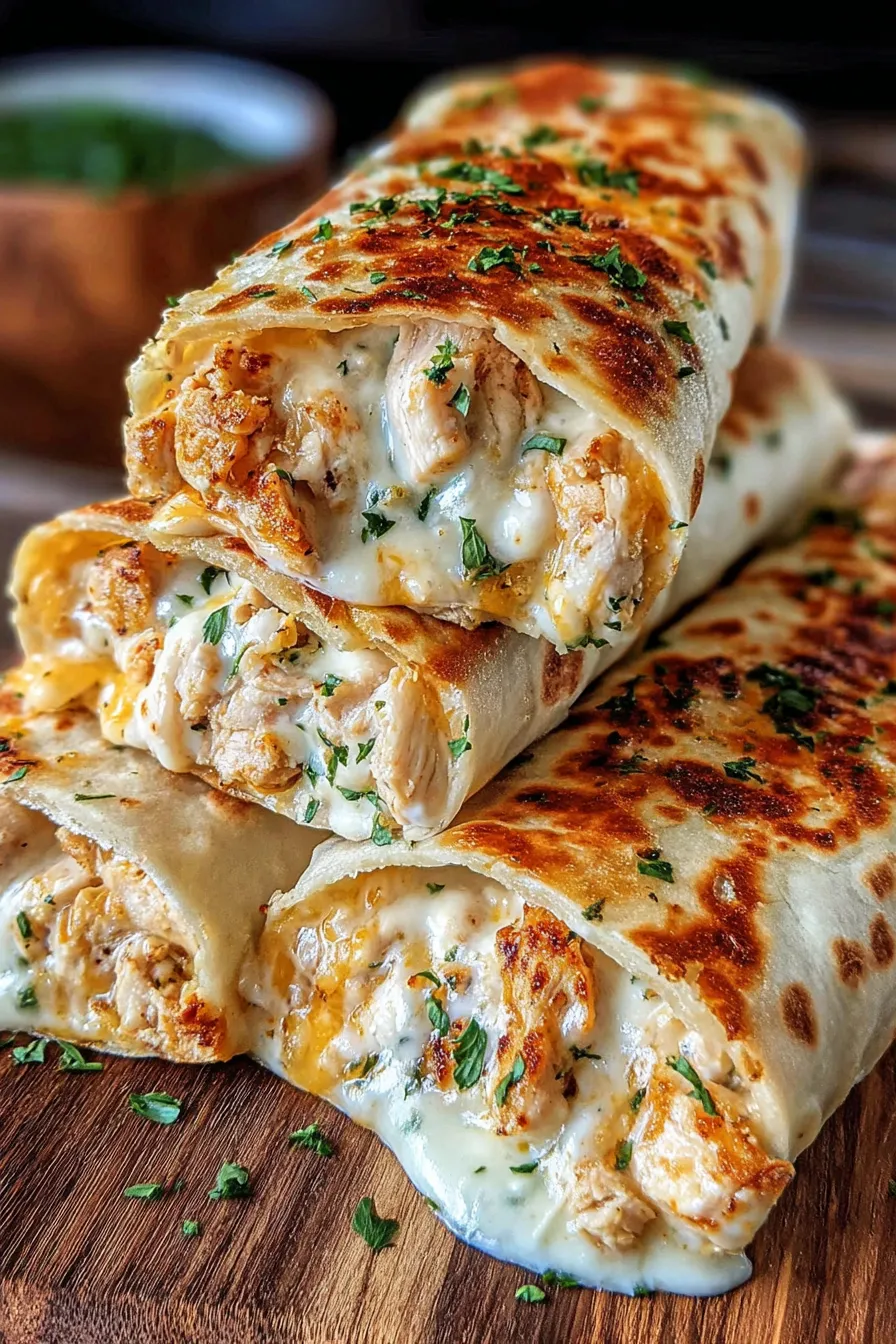
Ooey-Gooey Cheesy Garlic Chicken Wraps

Golden pan-seared chicken tossed with fragrant garlic and Italian seasoning, wrapped in flour tortillas with melted cheddar for a quick, crowd-pleasing baked dinner.
This Ooey-Gooey Cheesy Garlic Chicken Wraps recipe has become my immediate go-to on busy weeknights and lazy weekends alike. I stumbled on the combination when I had leftover grilled chicken and a stubborn block of cheddar refusing to be ignored. The result was a sticky, melty, garlic-forward wrap that made even picky family members ask for seconds. There’s comfort in the way the cheese stretches with each bite and the garlicky warmth that balances the savory chicken. I remember serving these at a small backyard gathering one spring evening; within minutes, it felt like the entire patio was passing plates back and forth and swapping stories. That night made this a staple in my repertoire.
What makes these wraps special is the combination of simple technique and bold flavor: a quick pan-sear to build color on boneless breasts, a fast garlic sauté to perfume the oil, and a generous layer of cheddar that becomes molten and golden in the oven. The texture contrast—crispy edges of toasted tortilla, tender shredded chicken, and creamy cheese—creates a handheld experience that’s both casual and satisfying. I prefer using large flour tortillas for structure and to hold a substantial amount of filling, but this method adapts easily to smaller wraps if you want bite-sized appetizers. The whole process takes under an hour and uses pantry-friendly ingredients you can find at any grocery store.
Why You'll Love This Recipe
- Ready in about 45 minutes from start to finish, it’s ideal for busy weeknights yet special enough for guests.
- Uses pantry staples—flour tortillas, shredded cheddar, garlic, and basic seasonings—so it’s a low-effort, high-reward option.
- Flexible make-ahead elements: cook and shred the chicken earlier in the day, then assemble and bake when you’re ready.
- Crowd-friendly: makes 4 large wraps, easily doubled for a party or cut into halves for appetizers.
- Customizable: swap cheddar for Monterey Jack or pepper jack for a spicier finish; add greens or sauces to tailor to dietary needs.
My family’s reaction the first time I brought these to a potluck was immediate: people lined up and went back for thirds. I’ve learned to make a double batch when I know friends are coming over. It’s the sort of dish that creates conversation and leaves everyone smiling—and reaching for napkins to catch those glorious cheese pulls.
Ingredients
- Boneless, skinless chicken breasts (3, about 1.5 lbs): Choose evenly sized pieces so they cook at the same rate. I often buy Grade A breasts for consistent texture; if they’re thick, consider butterflying or pounding lightly to 3/4 inch for even cooking.
- Fresh garlic (4 cloves, minced): Freshly minced garlic brings a bright, aromatic flavor that powdered alternatives can’t match. Mince finely so it sautés quickly without burning.
- Shredded cheddar cheese (2 cups): Sharp cheddar works best for flavor contrast; pre-shredded is convenient, but shredding from a block gives meltier results due to less anti-caking agent.
- Large flour tortillas (4): Use sturdy, large tortillas (10–12 inch) to hold filling without splitting. Flour tortillas toast nicely in the oven for a crisp exterior.
- Olive oil (2 tbsp): Use extra virgin olive oil for flavor when finishing, but a light olive oil or vegetable oil works well for pan-searing at medium heat.
- Italian seasoning (1 tsp): A balanced mix of oregano, basil, and thyme gives a warm herb note; use dried for convenience or a pinch of fresh chopped herbs for brightness.
- Salt and pepper: Season generously—salt helps extract moisture and enhances the chicken’s natural flavor, while freshly ground black pepper adds mild heat.
Instructions
Preheat and prep: Preheat the oven to 400°F (200°C) and lightly grease a 9x13-inch baking dish with nonstick spray or a thin brush of oil. This temperature crisps the tortilla edges while melting the cheese without overcooking the filling. Season and sear the chicken: Pat the chicken breasts dry with paper towels and season both sides with salt and pepper. Heat a large skillet over medium heat and add the 2 tablespoons of olive oil. When the oil shimmers, add the chicken and sear for 5–7 minutes per side, depending on thickness, until golden brown and the internal temperature reads 165°F (74°C). Avoid overcrowding the pan to ensure good browning; use a splatter guard if necessary. Rest and shred: Transfer the cooked chicken to a cutting board and let it rest for 5 minutes; this redistributes juices so the meat stays moist. Shred the chicken with two forks or slice finely and chop. Toss the shredded chicken with the 1 teaspoon of Italian seasoning and adjust salt and pepper to taste. Sauté the garlic: Return the skillet to medium heat and add a splash of oil if the pan is dry. Sauté the minced garlic for about 45–60 seconds until fragrant but not browned—browned garlic turns bitter. Scrape any browned bits left from the chicken into the garlic for extra flavor, then turn off the heat. Assemble the wraps: Lay out the tortillas and distribute the shredded garlic-chicken evenly among them. Heap approximately 1/2 cup of shredded cheddar into each tortilla so each roll has a generous ooze of cheese. Roll tightly, tucking the ends in and placing them seam-side down in the prepared baking dish to keep them closed during baking. Bake until melty: Bake the wraps at 400°F (200°C) for 10–15 minutes until heated through and the cheese is melted. For lightly crisped tortillas, switch to broil for 1–2 minutes, watching closely to prevent burning. Let the wraps rest 2–3 minutes before serving—this helps the cheese settle slightly for neater slices.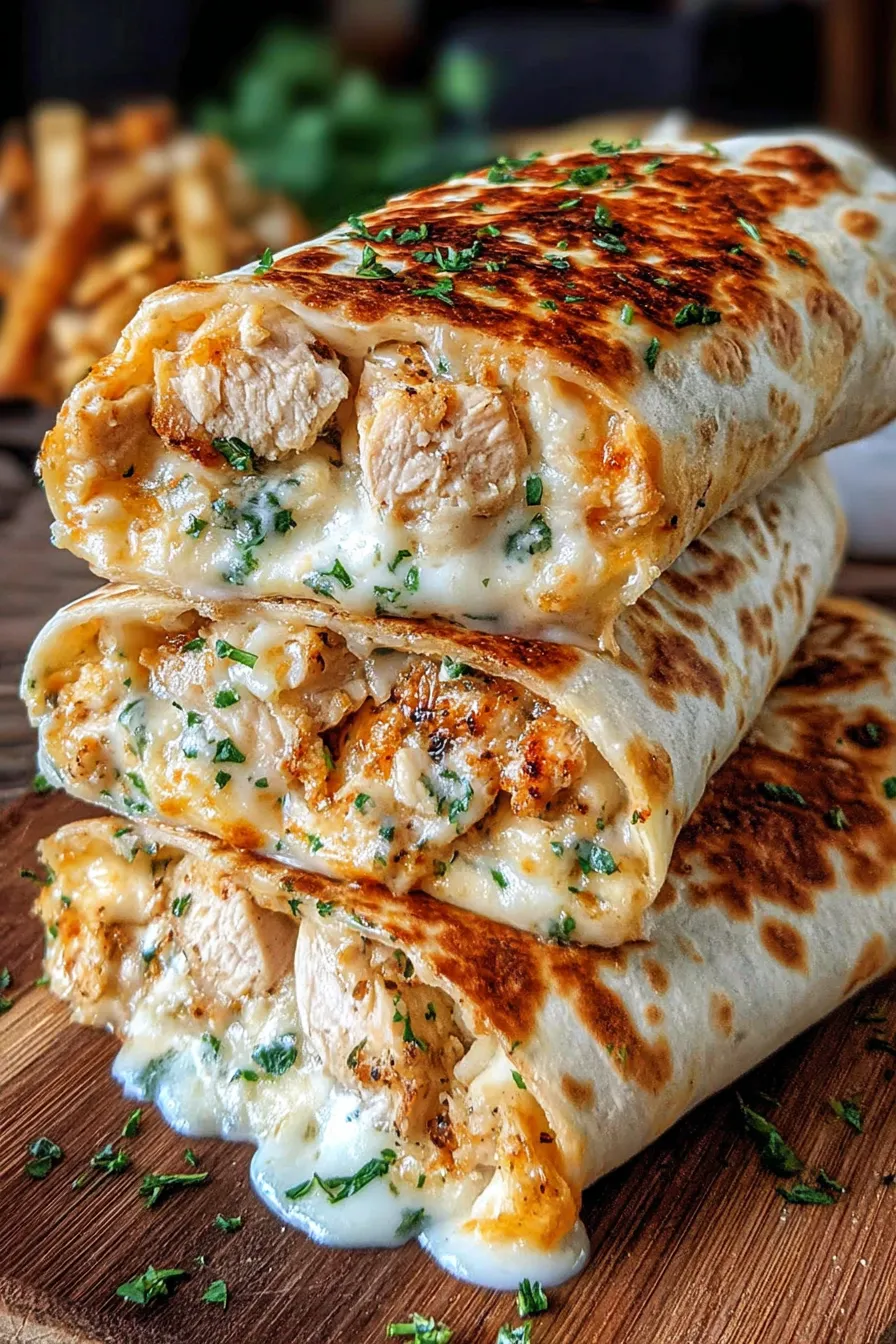
You Must Know
- High in protein and comforting; freezes well for up to 3 months when wrapped individually in foil and stored in an airtight container.
- Store leftovers in the refrigerator for up to 3 days; reheat in a 350°F oven for 10–12 minutes to restore crispness rather than microwaving, which makes tortillas soggy.
- Cheese contributes most of the fat—use reduced-fat cheddar or a 50/50 blend with Monterey Jack to reduce calories without sacrificing melt.
- Watch the garlic carefully; it browns quickly and can turn bitter, so sauté only until fragrant.
My favorite aspect of this preparation is its simplicity paired with dramatic results. The first time I tried the slight broil finish, guests remarked on the pastry-like crisp at the tortilla’s edges. It’s a small technique that elevates the eating experience and turns a humble wrap into a memorable shareable plate.
Storage Tips
Allow wraps to cool to room temperature before refrigerating. Wrap each tightly in plastic or foil, then place them in an airtight container to prevent drying. Refrigerated wraps keep well for up to 3 days. For freezing, wrap individually in foil and place in a freezer bag; freeze up to 3 months. Reheat from frozen by removing foil and baking at 375°F for 20–25 minutes, flipping once, until hot and cheese is gooey again. Avoid microwaving straight from the freezer; it softens the tortilla and yields uneven heating.
Ingredient Substitutions
If you’re avoiding gluten, swap to large gluten-free tortillas; note they can be more fragile—heat briefly in a pan before filling to increase pliability. For dairy-free diets, use dairy-free shredded cheese and a small additional pat of oil to compensate for the missing butterfat. Swap cheddar for pepper jack to introduce a spicy kick, or use a 50/50 cheddar and mozzarella mix for an extra stretchy texture. Rotisserie chicken works beautifully as a shortcut—use about 3 cups shredded.
Serving Suggestions
Serve with a crisp green salad dressed in lemon vinaigrette to cut the richness. Offer sides like roasted corn salsa, guacamole, or pickled jalapeños for brightness. For a casual party, slice wraps in half on a diagonal and present on a platter with toothpicks. Garnish with chopped fresh parsley or cilantro and a squeeze of lime to lift flavors and add color.
Cultural Background
While handheld stuffed flatbreads exist in many culinary traditions, these baked cheesy wraps draw inspiration from Tex-Mex comfort foods and American luncheon wraps. The combination of seared chicken, garlic, and melted cheddar nods to fusion cooking—taking accessible ingredients and assembling them into a portable, convivial dish meant for sharing.
Seasonal Adaptations
In summer, add charred corn and diced tomatoes for freshness. In winter, fold in caramelized onions and a pinch of smoked paprika for warmth. Holiday gatherings welcome a cranberry-mint salsa for contrast, or swap the cheddar for Gruyère and add sautéed mushrooms for a more alpine-inspired version.
Meal Prep Tips
Cook and shred the chicken up to two days ahead; store in a sealed container. Keep shredded cheese dry in a separate bag to prevent clumping. Assemble wraps on the day of baking for the best texture, or assemble and freeze them seam-side down, then slide into the oven straight from the freezer when needed. Label packages with date and reheating instructions for easy grab-and-go meals during the week.
In closing, these Ooey-Gooey Cheesy Garlic Chicken Wraps are the kind of recipe that brings people together—simple ingredients, straightforward technique, and deliciously satisfying results. Try customizing fillings to match your pantry and tastes, and don’t be surprised when they become an instant favorite in your household.
Pro Tips
Pat chicken dry and don’t overcrowd the pan to get a good sear and maximize flavor.
Rest cooked chicken for 5 minutes before shredding to keep juices locked in.
Broil for 1–2 minutes at the end to crisp tortilla edges—watch closely to avoid burning.
Shred cheese from a block when possible for creamier melt compared to pre-shredded varieties.
This nourishing ooey-gooey cheesy garlic chicken wraps recipe is sure to be a staple in your kitchen. Enjoy every moist, high protein slice — it is perfect for breakfast or as a wholesome snack any time.
FAQs about Recipes
Can I use leftover or rotisserie chicken?
Yes—shredded rotisserie chicken can replace cooked breasts. Use about 3 cups shredded and skip the searing step.
How long do leftovers last?
Wraps keep 3 days refrigerated or up to 3 months frozen when individually wrapped in foil and stored in an airtight container.
Tags
Ooey-Gooey Cheesy Garlic Chicken Wraps
This Ooey-Gooey Cheesy Garlic Chicken Wraps recipe makes perfectly juicy, tender, and flavorful steak every time! Serve with potatoes and a side salad for an unforgettable dinner in under 30 minutes.
Ingredients
Protein
Flavorings
Dairy & Cheese
Wraps & Oil
Instructions
Preheat and prepare dish
Preheat oven to 400°F (200°C) and grease a 9x13-inch baking dish with nonstick spray or a thin coating of oil.
Season and sear chicken
Pat chicken dry, season with salt and pepper. Heat oil in a skillet over medium heat and cook chicken 5–7 minutes per side until internal temperature reaches 165°F (74°C) and surface is golden brown.
Rest and shred
Remove chicken, let rest 5 minutes, then shred with two forks. Toss shredded chicken with Italian seasoning and adjust seasoning as needed.
Sauté garlic
Return skillet to medium heat, add a little oil if needed, and sauté minced garlic for 45–60 seconds until fragrant without browning. Stir in pan drippings for flavor.
Assemble and bake
Lay out tortillas, fill each with shredded chicken and about 1/2 cup shredded cheddar, roll tightly and place seam-side down in the baking dish. Bake 10–15 minutes until heated through and cheese is melted; broil 1–2 minutes if you want crisp edges.
Last Step: Please leave a rating and comment letting us know how you liked this recipe! This helps our business to thrive and continue providing free, high-quality recipes for you.
Nutrition
Did You Make This?
Leave a comment & rating below or tag
@epicula on social media!
Categories:
You might also like...

Mississippi Mud Brownies
Ultra-fudgy brownies crowned with toasted mini marshmallows and warm cocoa icing, with molten chocolate pockets in every bite.

Buttery Pecan Pie Bars
Buttery shortbread crust topped with a gooey brown sugar pecan filling. Just 10 minutes to prep for bakery-worthy bars with irresistible crunch.

Crack-Free Pumpkin Cheesecake
Ultra-creamy pumpkin cheesecake with a graham crust, bakes without cracks, and shines with caramel and rum-kissed whipped cream.
Did You Make This?
Leave a comment & rating below or tag @epicula on social media!
Rate This Recipe
Share This Recipe
Enjoyed this recipe? Share it with friends and family, and don't forget to leave a review!
Comments (1)
This recipe looks amazing! Can't wait to try it.
Comments are stored locally in your browser. Server comments are displayed alongside your local comments.

Hi, I'm Olivia!
What's Popular

30-Minute Meals!
Join to receive our email series which contains a round-up of some of our quick and easy family favorite recipes.