
>>

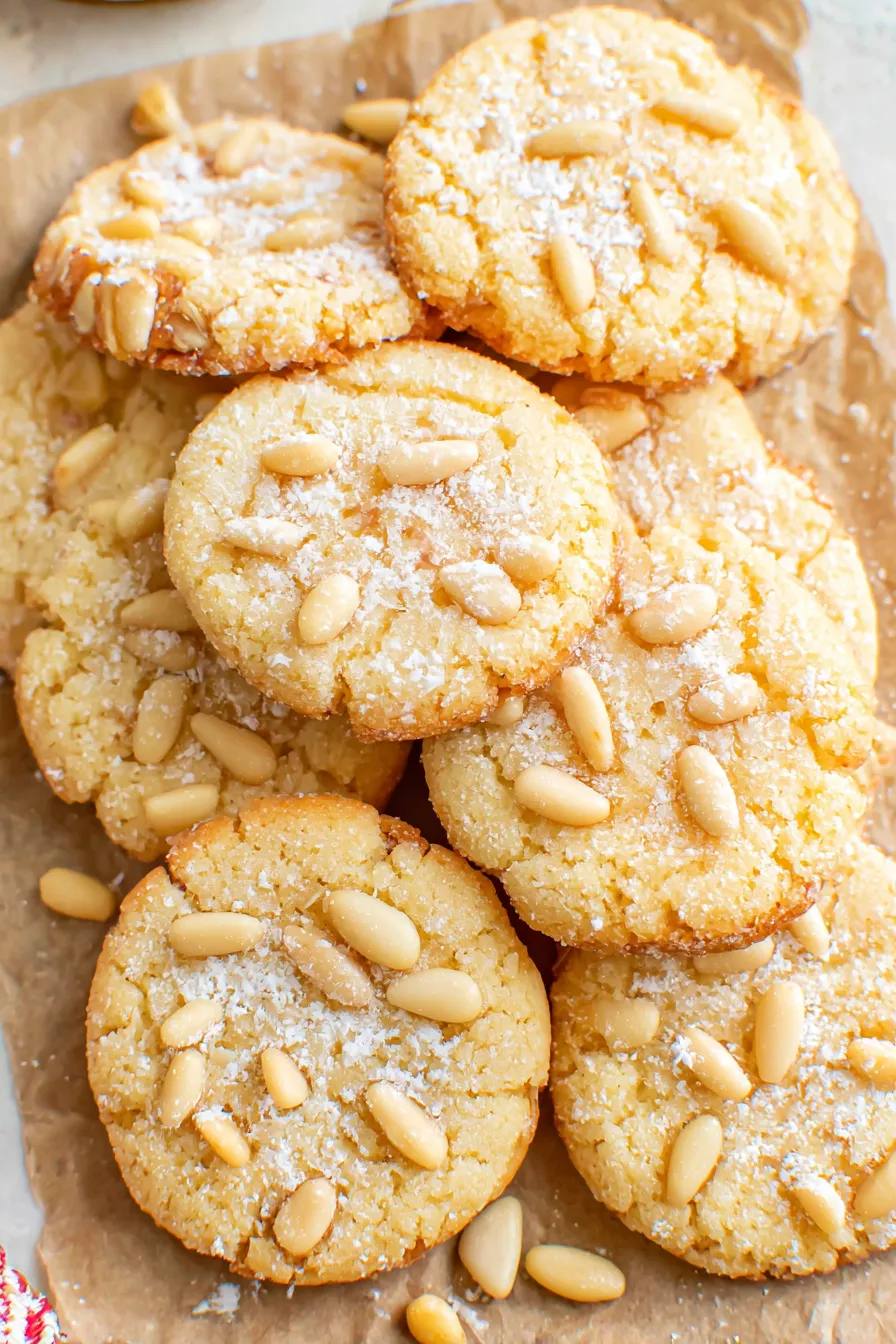
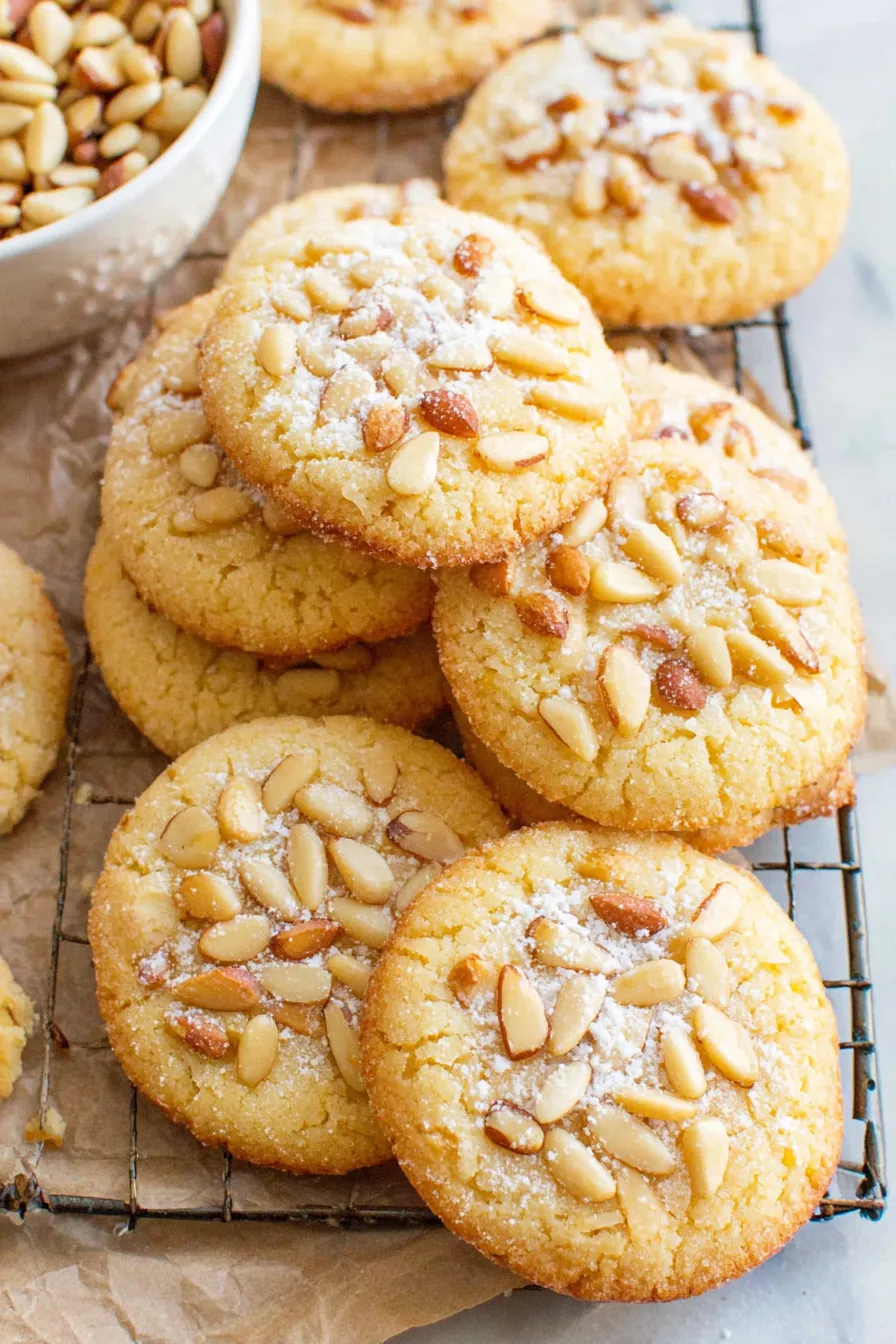
Chewy Italian almond cookies studded with toasted pine nuts — a traditional holiday favorite that's surprisingly simple and irresistibly nutty.

This batch of Pignoli Cookies has been a constant at our kitchen table for years and feels like a warm little ritual every holiday season. I first discovered this version when a neighbor brought over a tin of homemade cookies after a snowstorm; the combination of tender almond-sweet dough and the toasty, buttery bite of pine nuts was instant nostalgia. The texture is unique: slightly chewy in the center, lightly golden at the edges, with pine nuts that add both crunch and a floral, resinous lift.
These cookies matter to me because they're one of the few treats that reliably brings everyone together — kids lined up at the counter, conversation drifting to the day’s small triumphs. I made a batch once for a last-minute party and watched them disappear before I could refill the platter. They’re special because they use few ingredients, rely on simple technique, and reward patience — especially the mandatory chill time that makes handling the dough so much easier. If you like almond-forward sweets with a subtle crunch, these will become a go-to.
When I first served these at a small family gathering, everyone asked for the recipe. The tin I received after the snowstorm inspired a version I adapted slightly for texture and ease; after a few trials I settled on this balance of sugar and egg that gives the glossy center and the delicate chew. My children still argue over who gets the last cookie.
My favorite part is the aroma that fills the kitchen as the pine nuts toast and the almond paste softens in the oven. Once, I baked a batch for a neighbor recovering from surgery — the small tin I left at her door led to a 24-hour long phone conversation about family memories tied to certain holiday scents. These cookies carry those intimate connections.
Store cooled cookies in an airtight container at room temperature for up to 5 days; separate layers with parchment to avoid sticking. For longer storage, freeze baked cookies in a single layer on a tray until firm, then transfer to a sealed container for up to 3 months. To reheat, bring frozen cookies to room temperature or warm briefly in a 300 degrees F oven for 5–7 minutes to refresh the texture. If you freeze unbaked dough balls, bake from frozen and add 1–2 minutes to the bake time.
If pine nuts are too expensive or hard to find, try chopped blanched almonds or sliced almonds for a similar nutty crunch, though the flavor will be less resinous. For a citrus lift, fold in a scant 1/2 teaspoon of finely grated lemon zest into the dough. To reduce sugar slightly, subtract 1–2 tablespoons of granulated sugar but note the texture will be a touch firmer. For a dairy-free finish, use powdered sugar labeled dairy-free for dusting; the base dough is already dairy-free.
Serve these with strong espresso or a citrusy tea to balance the sweet almond. They make an elegant addition to cookie platters paired with biscotti and chocolate-dipped orange slices. For a holiday gift, nestle cookies in parchment within a tin and include a small card describing their origin. Garnish with a tiny sprinkle of extra powdered sugar or a few whole pine nuts for presentation.
Pignoli Cookies come from Italian baking traditions, particularly Sicilian and Southern Italian confectionery where almonds and pine nuts are common. The name comes from pignoli, the Italian word for pine nuts, which have long been used in Mediterranean sweets. Variations appear in regional cookies and cakes, often around holidays when nuts and dried fruits are prominent. Their simplicity highlights the quality of each ingredient, a hallmark of Italian home baking.
In winter, consider adding a pinch of ground cinnamon or orange zest to the dough for holiday warmth. In spring, fold in a teaspoon of finely chopped candied lemon peel for brightness. For a festive twist, dip half the baked cookie in melted dark chocolate and let it set for a contrast of bitter and sweet that pairs beautifully with the almond base.
Make the dough one or two days ahead and keep chilled; shaped dough balls can be refrigerated for 48 hours or frozen for longer storage. When meal prepping for events, portion dough onto a lined tray, freeze until firm, then store in a labeled bag so you can bake fresh batches on short notice. Use a tablespoon scoop for consistent sizing so baking times remain uniform.
These cookies bring a small, delicious ritual to any gathering. I encourage you to experiment with toasted nut finishes and citrus accents, but don’t skip the chill — it’s the secret to effortless shaping and the tender texture that makes these so memorable.
Chill the dough for at least 4 hours; chilled dough is much easier to portion and roll without sticking.
Toast pine nuts briefly in a dry skillet over medium heat for 1–2 minutes to amplify aroma, but watch closely to avoid burning.
If dough is too sticky after chilling, rest it at room temperature for 8–10 minutes before shaping.
This nourishing pignoli cookies recipe is sure to be a staple in your kitchen. Enjoy every moist, high protein slice — it is perfect for breakfast or as a wholesome snack any time.
This Pignoli Cookies recipe makes perfectly juicy, tender, and flavorful steak every time! Serve with potatoes and a side salad for an unforgettable dinner in under 30 minutes.
Break 8 ounces almond paste into pieces and place in a large food processor with 1/2 cup granulated sugar. Pulse until the sugar begins to dissolve and the mixture forms a paste, about 2 minutes. Avoid over-processing into oil.
Add 1/2 teaspoon vanilla extract, 1/4 teaspoon salt, and 1 whole large egg. Pulse until the dough comes together and pulls slightly from the bowl, stopping before it becomes too loose.
Remove dough, wrap in plastic, and form into a loose log or ball. Refrigerate for at least 4 hours to firm up; chilled dough is easier to handle and shapes more cleanly.
Preheat oven to 350 degrees F. Line a baking sheet with parchment paper and place 2/3 cup pine nuts in a shallow bowl for rolling. Center the oven rack for even browning.
Spoon out about 1 tablespoon of dough per cookie, roll into a ball, and roll in pine nuts. Place cookies 2 inches apart on the prepared sheet. They need not be fully covered in pine nuts for an attractive finish.
Bake for 16–18 minutes until edges are lightly golden; centers will be slightly soft and shiny. Cool 5–8 minutes on the sheet, transfer to a wire rack, and dust with 2 tablespoons powdered sugar once fully cooled.
Last Step: Please leave a rating and comment letting us know how you liked this recipe! This helps our business to thrive and continue providing free, high-quality recipes for you.
Leave a comment & rating below or tag
@epicula on social media!

Ultra-fudgy brownies crowned with toasted mini marshmallows and warm cocoa icing, with molten chocolate pockets in every bite.

Buttery shortbread crust topped with a gooey brown sugar pecan filling. Just 10 minutes to prep for bakery-worthy bars with irresistible crunch.

Ultra-creamy pumpkin cheesecake with a graham crust, bakes without cracks, and shines with caramel and rum-kissed whipped cream.
Leave a comment & rating below or tag @epicula on social media!
Enjoyed this recipe? Share it with friends and family, and don't forget to leave a review!
This recipe looks amazing! Can't wait to try it.
Comments are stored locally in your browser. Server comments are displayed alongside your local comments.

Join to receive our email series which contains a round-up of some of our quick and easy family favorite recipes.
