
>>

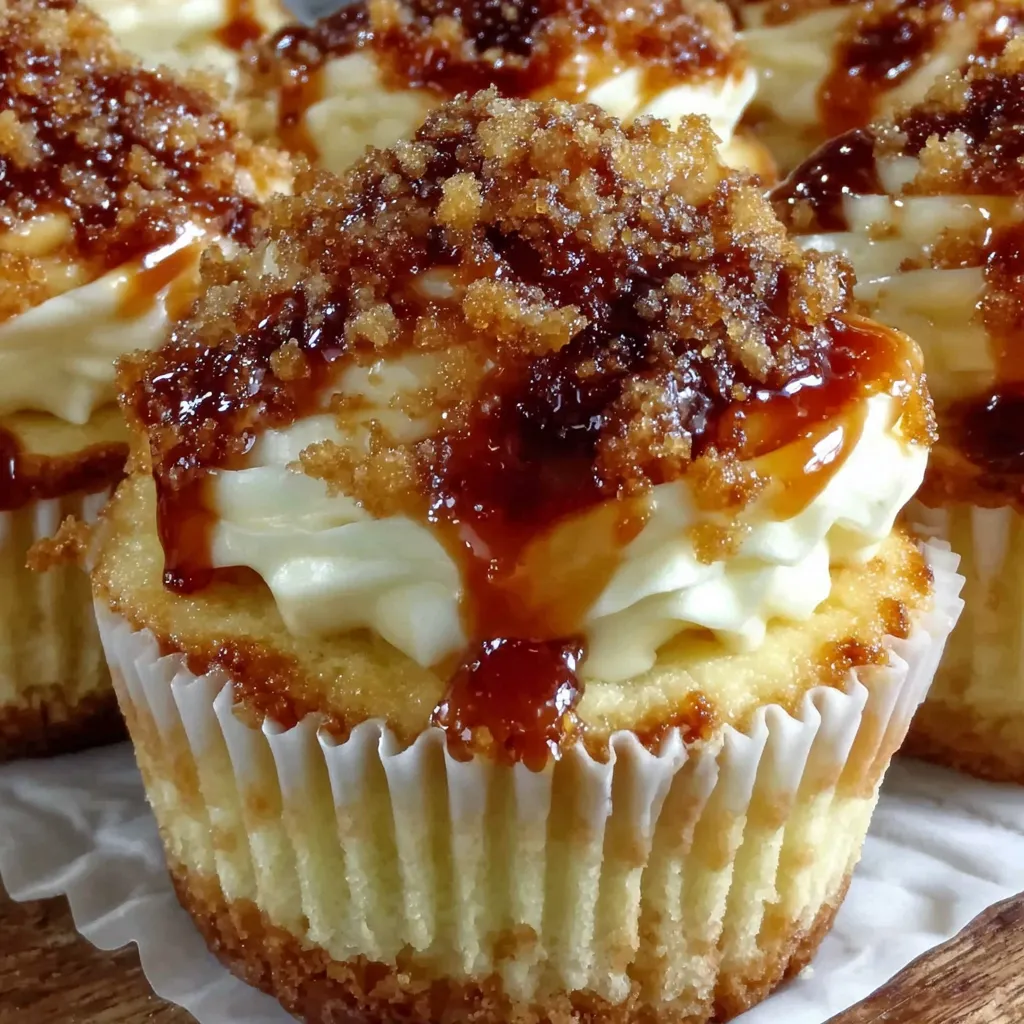
Silky vanilla bean cheesecake nestled inside tender vanilla cupcakes, finished with a crisp brûléed sugar top—an elegant handheld dessert perfect for any celebration.
This recipe is my answer to the times I wanted something flashy but not fussy: individual desserts that feel like fine dining yet are as simple as a tray of cupcakes. I first combined crème brûlée flavors with cheesecake in a small kitchen experiment one chilly evening, craving the contrast of silken custard and brittle caramel. The result—an eggy, creamy vanilla filling encased by a moist, tender vanilla cupcake—became an instant party favorite. It’s one of those recipes that makes guests pause, then smile, and then ask for the recipe.
What makes these cupcakes special is the texture play: a soft, slightly dense cheesecake center that melts into the lighter cake surrounding it, topped with a glassy burnt-sugar shell that shatters with the first spoon or bite. I use vanilla bean paste for a concentrated, speckled vanilla flavor that reads as both classic and refined. These are particularly memorable on holidays and dinner parties because they can be prepared ahead and finished at the last minute with a quick torch or broiler caramelization.
Personally, my family loved these the day I first served them at a small birthday gathering—guests kept commenting how they felt “fancy” eating a cupcake that behaves like a crème brûlée. My kids especially liked cracking the sugar with the back of their spoons; grown-ups appreciated the delicate vanilla aroma and the smooth mouthfeel.

My favorite part is the moment the sugar cracks—guests’ surprise is immediate. Once, at a small dinner, I torched the cupcakes at the table; the warm caramel aroma filled the room and turned a simple dessert into a shared experience. That memory keeps me returning to this formula whenever company arrives.
Store finished cupcakes chilled in an airtight container lined to prevent the caramel shells from sticking; place them in a single layer if possible to avoid cracked tops. Refrigerated cupcakes last up to 4 days; for longer storage, freeze uncaramelized cupcakes wrapped individually in plastic and placed in a freezer-safe container for up to 3 months. When ready to serve from frozen, thaw overnight in the refrigerator, then sprinkle sugar and torch just before serving for the best texture and flavor. Avoid leaving them at room temperature more than two hours.
If you need to swap ingredients, use a gluten-free 1-to-1 flour blend for a gluten-free version—expect a slightly denser crumb. For lower lactose, try lactose-free cream cheese and sour cream; texture remains similar though flavor shifts subtly. To reduce sugar, lower granulated sugar in the batter by up to 25% and taste, but retain powdered sugar in the filling for structure. For a dairy-free take, use a firm dairy-free cream cheese and plant-based sour cream—results vary by brand, so choose those designed for baking.
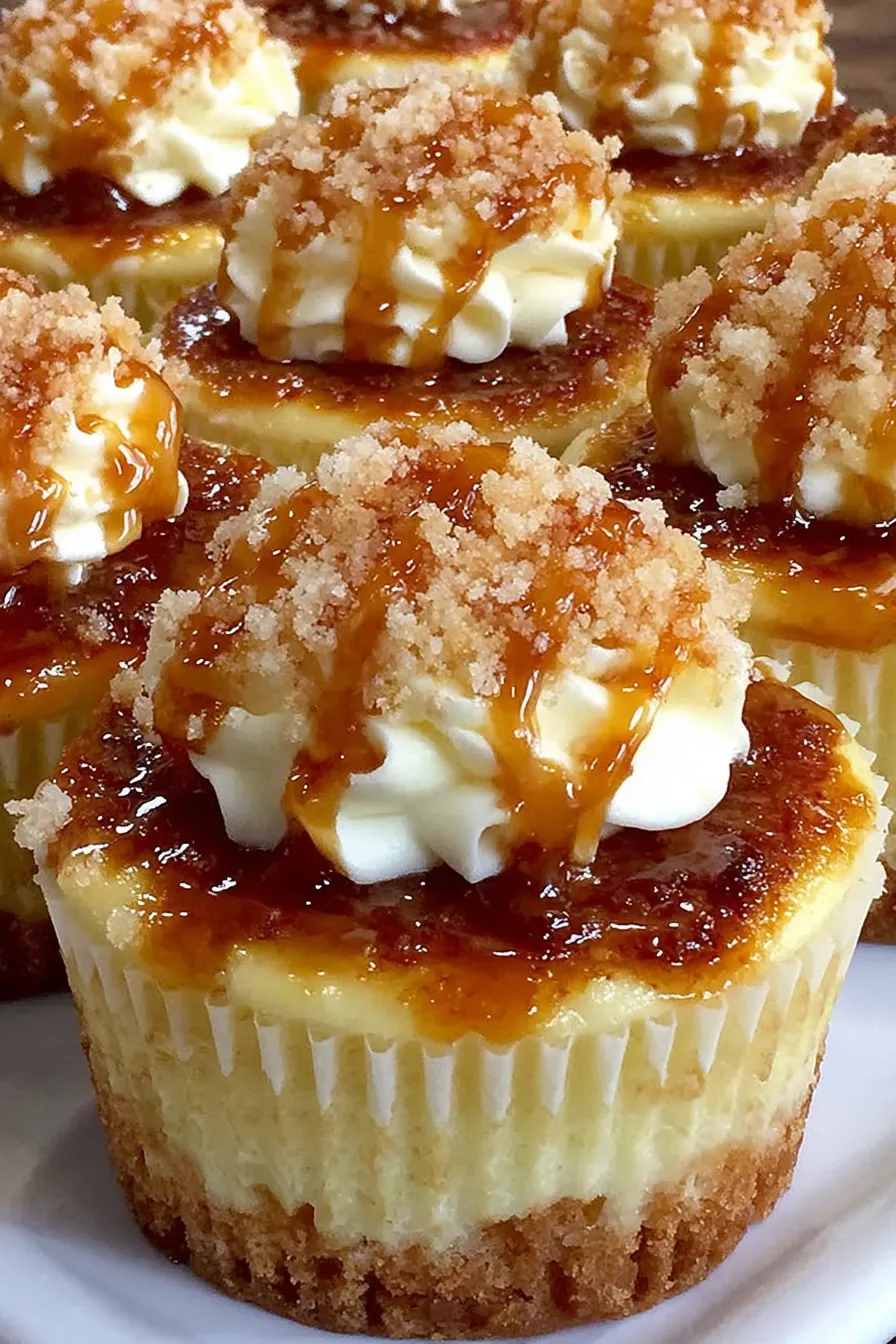
Serve on a simple white plate to showcase the gleaming caramel top; a few fresh raspberries or a sprinkle of toasted sliced almonds adds color and textural contrast. Pair with espresso for a post-dinner treat or a lightly sweet Riesling for an elevated dessert course. For a casual gathering, arrange the cupcakes on a tiered stand so guests can admire the caramel sheen before helping themselves.
This concept blends two European classics: the French crème brûlée, known for its silky custard and brittle caramel, and the American-style cheesecake, loved for its dense, tangy interior. Combining them into individual portions draws on modern dessert trends that favor portable, single-serve elegance. Though not traditional to either cuisine, the hybrid honors the textures and technique of both—custard science from crème brûlée and cream cheese formulation from cheesecake—while adapting to the easy format of a cupcake.
In cooler months, fold a pinch of ground cinnamon or a teaspoon of maple syrup into the batter for warming notes. Summer calls for bright accents: a lemon-scented sugar torch or a small spoonful of macerated berries on the side complements the vanilla. For the holidays, top with a dusting of finely chopped candied ginger or swap half the vanilla bean paste for almond extract for a festive twist.
Plan to bake the cupcakes a day ahead and refrigerate them uncaramelized. On the day of serving, bring them to room temperature for 15 minutes, sprinkle with granulated sugar, and torch. If you're catering a larger event, torch in batches of 6 to maintain even caramel color. Use parchment rounds under each cupcake when transporting to prevent sticking or chipping of the sugar crust.
These cupcakes are a reliable way to make any gathering feel special; with a little advance prep and a quick torch, you can serve something both homey and showstopping. Enjoy experimenting and making the recipe your own.
Room-temperature eggs and softened cream cheese blend more smoothly—avoid cold ingredients to prevent lumps.
When using the broiler, keep the oven door slightly open and watch constantly to prevent burning.
Use a small offset spatula or the back of a spoon to spread batter evenly and create a shallow well for the filling.
For uniform caramel color, rotate the torch or move cupcakes so heat is applied evenly across the surface.
If the sugar shell sticks to the liner when transporting, slide a thin icing spatula underneath the caramel and transfer carefully.
This nourishing vanilla bean crème brûlée cheesecake cupcakes recipe is sure to be a staple in your kitchen. Enjoy every moist, high protein slice — it is perfect for breakfast or as a wholesome snack any time.
Chill the cupcakes completely before sprinkling sugar and torching; a warm filling can cause the sugar to sink rather than form a crisp shell.
Yes—wrap uncaramelized cupcakes individually and freeze for up to 3 months. Thaw overnight in the refrigerator before finishing.
This Vanilla Bean Crème Brûlée Cheesecake Cupcakes recipe makes perfectly juicy, tender, and flavorful steak every time! Serve with potatoes and a side salad for an unforgettable dinner in under 30 minutes.
Preheat oven to 350°F (175°C) and prepare a 12-cup muffin tin with liners or nonstick spray.
Whisk together flour, granulated sugar, baking powder, and salt in a medium bowl until evenly combined.
In a separate bowl, cream softened butter and then add eggs one at a time, followed by vanilla extract and sour cream; combine with dry ingredients until just mixed.
Beat softened cream cheese until smooth, then add powdered sugar, vanilla bean paste, and the egg; mix until homogenous and silky.
Fill liners halfway with batter, add a spoonful of cheesecake filling, and top with more batter to enclose the filling, smoothing tops lightly.
Bake at 350°F for 20–25 minutes until edges are set and a toothpick in the cake portion comes out clean. Cool completely before finishing.
Sprinkle granulated sugar on each cooled cupcake and caramelize with a torch until amber, or place under a hot broiler for 1–2 minutes while watching closely.
Last Step: Please leave a rating and comment letting us know how you liked this recipe! This helps our business to thrive and continue providing free, high-quality recipes for you.
Leave a comment & rating below or tag
@epicula on social media!

Ultra-fudgy brownies crowned with toasted mini marshmallows and warm cocoa icing, with molten chocolate pockets in every bite.

Buttery shortbread crust topped with a gooey brown sugar pecan filling. Just 10 minutes to prep for bakery-worthy bars with irresistible crunch.

Ultra-creamy pumpkin cheesecake with a graham crust, bakes without cracks, and shines with caramel and rum-kissed whipped cream.
Leave a comment & rating below or tag @epicula on social media!
Enjoyed this recipe? Share it with friends and family, and don't forget to leave a review!
This recipe looks amazing! Can't wait to try it.
Comments are stored locally in your browser. Server comments are displayed alongside your local comments.

Join to receive our email series which contains a round-up of some of our quick and easy family favorite recipes.
